

 US Dollar
Organize your fabric inventory for stress-free sewing
Posted by BLG on 2026 May 2nd
Posted by BLG on 2026 May 2nd

TL;DR:
- An organized fabric inventory prevents duplicates, mystery fabrics, and project misplacements.
- Sorting fabrics by type, size, and color enhances accessibility and reduces search time.
- Regular maintenance and proper storage protect fabrics and keep the system functional long-term.
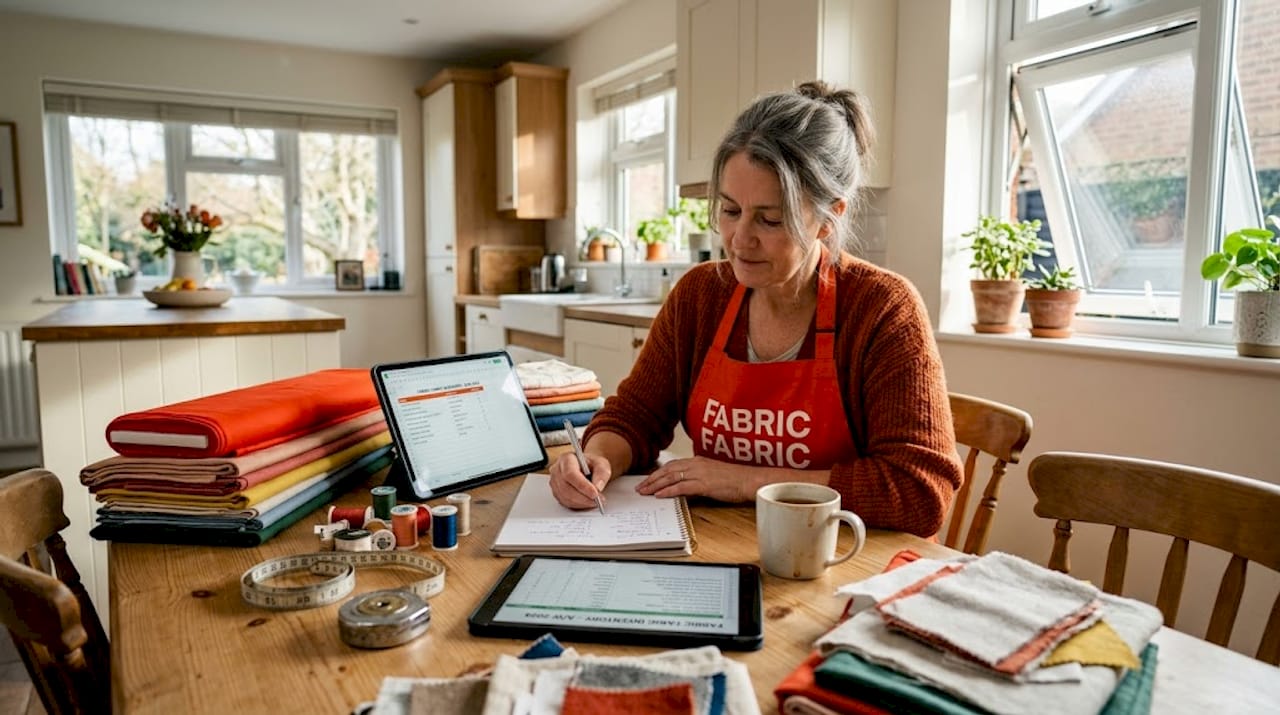
You know the feeling: you’re ready to start a project, you’re certain you bought that perfect navy linen a few months back, and now you’re elbow-deep in a overflowing bin with no idea where it went. Twenty minutes later, you’ve found three duplicates of a fabric you never use and lost all motivation to sew. A well-organized fabric inventory fixes exactly this problem. This guide walks you through every stage, from your first honest audit to ongoing maintenance habits that keep your stash working for you, not against you.
| Point | Details |
|---|---|
| Sort before storing | Sorting by color, type, and fiber makes fabrics easy to find and prevents duplicate purchases. |
| Choose smart storage | Uniform folding and vertical storage maximize visibility and use of space. |
| Track and label | Labeling and logging details for every fabric piece saves time and supports project planning. |
| Maintain regularly | Routine check-ins and climate protection keep fabric in good shape and your stash manageable. |
| Fit your workflow | Customize the organization system to work with your creative process, not just for looks. |
Once you recognize the problem, it’s time to get a clear picture of exactly what you have on hand. This step feels tedious, but skipping it means building your new system on a foundation of guesswork. Pull everything out. Every bin, shelf, basket, and forgotten shopping bag.
Start by grouping fabrics into broad categories before worrying about anything else. Proper sorting at this stage makes the rest of the process dramatically faster. The goal is to plan fabric inventory efficiently from the very start, setting yourself up for a system that actually holds over months and years.
Common inventory issues to watch for:
If your stash is large, tackle it in batches. Do one bin or shelf per session rather than dumping everything at once. This prevents overwhelm and lets you make thoughtful decisions about each piece.
As you go, use a simple log to capture what you have. Here is a sample table to get started:
| Fabric type | Fiber content | Approximate yardage | Color | Condition | Project idea |
|---|---|---|---|---|---|
| Quilting cotton | 100% cotton | 3 yards | Navy blue | Excellent | Baby quilt |
| Stretch knit | Cotton/spandex | 1.5 yards | Heather gray | Good | T-shirt |
| Home decor linen | Linen blend | 4 yards | Natural cream | Excellent | Curtains |
| Lace trim | Polyester | 2 yards | Ivory | Fair | Blouse edging |
| Satin | Polyester | 0.5 yards | Royal blue | Good | Scrap/accent |
This table becomes the skeleton of your inventory system. You can build it in a notebook, a binder, or a spreadsheet. The format matters less than the habit of completing it. According to sorting guidance from sewing experts, you should sort by type and color including cotton, linen, and knits before storing so you can find what you need quickly and avoid buying duplicates.
With your inventory assessed, you’re ready to dig in and start sorting your stash efficiently. Sorting is not just about tidiness. It directly affects how fast you can start projects and how often you actually use what you own.
Step-by-step sorting process:
The payoff from this process is real. Color and type sorting can cut search time in half, and using vertical storage boosts access efficiency by 60 percent. That means less frustration and more actual sewing. For anyone managing a large collection, applying bulk fabric organization tips makes the sorting step even more systematic.

Pro Tip: Assign a specific color to each fabric category using colored stickers or bin labels. When you’re looking for a quilting cotton at a glance, you see the green sticker and go directly to that section. This visual shorthand eliminates the mental work of reading every label.
Once your fabrics are sorted, it’s time to put every piece in a place that works for your space and workflow. The right storage method makes your system easy to maintain and actually fun to use.
The single biggest upgrade most crafters can make is switching to vertical storage. When fabric is stored vertically in clear bins folded to a consistent 4 to 6 inch width, you can see every piece at once without moving anything. Think of it like a filing cabinet for paper: nothing gets buried under a stack.
Storage options compared:
| Storage method | Best for | Pros | Cons |
|---|---|---|---|
| Clear plastic bins | Full yardage, organized by type | Dust-free, stackable, visible | Requires folding discipline |
| Open narrow shelving | Large stash, frequent use | Maximum visibility, easy access | Fabric can collect dust |
| Comic or cardboard boards | Fat quarters, quilting cuts | Uniform size, very tidy | Time-consuming to wrap |
| Rolling tubes | Large heavy pieces, upholstery fabric | No fold lines, easy to unroll | Takes more space |
| Magazine files | Folded fat quarters, scrap bundles | Space-efficient, inexpensive | Limits how much you can see |
Choosing the right option depends on your stash size and room. A small apartment crafter with fifty fat quarters does well with comic boards in a single clear bin. Someone managing multiple yards of bulk buying and storage strategies for upholstery projects needs rolling tubes and dedicated shelving.
Key storage principles:
Preferred storage tools include clear bins for visibility, narrow shelving for access, rolling storage for large pieces, and comic boards or magazine files for maintaining uniform folded shapes.
Pro Tip: Place a small square of the actual fabric on the outside of each bin or shelf section. Photos and written labels are helpful, but a physical swatch lets you assess color and texture at a glance without opening anything.
Now that everything has a place, the next step is making sure it stays findable and accounted for, both physically and on paper or digitally. This is the step most crafters skip, and it is exactly why their systems fall apart within a few months.
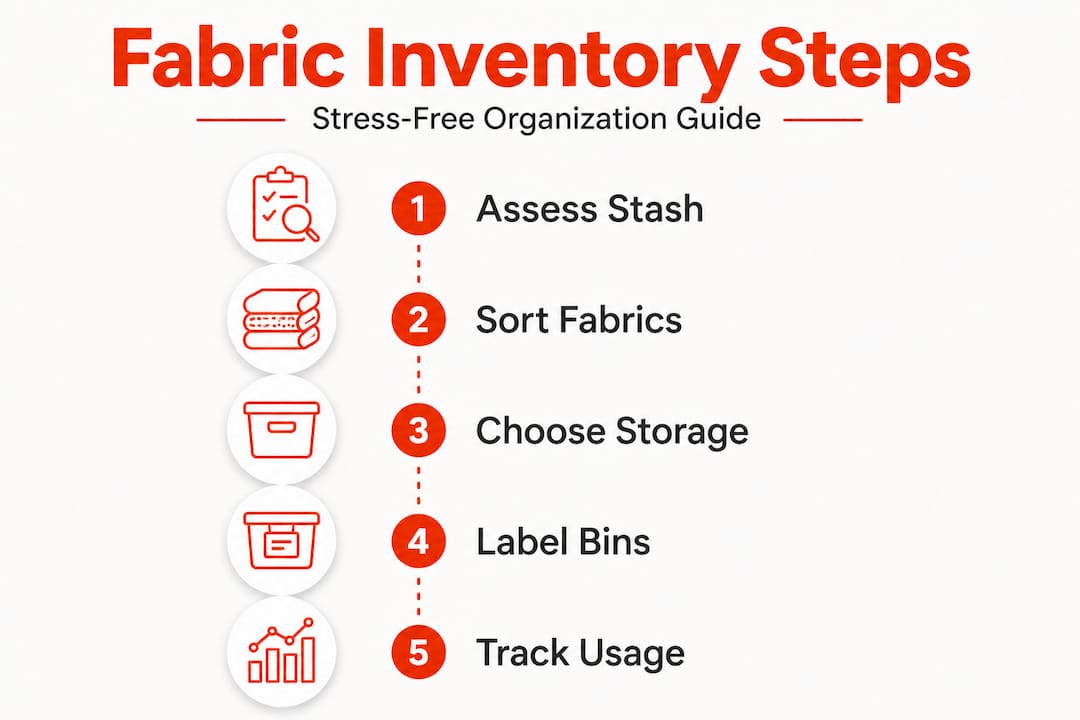
Good labeling is more than a name tag. You want each piece of fabric to carry enough information that someone (even future-you after a long break from crafting) could pick it up and know exactly what it is and what it is for. Experts recommend that you label each fabric or bin with fiber composition, yardage, width, care instructions, and purchase source.
Steps to build a reliable tracking system:
Staying consistent with fabric cost tracking tips also helps you budget smarter over time. If you ever sell your creations, a well-maintained log doubles as the foundation for a proper guide to tracking fabric for small businesses.
“Maintaining a physical or digital inventory tracker with swatches, whether a binder or spreadsheet, updated on each purchase and after every project, is the single most effective way to prevent waste and stay in control of your stash.” — My Golden Thimble
The tracker updated on purchase and reviewed after each project is what separates crafters who feel in control from those who constantly feel behind.
Having a system is only half the battle. Ongoing care is key to protecting your fabrics and keeping chaos at bay. A beautiful organization system can unravel in two months without simple routines.
Routine maintenance habits that actually work:
Protecting fabric from environmental damage is just as important as the organization itself. The biggest threats are light, moisture, dust, and pests. Protect fabric from light and pests by using closed cabinets, airtight bins with silica gel packs, and climate-controlled storage spaces. Direct sunlight fades even dark fabrics faster than you would expect. A piece of navy velvet left on an open shelf near a window can show noticeable color shift within a single season.
Scraps deserve their own system, not just a catch-all bin. Use color-sorted clear bins or see-through totes for scraps and small pieces, and bundle them by project when possible. A scrap system that mirrors your main organization makes it much easier to pull matching pieces for appliqué or patchwork without tearing through everything.
Also check for return and maintain fabric organization after any bulk or online purchase. Items that arrive in poor condition or are the wrong weight need to be dealt with immediately, not added to the stash to cause confusion later.
“The sewing room is a living workspace. Treat your fabric collection like a working inventory, not a museum, and it will serve you far better.” — Ageberry Sewing Room Guide
Here is the truth that most organization guides are afraid to say: there is no universally perfect system. The Pinterest-worthy sewing rooms with color-coded shelves and matching bins look stunning in photos, but they often reflect how someone wants their space to look rather than how they actually work.
No single system is perfect. Prioritizing visibility and workflow over pure aesthetics, and sorting by usage frequency rather than just color or type, consistently produces better results for real crafters working on real deadlines.
The crafters who maintain organized stashes long-term are not the ones with the most beautiful systems. They are the ones whose systems fit how they personally craft. If you tend to grab fabric by color instinct, a color-first system beats a type-first system for you, even if a quilting blog says otherwise. If you work on multiple projects at once, dedicated project bins matter more than perfect folding.
Tailoring your system to your actual workflow is what makes it stick. The goal is to spend less time managing your stash and more time creating with it.
Trial and error is not a sign of failure. It is the process. Start with the framework in this guide, live with it for two or three months, and then adjust based on where the friction actually shows up. The bin you keep ignoring, the category that keeps mixing with another one, the labels that nobody reads: these are useful clues. Let them guide your next iteration.
Pro Tip: Take a photo of your organized stash after each major reset. Comparing photos over time shows you exactly where the system works well and where it needs adjustment. It is honest feedback that costs nothing.
If your newly organized system has revealed gaps or the need to refresh your options, here is how to do it seamlessly. Organization reveals what you actually need, and there is no better time to shop than when you know exactly what is missing.

With a clear inventory in hand, you can shop with purpose instead of impulse. Browse our curated shop backdrop fabrics selection to find dramatic, high-quality options for photography, events, and theater projects. For refreshing your living spaces, our home decor fabric selection covers everything from linen blends to velvet and upholstery-weight options. At fabric-fabric.com, every product listing includes fiber content, usage suggestions, and care details, exactly the information you need to log a new purchase correctly the moment it arrives.
Update new fabric entries the day you purchase and review your inventory quarterly for best results. A tracker updated on purchase and reviewed after every project prevents gaps from building up over time.
Sort fabric scraps by color or project in clear bins or hanging organizers for easy access. Color-sorted clear bins and see-through totes work especially well for scraps you want to grab quickly for appliqué or patchwork work.
Use closed cabinets or store fabric away from direct sunlight to dramatically slow color loss. Protecting fabric from light with airtight bins and climate-controlled spaces also guards against moisture and pests at the same time.
A physical binder or handwritten tracker is often enough for hobbyists, so start simple and scale up only if your collection grows significantly. Physical binders and trackers work just as well as digital spreadsheets for most casual crafters who are not selling their finished pieces.