

 US Dollar

Press Every Seam First: Sewing Tips 2026 for Sewists
Posted by BLG on 2026 Sep 7th
Posted by BLG on 2026 Sep 7th

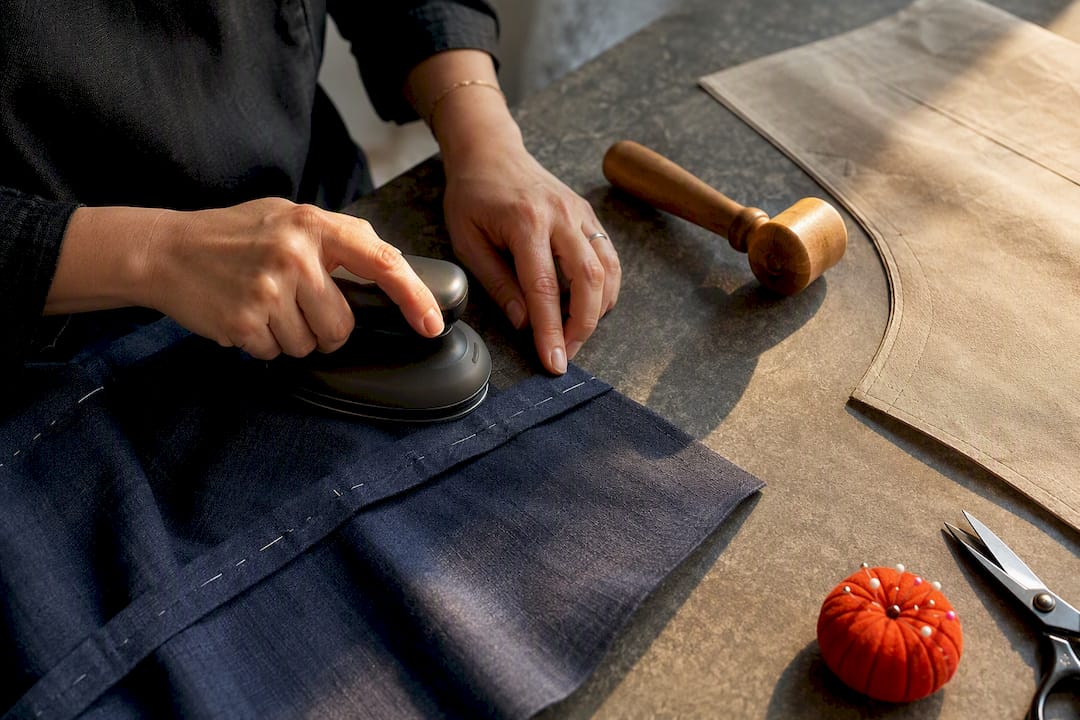
Fabric choice and one habit decide most of your results this year: match trend-right textures like velvet, bouclé, and satin crepe to the correct needle and presser foot, then press every seam as you go. Pre-wash natural fibers, swap needles per fabric weight, and never skip interim pressing. The prioritized, numbered breakdown below covers everything else.
TL;DR:
- Pre-wash natural fabrics to avoid shrinking issues that can alter garment fit after completion.
- Match your sewing needle and presser foot precisely to the fabric type for best seam quality and durability.
- Press every seam during construction to achieve a professional, store-bought appearance and prevent puckering.
- Use fabric-specific tools like walking feet and French seams to handle textured or slippery fabrics effectively.
- Keep detailed swatch cards for each fabric with notes on needle size and tension to streamline adjustments on future projects.
These are ranked by impact, not alphabetically. Work down the list in order if you’re short on time.
Pre-wash before you cut, always. Cotton and linen blends can shrink 3 to 5% on the first wash, and cutting before washing means your finished garment shrinks around your body instead of on the ironing board. Beginner-friendly.
Match your needle to the fabric, not the project. A universal needle mangles satin crepe and skips stitches on bouclé. Microtex for sheers, stretch needles for knits, and a 90/14 for heavier upholstery-weight textiles. Beginner-friendly.
Press as you sew, every single seam. This one habit separates homemade-looking projects from ones that look store-bought, because pressed seams read as intentional and finished rather than rushed. Beginner-friendly.
Buy a walking foot before you buy velvet. Pile fabrics shift under a standard presser foot, and a walking foot feeds top and bottom layers evenly so your nap doesn’t creep. Intermediate.
French-seam your sheers. Chiffon and other sheers show raw edges through the fabric, so a French seam encases the raw edge twice and disappears into the drape. Intermediate.
Cut slippery fabrics on tissue paper. Satin crepe and other slick synthetics slide around on a cutting table. Sandwiching the fabric between two sheets of tissue paper keeps it stable through the scissors or rotary cutter. Beginner-friendly.
Test your tension on a fabric scrap, not your project. Every fabric weight pulls thread differently. Two minutes on a scrap saves an hour of unpicking. Beginner-friendly.
Reduce presser foot pressure on pile and plush fabrics. Full pressure crushes velvet and bouclé loops permanently. Most machines let you dial this down manually. Intermediate.
Keep a sample swatch card for every fabric you buy. Note the needle size, tension setting, and a pressed test seam right on the card. It sounds fussy until you’re three projects deep and can’t remember what worked.
Finish seams before you forget which fabric frays. Bouclé and loosely woven linen blends shed at the edges almost immediately. Serge, zigzag, or pink the edges before you set the piece aside. Beginner-friendly.
Use a smaller stitch length on sheers and satins. A 1.5 to 2mm stitch length reduces puckering on delicate weaves far more reliably than adjusting tension alone. Intermediate.
Cut pile fabrics in a single direction. Velvet has a nap, and panels cut in opposite directions catch light differently, making the finished piece look mismatched even when the seams are perfect. Intermediate.
Buy a quarter yard more than the pattern calls for on directional fabrics. Bouclé, velvet, and any print with a clear pattern repeat eat extra fabric during layout. Beginner-friendly.
Baste before you commit on structured or bonded fabrics. A quick hand or machine baste catches fit problems while they’re still cheap to fix.
Pro Tip: Batch your pressing. Instead of stopping to press after every single seam on a multi-piece project, sew all seams that don’t cross each other first, then press them in one pass. You save trips to the ironing board without sacrificing the crisp finish pressing gives you.
Runway and industry coverage for 2025 points toward tactile, textured fabrics and a maximalist, loud luxury styling built on saturated earth tones and bold accent details. Translation for your sewing table: this is the year to stop apologizing for bold prints and heavy textures. Runway maximalism gives home sewists permission to reach for upholstery-style fabrics for statement pieces, provided you handle them differently than a quilting cotton.
Fabrics and colors worth stocking:
Three projects that fit the moment: a bouclé cropped jacket for a first structured-garment attempt, a satin crepe slip skirt for practicing slippery-fabric handling, and a velvet throw pillow set that lets you test pile techniques before committing to a full garment. Check current fabric trend roundups for seasonal color updates.
Each of these fabrics fights back if you treat it like quilting cotton. Here’s what actually works.
Statistic Callout: Natural fibers like organic cotton and linen commonly shrink 3 to 5% on their first wash. Skipping the pre-wash step on a yard of fabric can quietly cost you nearly two extra inches per yard once the garment is finished and laundered.
Skip the machine with 200 stitches you’ll never use. Testing and reviewer consensus consistently find that the best machines for most sewists prioritize intuitive controls, reliable straight and zigzag stitches, drop-in bobbins, and clear manuals over sheer stitch-library size. Machine testing protocols back this up, showing that stitch quality across different fabric weights and convenience features like a needle threader or one-step buttonhole matter more than how many decorative stitches a machine claims.
If your current projects are tote bags and pillow covers, buy a machine sized for that, not one built for tailoring wool coats. You can upgrade later once you know what you’re missing.
Six tools worth owning in 2025:
Big Four patterns (Simplicity, McCall’s, Butterick, Vogue) run cheaper and cover a wider range of styles, but their instructions can be terse. Indie patterns usually cost more per pattern but come with more detailed step-by-step instructions, sewalong videos, and active online communities, which shortens the learning curve considerably for anyone still building confidence.
If you’re newer to garment construction, starting with an indie pattern that has a sewalong attached will save you more frustration than the extra cost.
A simple first-fit workflow:
For structured garments like jackets, a look at how professional tailoring handles fit adjustments can clarify why muslins matter so much before cutting into an expensive bouclé.
GOTS certification means the fabric was grown and processed under organic and social standards from farm to finished textile. Oeko-Tex certification means the finished fabric tested free of harmful substance levels, regardless of how it was grown. Neither certification tells you how a fabric will sew, so pair certification checks with your own handling notes.
Before you buy yardage for anything beyond a scrap project, run through this:
Fabric-fabric’s own sourcing guide walks through this checklist in more depth if you’re stocking up for multiple projects at once.
The order you do things in matters as much as how well you sew each step. Cut on a clean, organized surface with your pattern pieces laid out before you touch scissors. Baste tricky seams before committing. Press every seam at each construction stage, not just at the end, since pressing during construction consistently produces cleaner, more professional results than pressing everything at once when you’re done.
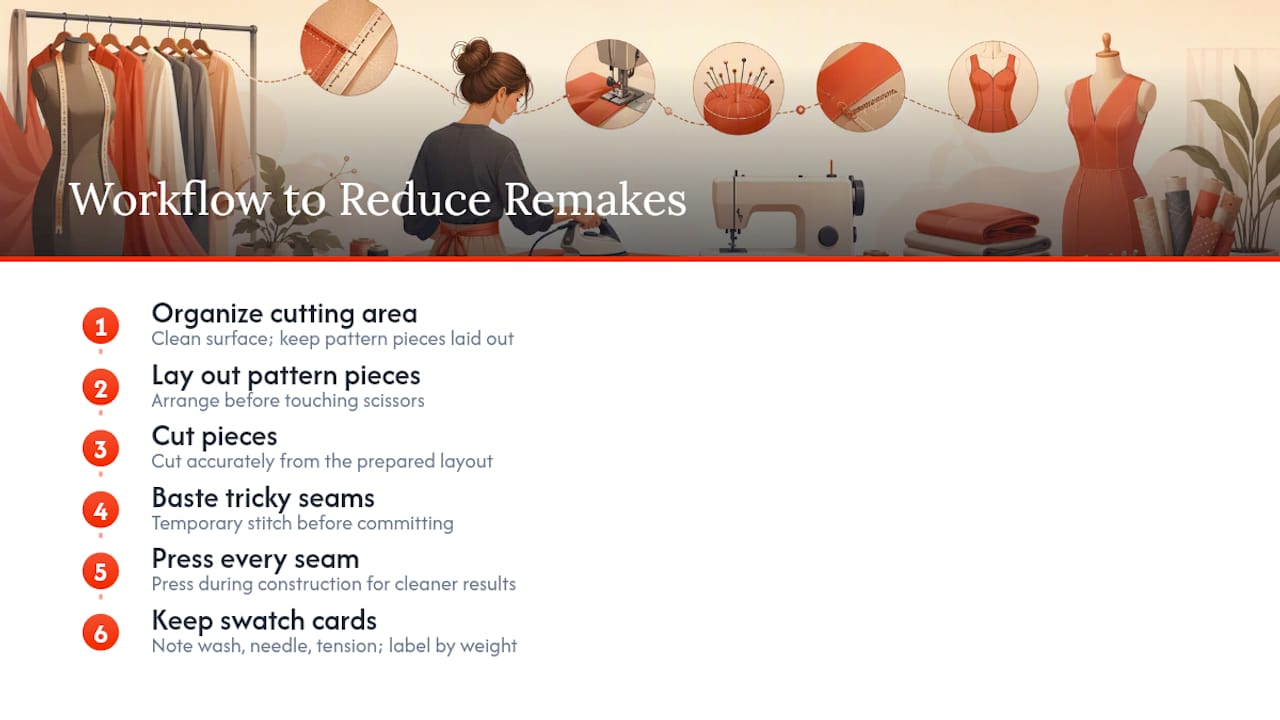
Keep a small sample swatch card for every fabric you order, noting the washing method, needle size, tension baseline, and a pressed test seam. This habit saves real adjustment time on your first full run at a new fabric. For a deeper look at organizing projects this way, Fabric-fabric’s textile design workflow guide and the velvet-specific tutorial both walk through it step by step.
Pro Tip: Label your swatch cards by fabric weight, not by color. When you’re hunting for “what needle did I use for satin crepe,” weight-based sorting gets you there faster than flipping through cards organized by hue.
Run this three-step check before you touch a single setting: check the needle first (is it new, is it the right type), then check the thread path (is it seated correctly, is the bobbin wound evenly), then check tension and feeding last.
Maintenance checklist: clean lint from the bobbin area after every project, change needles every 8 to 10 hours of sewing, and oil your machine per its manual on a regular schedule.
For step-by-step guidance on the beginner tier, Fabric-fabric’s beginner project guide breaks down yardage and pattern choices further.
Speed has never been the point of sewing your own clothes. The sewists getting the best results this year are the ones treating each fabric like it has its own personality: testing scraps, keeping swatch notes, and choosing one or two trend-right fabrics to really learn instead of rushing through five mediocre projects. That habit compounds fast. Read the fabric-specific tutorials linked throughout this piece before you cut into anything expensive, and let your swatch card do the remembering so you don’t have to.
— kev
Every technique above depends on starting with the right fabric, and reliable fabric retailers provide detailed fabric descriptions and usage notes upfront, so you’re not guessing whether a listing is actually velvet-weight or a thin imitation. If you’re building toward one of the statement pieces covered here, browse the home decor fabric category for bouclé, velvet, and faux suede by the yard, or check backdrop fabrics for heavier, textured options suited to structured garments and upholstery-style projects. Order a sample swatch before committing to yardage on anything unfamiliar. It costs less than a wasted cut and tells you exactly how the fabric presses, feeds, and drapes before you spend on the full amount.