

 US Dollar
Mastering Apparel Sewing Workflow for Flawless Garments
Posted by BLG on 2026 Feb 16th
Posted by BLG on 2026 Feb 16th


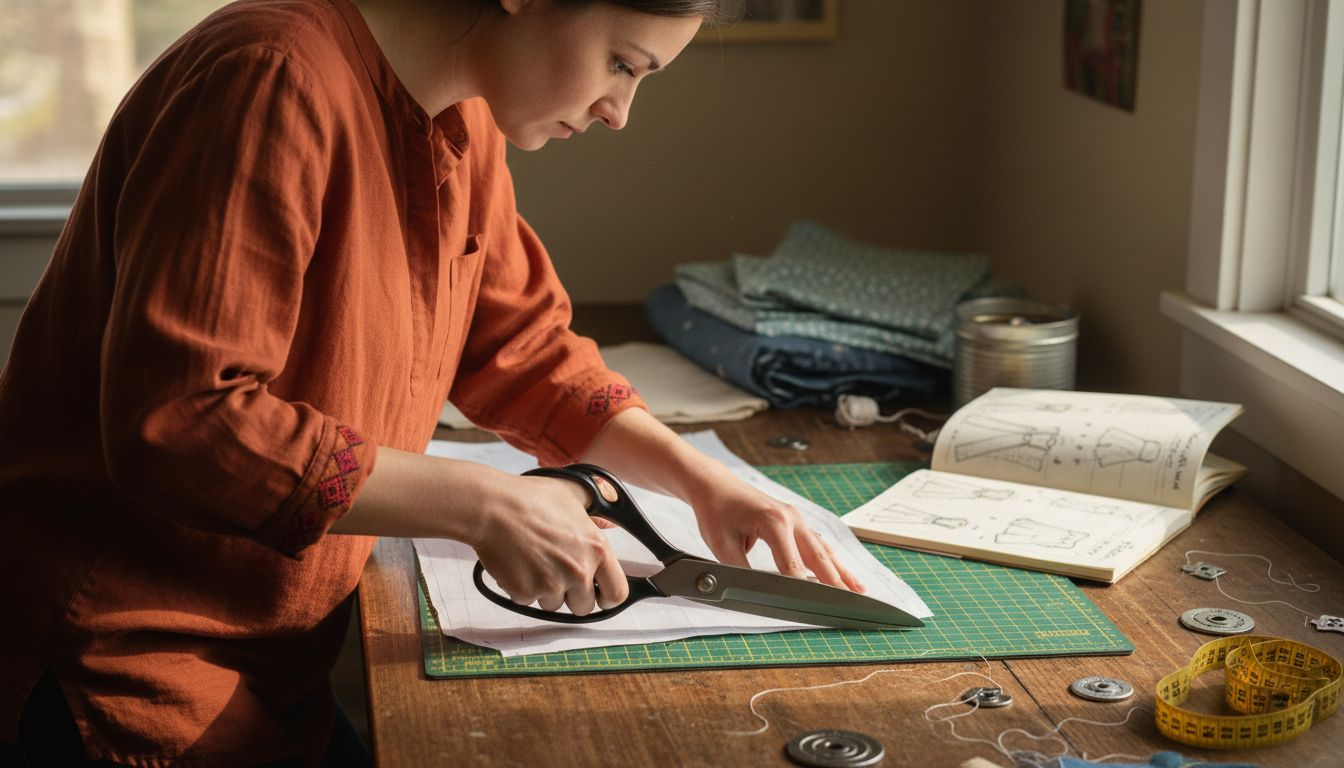
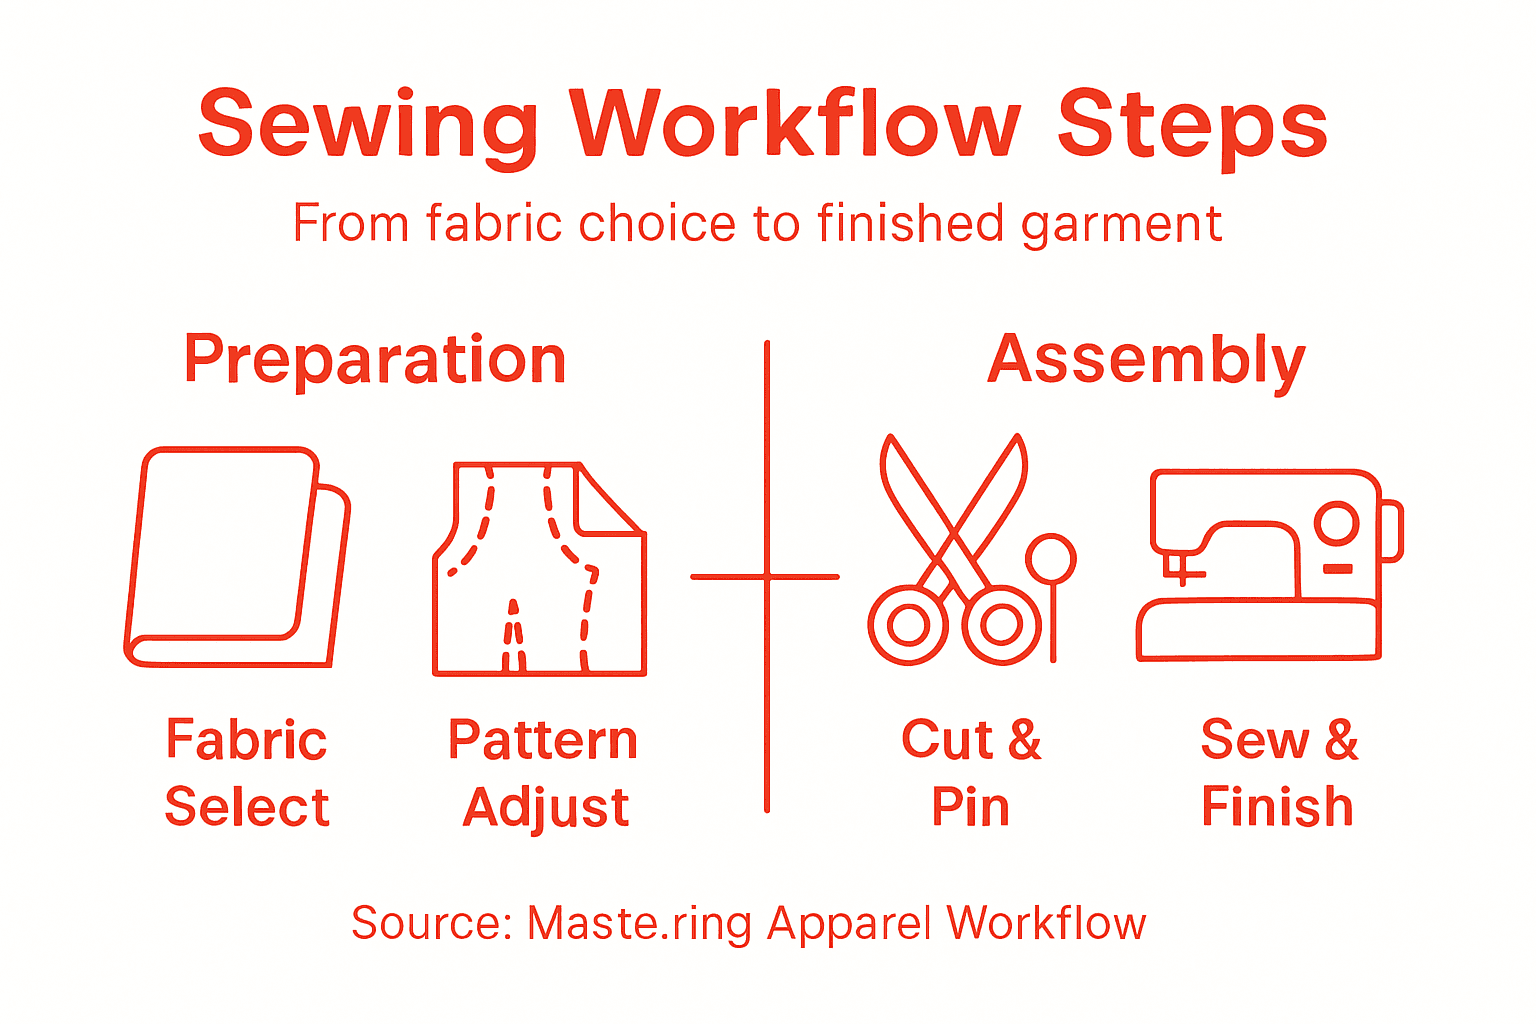
Choosing fabric for a new project can feel overwhelming when every bolt offers a different promise. For American sewists, finding the right material is just the first step toward making garments that look and feel great. This guide walks through five critical stages, from fabric selection and pattern adjustment to precise cutting and professional finishing, highlighting ways to achieve flawless results while tackling common fabric sourcing hurdles. Boldly focusing on understanding fabric characteristics ensures every step improves your sewing workflow.
| Key Point | Explanation |
|---|---|
| 1. Choose the Right Fabric | Your fabric affects comfort, durability, and overall appearance, so understand the characteristics of each type before selecting. |
| 2. Adjust Patterns for a Perfect Fit | Take accurate measurements and be prepared to modify patterns based on your body shape and preferences to ensure the best fit. |
| 3. Use Proper Cutting Techniques | A clean, precise cutting process is essential for a polished garment; ensure alignment and accuracy when cutting your fabric. |
| 4. Follow Assembly Instructions Carefully | Organize your pieces and pay attention to the sequence of sewing steps to achieve a professional appearance in your finished garment. |
| 5. Test Fit and Make Adjustments | Try on your garment to assess its fit and comfort; make necessary adjustments before finalizing for the best results. |
Sewing a perfect garment begins with selecting the right fabric. Your fabric choice determines not just the aesthetic appeal but also the comfort, durability, and overall performance of your final piece. Understanding fabric characteristics is crucial for achieving professional-looking results.
To select the perfect fabric, consider several key factors that impact your garment’s quality and wearability. Start by examining the fabric’s fiber composition, weight, drape, and stretch. Natural fibers like cotton and silk offer breathability and comfort, while synthetic materials provide durability and wrinkle resistance. Look for fabrics that complement your garment’s design and intended use.
Once you’ve selected your fabric, proper preparation is essential. Prewash your fabric to prevent shrinkage and color bleeding after garment construction. Straighten the fabric grain by gently pulling and aligning threads, ensuring precise cutting and professional-looking seams.
Here’s how common fabric fibers compare for garment sewing:
| Fiber Type | Comfort Level | Durability | Care Difficulty |
|---|---|---|---|
| Cotton | Highly breathable | Moderate with wear | Easy; machine wash |
| Silk | Smooth, luxurious | Moderate delicacy | Hand wash preferred |
| Polyester | Less breathable | Very durable | Easy; wrinkle-free |
| Wool | Warm, soft | Long-lasting | Dry clean preferred |
| Linen | Cool, crisp | Moderate; wrinkles | Easy; iron needed |
Pro tip: Always purchase slightly more fabric than your pattern recommends to account for potential mistakes or pattern matching.
Selecting the right pattern is a crucial step in creating a garment that fits perfectly and looks professional. Pattern making techniques require careful consideration of body measurements, design preferences, and fabric characteristics.
Begin by choosing a pattern that matches your skill level and desired garment style. Carefully examine the pattern envelope for detailed information about sizing, recommended fabrics, and difficulty level. Most commercial patterns include multiple size ranges, so take precise body measurements to select the most appropriate size.
To customize the fit, learn basic pattern adjustments like:
Muslin Fitting: Creating a test garment helps you identify and correct potential fit problems before cutting your final fabric. This step saves time and prevents costly mistakes in your final garment construction.
The table below summarizes when to use a muslin test garment versus cutting directly:
| Approach | Best For | Time Required | Error Risk |
|---|---|---|---|
| Muslin Test Garment | Custom fits, new patterns | Higher | Low; easy to fix |
| Direct Cutting | Simple, familiar projects | Lower | Higher; less safe |
Pro tip: Always keep your original pattern intact by tracing adjustments onto separate pattern paper, preserving the original for future use.
Precise fabric layout and cutting are fundamental to creating professional-looking garments. Fabric preparation techniques require careful attention to grain, pattern alignment, and cutting precision to ensure your final garment looks polished and fits perfectly.
Start by preparing a large, clean, flat surface that allows you to spread your fabric completely. Ensure your fabric is wrinkle-free by pressing it beforehand, which helps maintain accurate cutting lines. Fold the fabric according to the pattern instructions, typically along the grainline, which helps maintain the fabric’s natural drape and prevents distortion.
When positioning pattern pieces, consider these strategic approaches:
Accurate cutting is the foundation of a well-constructed garment. Take your time and cut deliberately.
Cutting Techniques: Use long, smooth cutting motions with sharp fabric scissors or rotary cutters. Avoid lifting the fabric while cutting, which can cause slight shifts and inaccuracies.
Pro tip: Invest in a large cutting mat and use pattern weights to keep fabric stable during cutting, ensuring more precise and consistent results.
Successful garment assembly transforms separate fabric pieces into a cohesive, professional-looking outfit. Garment assembly techniques require precision, patience, and strategic sewing approaches to ensure a polished final product.
Begin by organizing your pattern pieces and preparing your sewing machine with the appropriate needle and thread for your fabric type. Carefully review the pattern instructions to understand the recommended assembly sequence. Start with major structural elements like darts, seams, and primary garment sections before moving to more detailed components.
Key assembly steps include:
Precision in each sewing step builds the foundation of a well-constructed garment.
Sewing Techniques: Use a straight stitch for most seams, adjusting stitch length based on fabric weight. For stretch fabrics, consider using a zigzag or serger stitch to allow fabric movement.
Pro tip: Keep a seam ripper nearby and practice patience. Sometimes removing and resewing a seam leads to a much better final result.
The final stage of garment creation involves carefully evaluating your work to ensure professional-looking results. Garment fitting techniques require systematic checking of critical areas to achieve a polished, well-constructed piece.
Begin by trying on the garment and moving through a range of motions to assess overall comfort and fit. Pay close attention to key areas that often need adjustment, such as shoulder seams, armholes, neckline, and waistline. Use a full-length mirror or ask a trusted friend to help you evaluate the garment from multiple angles.
Critical fitting checks include:
A well-fitted garment looks effortless and feels comfortable in every position.
Finishing Touches: Carefully press all seams and edges. Trim any loose threads and ensure all stitching is secure and even. Make small adjustments as needed to achieve a professional appearance.
Pro tip: Always keep a few extra pins and a seam ripper handy during final fitting, allowing you to make quick, precise adjustments.
Mastering apparel sewing requires precision in fabric choice, accurate cutting, and professional assembly techniques. This article highlights common challenges such as selecting the ideal fabric, adjusting patterns for fit, and perfecting garment finishing details. If you want to transform your sewing workflow and create flawless garments every time, having access to the right materials and accessories is essential.

Discover a wide selection of premium textiles and sewing essentials at fabric-fabric.com. From luxurious fabrics suited for your custom patterns to essential accessories like sewing scissors and buttons, our collection supports every stage of your apparel creation process. Act now to benefit from seasonal specials and build your dream wardrobe with confidence.
Start mastering your garment projects today by exploring quality fabrics and tools at fabric-fabric.com. Your flawless garment awaits.
Choosing the right fabric involves evaluating its fiber composition, weight, stretch, and texture. Assess how these characteristics will affect the comfort and durability of your final piece, and always consider the type of garment you are creating.
To verify the fit, compare your precise body measurements to the pattern size chart and check the finished garment measurements included on the pattern envelope. If necessary, create a muslin test garment to identify any potential fit issues before cutting your final fabric.
Start by laying your fabric flat on a clean surface, ensuring it is wrinkle-free. Carefully pin the pattern pieces in place and use sharp scissors for long, even cuts, checking the fabric grain to maintain accuracy in the layout.
Begin by organizing your pattern pieces and following the recommended assembly sequence in your pattern instructions. Focus on sewing major structural elements first, ensuring to check seam allowances, pin carefully, and press seams for a neat final appearance.
If your garment does not fit well, try it on and examine key areas such as the shoulders and waistline. Make adjustments as needed, such as taking in seams or altering length, and consider re-pressing seams for refinement after making corrections.
After completing your garment, try it on to assess fit and comfort while moving. Check for even stitching, secure seams, and uniform drape, and perform final pressing to enhance its overall presentation before considering it complete.