

 US Dollar
Step by Step Sewing Guide for Beginners and DIY Projects
Posted by BLG on 2026 Feb 9th
Posted by BLG on 2026 Feb 9th

Starting a sewing project can feel overwhelming when faced with a variety of fabrics and tools in your workspace. Understanding the basics, like how to select the right material and assemble a reliable toolkit, is the foundation for confident sewing. With guidance from comprehensive sewing resources, you will learn how to identify the essential supplies and handle fabrics to achieve professional results. This approach equips you to make informed choices and build skills for every stage of your project.
| Key Point | Explanation |
|---|---|
| 1. Choose the Right Fabric | Consider fiber content, weight, and durability to match your project’s requirements before purchasing fabric. |
| 2. Measure Fabric Accurately | Ensure precise fabric preparation by washing, aligning, and pressing fabric to create a smooth, flat surface for cutting. |
| 3. Use Proper Cutting Techniques | Select appropriate cutting tools based on fabric type and apply consistent, smooth motion for clean, even edges. |
| 4. Select Suitable Seam Types | Choose the right seam techniques that correspond with the fabric’s characteristics for durability and appearance in your garments. |
| 5. Press for Professional Finish | Use correct pressing techniques for different fabrics to elevate your project’s quality and achieve a polished look. |
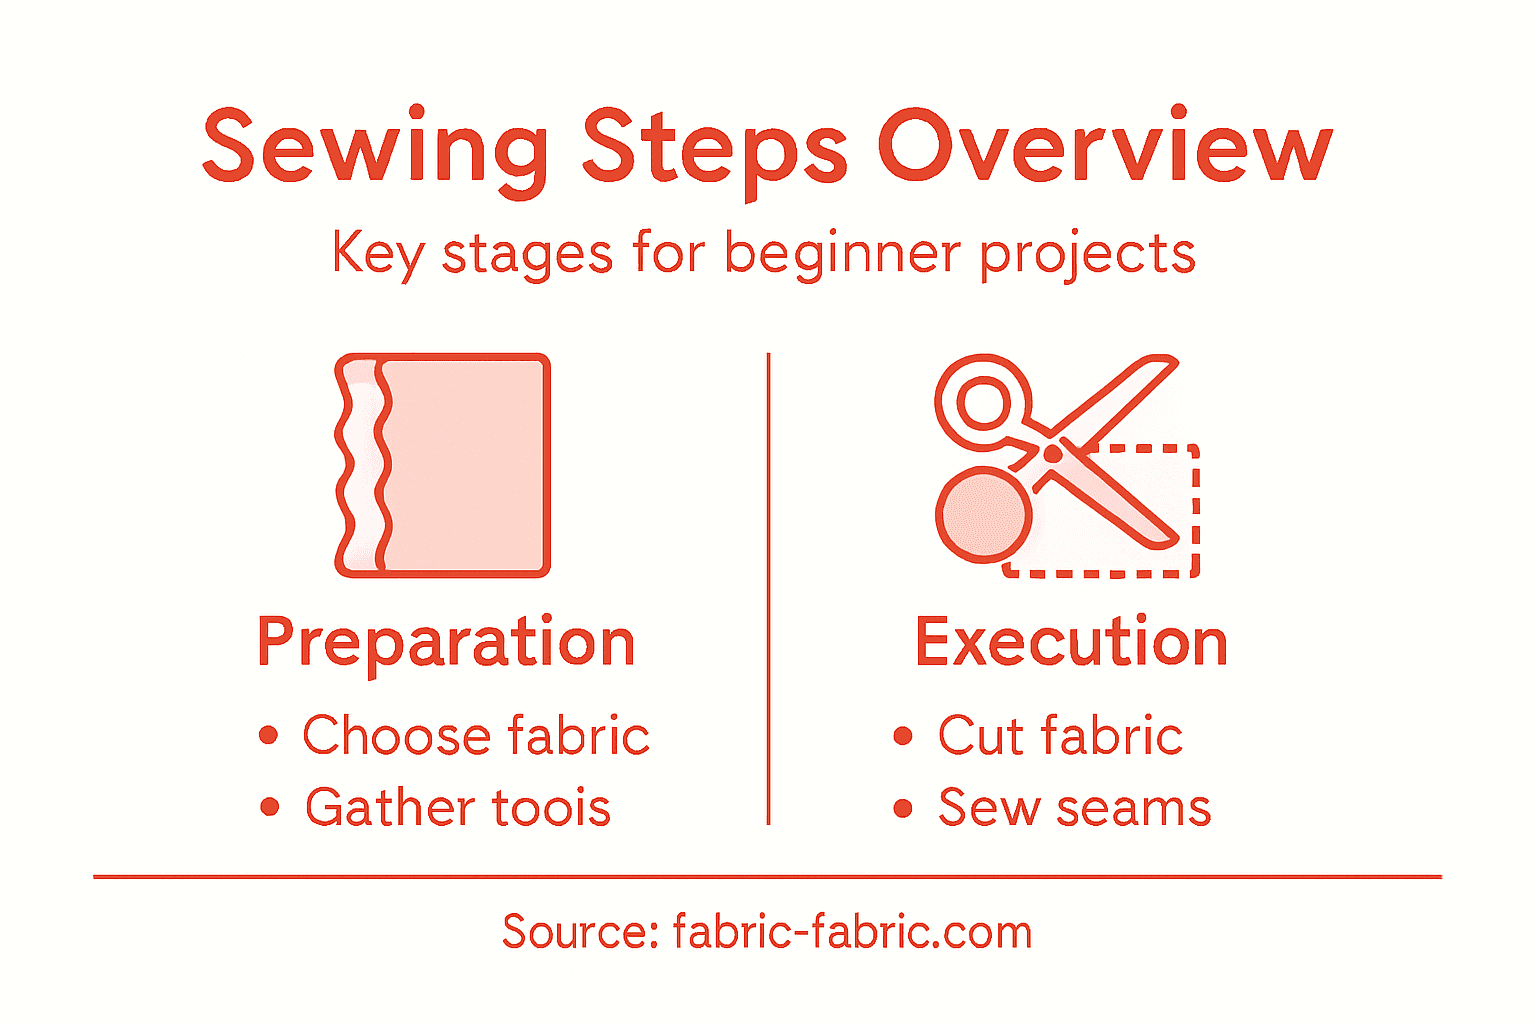
Starting your sewing journey requires selecting the right fabrics and collecting essential tools that will set you up for success. Comprehensive sewing guidelines emphasize the importance of understanding fabric characteristics and preparing a well-organized sewing toolkit before beginning any project.
Choosing the perfect fabric involves considering several critical factors. Look for materials that match your specific project requirements while considering weight, texture, and durability. Here are key considerations for fabric selection:
Your basic sewing toolkit should include these fundamental supplies:
Professional sewists always invest in high-quality tools that will serve them across multiple projects.
When selecting fabrics, pay attention to how different materials behave. Lightweight cotton works great for summer dresses, while denim provides durability for structured jackets. Experiment with various textures and weights to understand their unique characteristics.

Here is a comparison of common fabric types and their typical uses to help guide your selection:
| Fabric Type | Characteristic | Best For |
|---|---|---|
| Cotton | Breathable and easy to sew | Summer garments, shirts |
| Silk | Soft with natural sheen | Blouses, linings |
| Denim | Heavy and durable | Jeans, jackets |
| Polyester | Wrinkle-resistant, strong | Everyday wear, sports |
Pro tip: Purchase small fabric swatches to test compatibility with your sewing machine and project requirements before committing to large fabric purchases.
Preparing and measuring fabric accurately is crucial for creating professional-looking sewing projects. Fabric preparation guidelines emphasize the importance of understanding fabric grain, proper layout, and precise measurement techniques before cutting.
Before you start cutting, you’ll need to straighten your fabric and ensure it’s ready for your project. Follow these essential preparation steps:
Measuring fabric requires precision and the right tools. Here are the key steps for accurate measurement:
Accurate fabric preparation is the foundation of any successful sewing project.
When measuring, pay special attention to the fabric grain. Fabric that isn’t cut on the correct grain can cause garments to hang improperly or twist during wear. Take your time and double-check all measurements before cutting.
Pro tip: Invest in a large self-healing cutting mat to protect your work surface and ensure more precise measurements.
Cutting fabric is a critical skill that can make or break your sewing project. Fabric cutting techniques require precision, patience, and the right tools to ensure professional-looking results.
Choosing the appropriate cutting tools is your first step to success. Different fabrics demand different approaches:
Prepare your cutting surface and tools with these essential steps:
Precision in cutting determines the quality of your final garment.
When cutting, always move your cutting tool smoothly and confidently. Hesitation can lead to jagged edges or uneven cuts. For rotary cutters, use a steady, continuous motion with light pressure to maintain smooth lines.
Pro tip: Invest in a fresh blade for your cutting tool before starting any significant project to ensure the cleanest possible cuts.
Sewing seams is the critical process that transforms individual fabric pieces into a cohesive garment. Seam techniques from classic dressmaking reveal the nuanced art of joining fabric pieces with precision and care.
Choosing the right seam type depends on your fabric and project requirements. Here are the most common seam techniques:
To create professional-looking seams, follow these essential steps:
A well-executed seam is the hallmark of quality craftsmanship.
Maintaining consistent seam allowance is crucial. Most patterns specify a standard 5/8-inch seam allowance, but always double-check your specific project requirements. Take your time and sew slowly to ensure straight, even lines.
This table summarizes essential differences between seam types and their applications:
| Seam Type | Main Feature | Common Application |
|---|---|---|
| Straight Seam | Basic and strong | Woven fabrics |
| French Seam | Encloses raw edges | Lightweight fabrics |
| Flat-Felled | Super durable, flat finish | Denim and outerwear |
| Zigzag Seam | Flexible finish | Stretch fabrics |
Pro tip: Practice seam techniques on scrap fabric to build muscle memory and confidence before working on your main project.
Pressing transforms a good sewing project into a professional-looking masterpiece. Seam finishes and pressing techniques are critical for achieving a polished, refined result in your handmade garments.
Proper pressing requires specific techniques for different fabric types and seam styles:
Follow these essential pressing steps to elevate your project:
Precision in pressing is as important as precision in sewing.
Understand that each fabric type requires unique handling. Silk needs a lightweight touch, while denim tolerates more aggressive pressing. Always test on a scrap piece first to ensure your technique works perfectly.
Pro tip: Invest in a tailor’s ham and sleeve roll to help press curved seams and hard-to-reach areas with professional precision.
Starting your sewing journey can feel overwhelming when trying to find the perfect fabrics and essential tools to bring your creations to life. This guide breaks down important concepts like fabric selection, precise measuring, cutting techniques, and seam finishes so you can sew with confidence. But even the best techniques need quality supplies to truly shine.

Discover an extensive collection of fabrics tailored to every need at fabric-fabric.com. Whether you are working on apparel, home decor, or craft projects, find everything from breathable cotton and luxurious silk to durable denim and wrinkle-resistant polyester. Don’t forget to equip yourself with professional Sewing Scissors for clean cuts and essential Buttons to complete your custom designs. Start now and transform your beginner steps into expert craftsmanship with the right materials and tools available at your fingertips.
Choosing the right fabric involves considering factors such as fiber content, weight, texture, and intended use. Start by selecting materials that are easy to work with, like cotton for beginners, and test small swatches to ensure compatibility with your sewing machine.
Your basic sewing toolkit should include sharp fabric scissors, a measuring tape, fabric marking tools, pins, a seam ripper, quality sewing thread, and appropriate needles. Gather these items before you begin to ensure you have everything on hand for your projects.
To prepare fabric, wash and press it to remove sizing and prevent shrinkage. Ensure the fabric is flat, check for grain alignment, and iron out any wrinkles for accurate measurements and cuts.
For accurate cutting, use a sharp rotary cutter or fabric shears, and ensure the fabric is completely flat on a clean surface. Pin pattern pieces securely to avoid shifting, and check the grain line alignment before cutting to maintain precision.
To sew professional-looking seams, choose the appropriate seam type for your fabric and maintain a consistent seam allowance, usually 5/8 inch. Pin pieces together carefully, sew with steady tension, and press seams open or to one side for a neat finish.
Use low heat for synthetic fabrics, medium heat for cotton and linen, and be gentle with delicate materials. Press seams without sliding the iron to avoid distortion, and always test on a scrap piece first to determine the best technique for your fabric.