

 US Dollar

Your 2025 Textile Design Workflow for Hobby Sewists
Posted by BLG on 2026 Aug 13th
Posted by BLG on 2026 Aug 13th

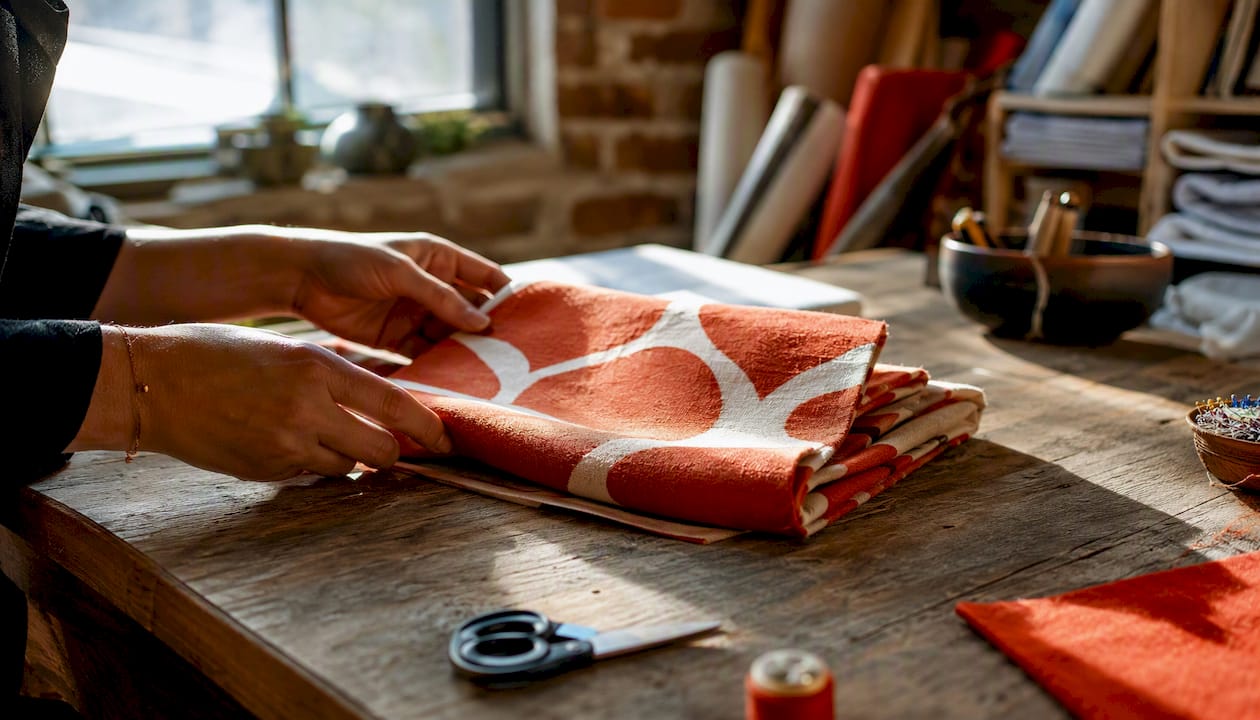
The practical fabric-project workflow for hobby sewists in 2025 runs in one repeatable sequence: Plan → Choose fabric → Order (North America first) → Decide prep → Cut → Sew → Finish → Document. Get the prep decision right and most finish-stage problems disappear. Your core deliverables at the end of each project should include a fabric brief, a swatch test result, a yardage plan, a cut map, and a project page in your planner.
A project-first workflow with accurate prep and a Quilter’s Command Center binder prevents most finish-stage problems and keeps multiple projects moving without confusion.
| Point | Details |
|---|---|
| Start with a fabric brief | Write fiber, weight, width, and end-use requirements before shopping to avoid impulse buys. |
| Match prep to project risk | Full wash-dry-press for quilt tops and baby items; press-only is fine for display pieces. |
| Add repeat and waste allowances | Add one full repeat per cut piece for matching, plus a 10% buffer for seam waste and squaring. |
| Buy North America first | Domestic sources reduce duties, currency surprises, and customs delays on hobby orders. |
| Fabric-fabric for project yardage | Browse home decor and backdrop fabrics with usage notes and order swatches before committing. |
The modern textile workflow is not complicated. Each step produces one concrete artifact, and that artifact feeds the next step. Skip one and you are guessing.
Plan. Write a one-paragraph project brief: finished dimensions, end use, wash frequency, and any stretch or drape requirement. This becomes your fabric brief.
Choose fabric. Match fiber, weight, and weave to the brief before you fall in love with a color. Request a swatch when ordering online.
Order. Confirm lead time, sample policy, and return rules before you pay. North America sources ship faster and skip import duties.
Decide prep. Use the decision framework in Section 4. For quilt tops and baby items, always choose full wash-dry-press. For display pieces, press-only is fine.
Cut. Square the fabric, mark grain lines, and follow your cut map. Label every piece before you move it.
Sew. Check machine tension and thread color before the first seam. Back up seam allowances on stress points.
Finish and document. Press seams, trim threads, and photograph the finished piece. Log yardage used, prep notes, and any changes to the pattern in your project page.
Pro Tip: Write the project brief before you shop. Knowing the end use in writing stops impulse buys that sit in your stash for years.
Start with function, not color. A quilt top that gets washed weekly needs a different fiber than a wall hanging that never sees a machine. Translate your project brief into five criteria: fiber, weave structure, weight (GSM or oz/yd²), width, and surface finish.
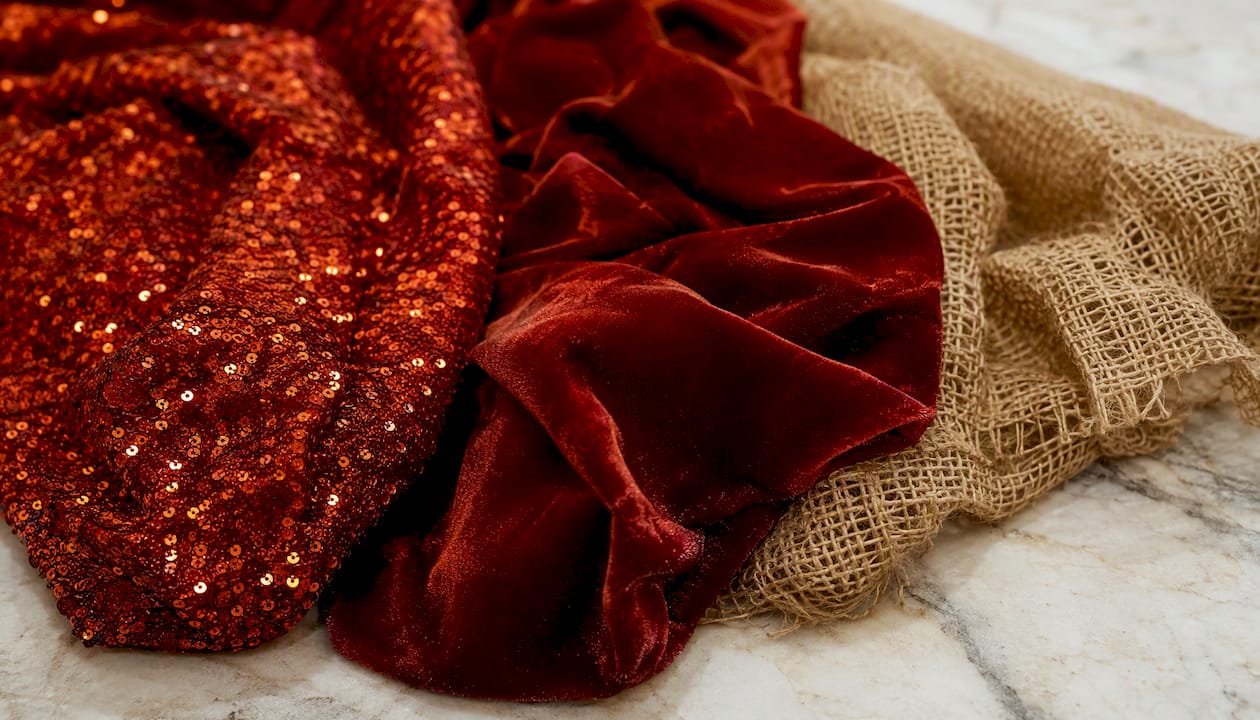
For most beginner garments and quilt tops, a medium-weight stable woven in the 4–8 oz/yd² range handles well and presses cleanly. Heavier upholstery fabrics run 10–14 oz/yd² and need a walking foot. Sheer fabrics under 3 oz/yd² require stay-stitching at every raw edge before you do anything else.
Professionals use a five-item fabric brief that records fiber, weave, GSM, durability (double rubs for upholstery), and finish. You can estimate GSM yourself: cut a 10×10 cm square, weigh it in grams, and multiply by 100. That number tells you whether the bolt matches what the listing claims.
Directional prints and large repeats add yardage. For example, a 6-inch repeat on a 44-inch-wide bolt can add a full yard to a simple quilt top once you account for matching. Nap fabrics (velvet, corduroy, brushed flannel) require all pieces cut in the same direction, which effectively reduces your usable yardage noticeably.
| Project type | Fiber | Weight range | Width note |
|---|---|---|---|
| Quilt top | 100% cotton | 4–6 oz/yd² | 44" standard; check for shrinkage |
| Casual garment | Cotton, linen blend | 4–8 oz/yd² | 58–60" saves yardage |
| Upholstery accent | Woven poly or cotton duck | 10–14 oz/yd² | 54" standard; check double rubs |
| Home decor (drapery) | Linen, cotton-linen | 6–10 oz/yd² | 54–60" preferred |
| Baby item | Prewashed cotton, flannel | 4–5 oz/yd² | Confirm colorfastness |
Pro Tip: After prewashing, spray the fabric lightly with spray starch and press it before cutting. The stiffness returns, your rotary cuts stay true, and bias edges stop stretching under the ruler.
The lowest-risk prep that still protects the finished piece is the right choice. Prewashing cotton removes manufacturing chemicals, relaxes the weave, and prevents dye bleed in the finished quilt. Skip it on a display piece and you save an hour. Skip it on a baby quilt and you risk a shrunken, bleeding disaster after the first wash.
Use this table to pick your route:
| Prep choice | Best for | Why it works | Watch out for |
|---|---|---|---|
| Press-only | Display quilts, samples, low-wash items | Preserves sizing and stiffness for precise cutting | Any future washing will shrink and bleed |
| Swatch test | New fabric, uncertain dye lots, mixed fibers | Low effort; flags problems before committing yardage | Only tests a small sample; full bolt may vary |
| Full wash-dry-press | Quilt tops, baby items, garments, borders | Removes chemicals, preshrinks, confirms colorfastness | Fabric softens; use starch to restore cutting stiffness |
Quilt tops, borders, and baby items always warrant a full wash-dry-press. Display pieces and samples can go press-only.
Swatch test protocol (numbered steps):
For delicate or loosely woven fabrics, stay-stitch raw edges 1–1.5 mm from the cut before washing, and use a mesh laundry bag to prevent fraying and distortion.
Pro Tip: After a full prewash, press the fabric while it is still slightly damp, then apply a light coat of spray starch. You get the safety of a prewashed cloth with the crispness of fresh-off-the-bolt fabric.
Measure your pattern pieces first, then calculate yardage from bolt width and repeat. Buying from a bolt photo without doing the math is how you end up 18 inches short.
The core rule: add one full pattern repeat per cut piece when you need motif matching, plus a 10% buffer for seam waste and squaring.
Bolt width changes everything. Always re-run the math when you change bolt width.
The Sailrite fabric calculator handles irregular shapes and multi-panel projects well. Enter your piece dimensions, bolt width, and seam allowance, and it returns a yardage estimate with a waste factor. For quilts with many small pieces, a template-based layout on graph paper or a digital mockup tool catches placement errors before you cut.
Pro Tip: Add a sticky note to each fabric pull that lists the project name, required yardage, and cut pieces remaining. When you return to a half-cut project a week later, you will not have to re-measure everything.
Buy from North America sources first for hobby projects. Duties, international shipping fees, and currency conversion add unpredictable costs to overseas orders, and customs delays can push a weekend project into a month-long wait. Importing still makes sense for specialty fabrics not available domestically, but confirm total landed cost before you order.
Before paying any seller, confirm these five things:
Check customer photos in reviews, not just the product photo. Studio lighting routinely makes navy look black and sage look gray. For fabric sourcing tips specific to 2025, including supplier vetting and stash-building strategies, Fabric-fabric’s sourcing guide covers the North America market in detail.
Pro Tip: Order two swatches of any fabric you plan to use in quantity. Wash one and keep one unwashed. The comparison tells you exactly what the finished project will look and feel like.
A binder or digital kanban cuts decision friction on sew days. The Quilter’s Command Center concept from Patchwork Posse centralizes project planning, printable templates, and 90-day scheduling into one place, so you spend sew time sewing instead of hunting for notes.
Build your binder with these pages:
For a digital alternative, tools like Sewist Studio let you catalog your stash with photos, link fabrics to projects, and track yardage remaining. The kanban view works the same way as the physical binder but syncs across devices.
A short, consistent kit prevents mid-session stops. These are the items worth having ready before every cut-to-sew session:
Pre-session checklist: square the fabric grain, label all cut pieces immediately, set machine tension for the fabric weight, confirm thread color in natural light, and check that your needle is fresh. A dull needle on cotton causes skipped stitches that look like tension problems. For machine and accessory options, Sewing Machines Plus carries a wide range of machines and presser feet suited to quilting and garment work.
Store prepped yardage rolled around a cardboard tube with a paper label listing the project name, yardage remaining, and prep status. Precut stacks go into labeled zip bags. Both methods keep matching pieces together and prevent the “did I wash this?” question.
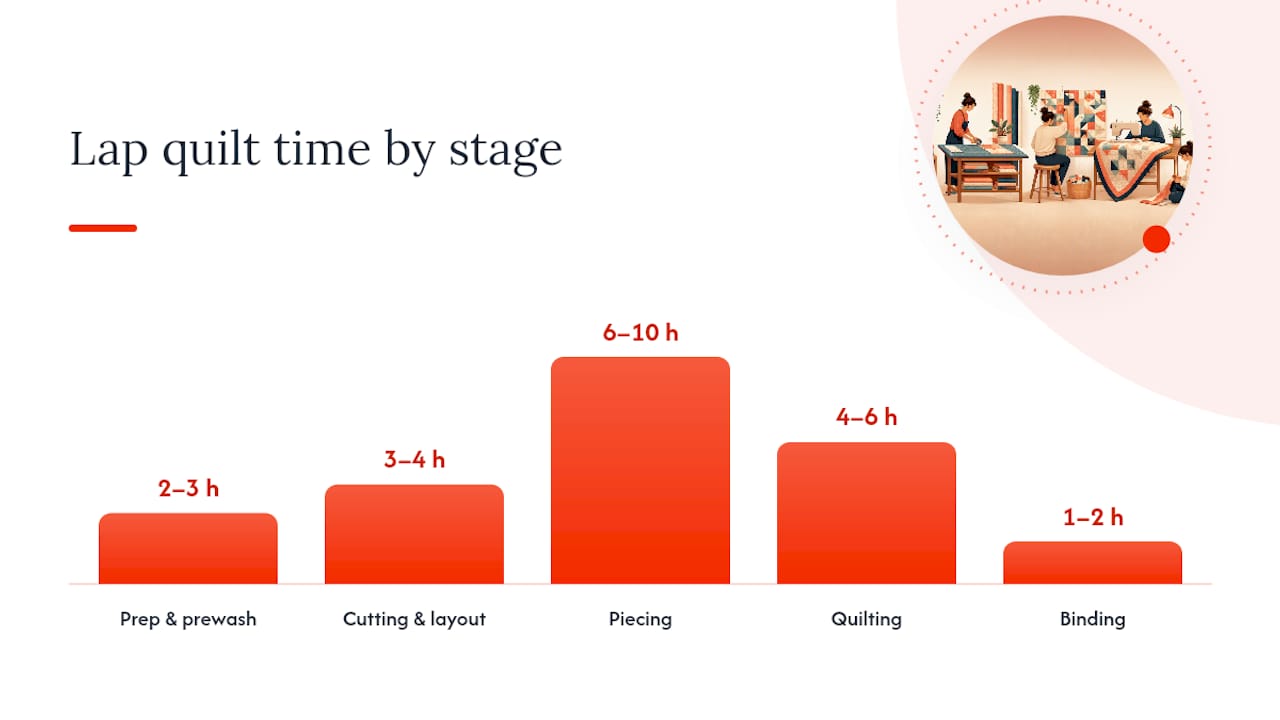
Plan the hours before you plan the fabric. A lap quilt takes roughly 2–3 hours of prep and prewash, 3–4 hours of cutting and layout, 6–10 hours of piecing, 4–6 hours of quilting, and 1–2 hours of binding. A simple garment runs 1–2 hours of prep and 4–8 hours of cutting and sewing depending on complexity.
Hidden costs catch most beginners off guard. Budget for:
Batching reduces time cost significantly. Prewash three projects’ worth of fabric in one load. Cut multiple projects in a single long session rather than setting up and breaking down the cutting mat daily. The setup time is the same whether you cut one project or three.
Pro Tip: Block a two-hour “prep day” at the start of each month. Wash, press, and starch your next three projects’ fabric in one session. Your sew days become pure sewing.
Most sewists I talk to have a stash and a list of projects they have been meaning to start. The workflow above is not about perfection. It is about removing the friction points that turn “I’ll start this weekend” into “maybe next month.”
The Quilter’s Command Center binder is the single habit that makes the biggest difference. Once your project pages and swatch logs are in one place, you stop re-deciding the same questions every time you sit down. The prep decision checklist handles the rest. Accurate prep prevents most of the problems that show up at the binding stage, and that is worth the extra hour at the start.
Fabric-fabric carries home decor fabric by the yard and backdrop fabrics in widths suited to drapery, upholstery, and large quilt backings. Product listings include fiber content, usage suggestions, and care notes, so you can build your fabric brief directly from the product page without guessing.
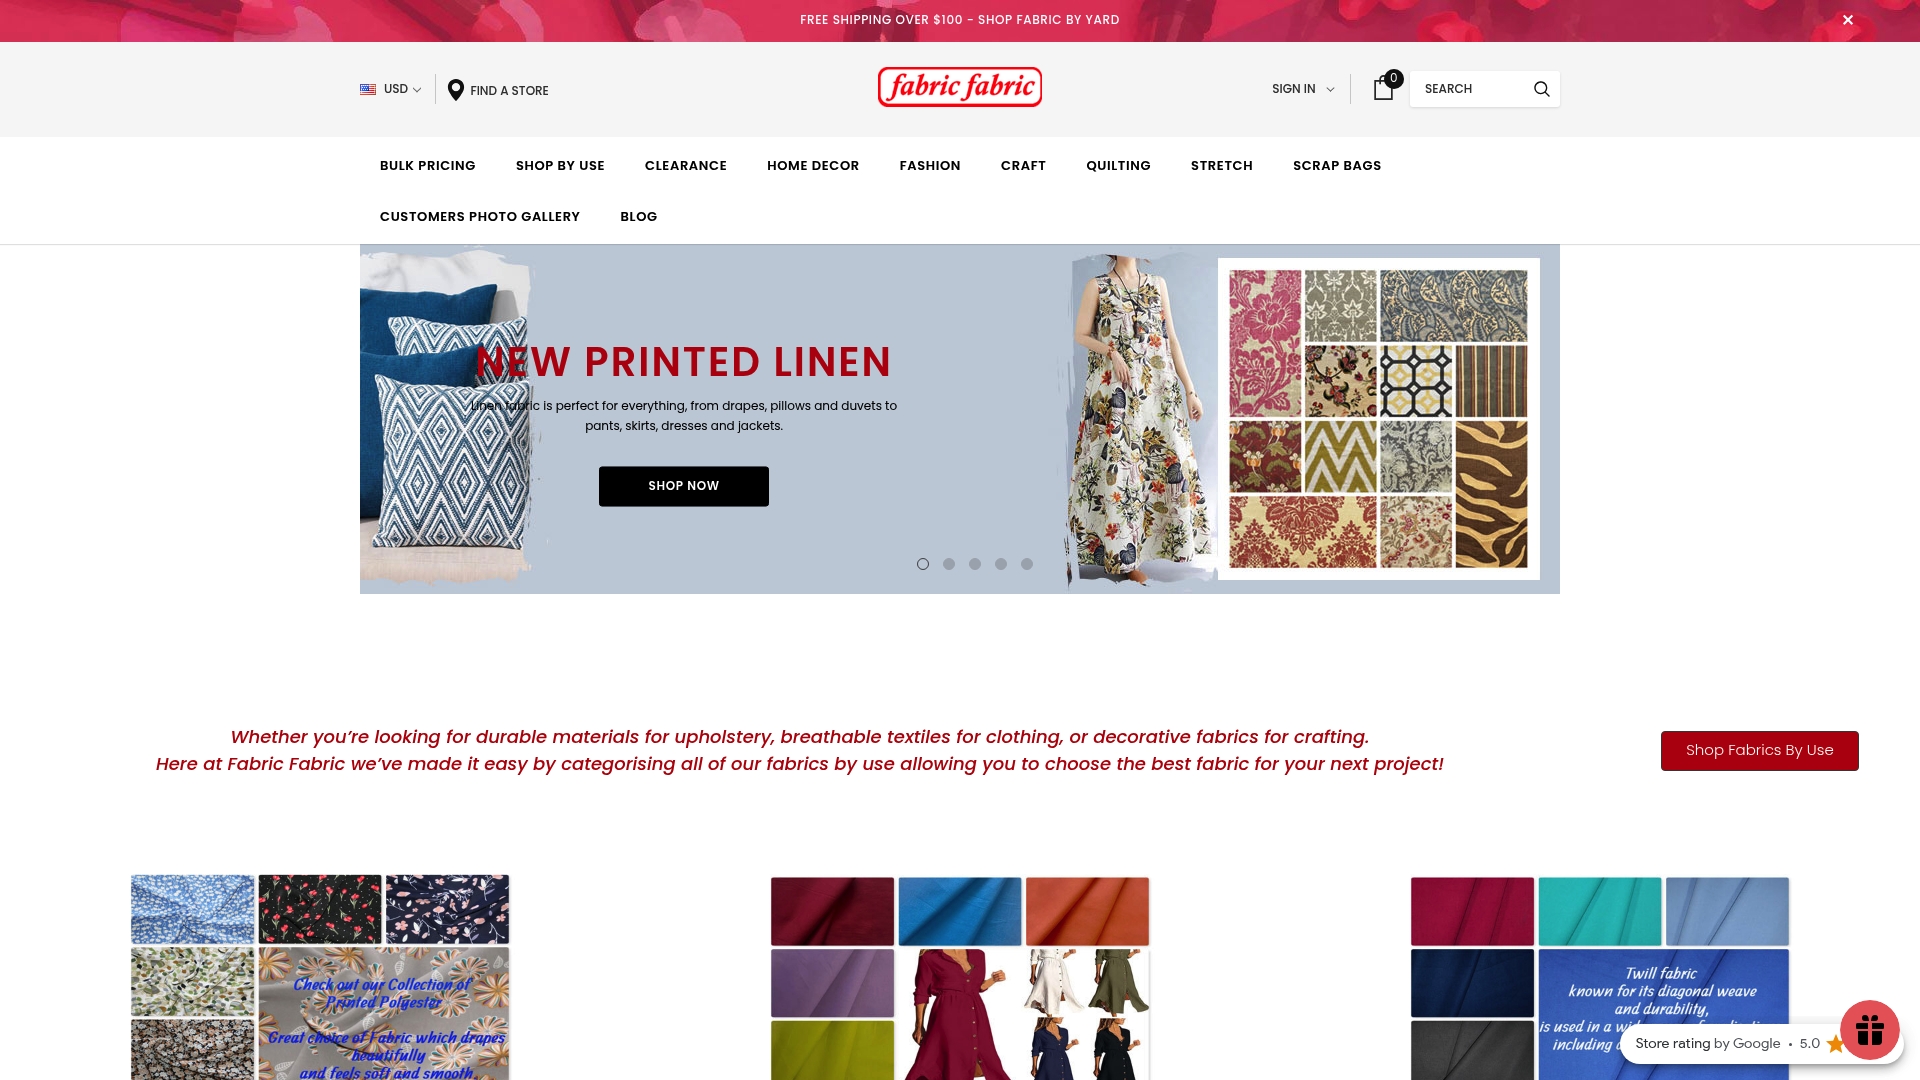
Each listing shows yardage increments that work with standard stash-building quantities, and the site’s category structure separates apparel, quilting, and home decor fabrics so you are not sorting through irrelevant results. Browse the current selection and order a swatch before committing to full yardage.
The highest-value tools for North America hobby sewists are the Sailrite calculator, the Patchwork Posse planner, and a reliable domestic fabric retailer.