

 US Dollar
How to Sew with Velvet: Tips for Stunning Results
Posted by BLG on 2026 May 23rd
Posted by BLG on 2026 May 23rd

TL;DR:
- Velvet sewing requires careful handling, including cutting single layers and using sharp microtex needles to prevent pile damage. Proper techniques like hand-basting, steam pressing from the wrong side, and sewing with a walking foot help control fabric shifting and achieve professional results. Selecting the appropriate velvet type and tools ensures the fabric’s texture is preserved while creating polished garments or projects.
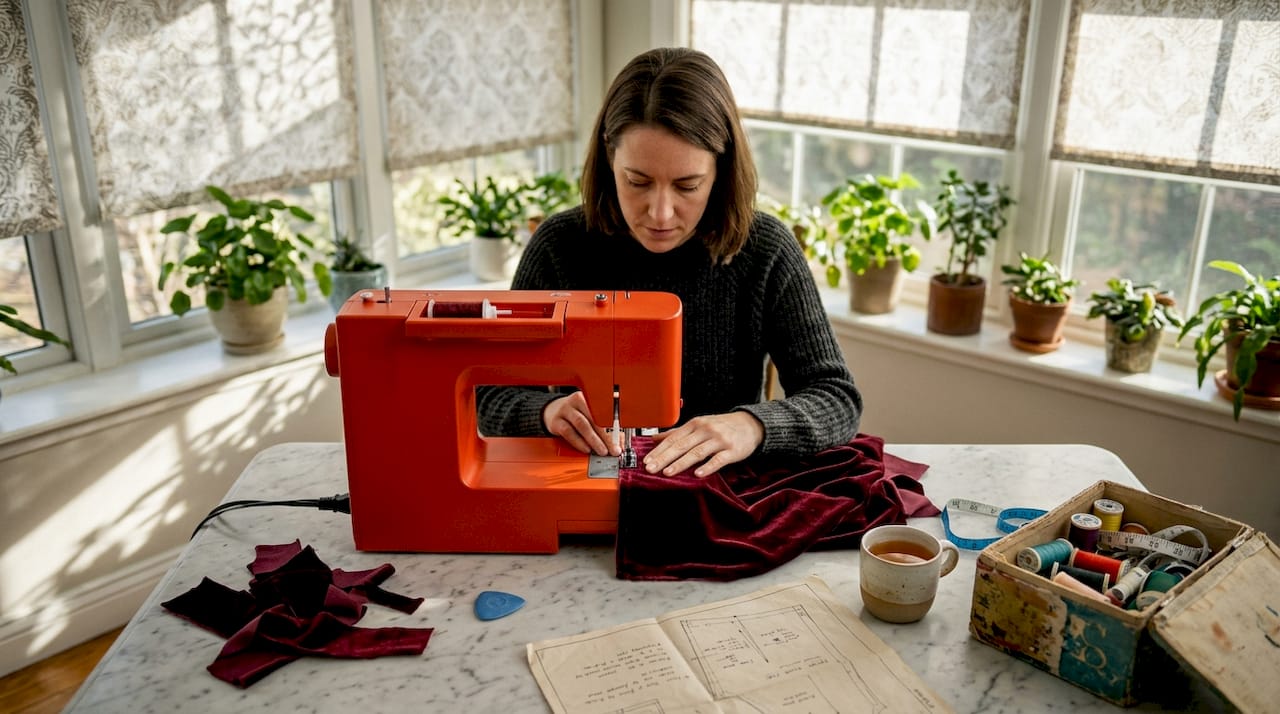
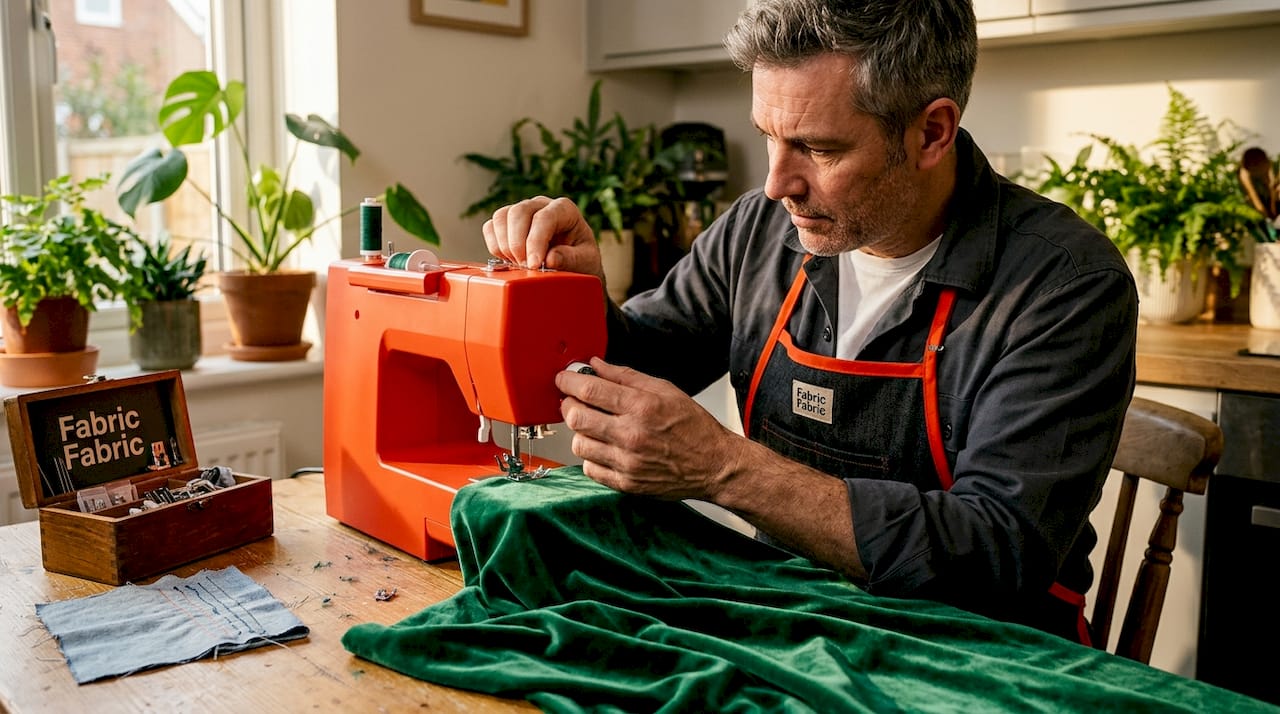
Velvet is one of those fabrics that stops people in their tracks. It’s rich, dramatic, and instantly luxurious. But learning how to sew with velvet is a different story. The pile shifts, the layers creep, and one wrong press with a hot iron can crush the texture permanently. Most sewists avoid it entirely or ruin a piece before they get halfway through. This guide changes that. You will learn how to prepare, cut, stitch, and finish velvet with the kind of control that turns a challenging fabric into your most satisfying project yet.
| Point | Details |
|---|---|
| Cut single layer only | Always cut velvet one layer at a time to control pile direction and prevent fabric shifting. |
| Use the right needle | A microtex 70/10 or 75/11 needle minimizes snags and produces clean, even stitches through velvet pile. |
| Hand-baste before machine sewing | Diagonal hand-basting holds slippery layers together and prevents the creeping that ruins velvet seams. |
| Never press with direct heat | Use steam from the wrong side with a velvet board or pressing cloth to protect the pile. |
| Choose sew-in interfacing | Fusible interfacing crushes velvet pile permanently; sew-in interfacing gives structure without heat damage. |
Velvet is not one fabric. It is a category, and the type you choose shapes every decision you make at the machine. Silk velvet is the most delicate and the most unforgiving. It moves beautifully on the body but shifts dramatically during cutting and sewing. Rayon velvet is slightly more stable and more affordable, making it a popular choice for garments. Cotton velvet is heavier and works well for structured pieces, home decor, and upholstery. Stretch velvet, which typically has a spandex or lycra blend, behaves differently from all the others and requires specific needle and stitch adjustments.
The pile is what defines velvet. It consists of tiny loops or cut fibers that stand upright from the base fabric, creating that signature texture and depth. The nap refers to the direction those fibers lie. Run your hand one way and the color looks rich and deep. Run it the other way and it looks lighter and almost flat. This is not a flaw. It is a physical property you need to respect in every step of your process.
Getting your tools right before you start is one of the most valuable sewing velvet tips you can follow. Here is what you need:
Pro Tip: Before buying your velvet, check whether the pattern you plan to use includes lots of darts or intricate seaming. Velvet with complex construction points highlights every error. Start with patterns that have clean, simple lines.
Cutting is where most beginners make their first mistake. Folding velvet in half to cut two layers at once, the way you might with cotton or linen, causes the layers to slide against each other. The result is mismatched pieces with inconsistent pile direction. Cut velvet single layer every time, and trace any pattern piece that would normally be cut on the fold.
Before you touch your scissors or rotary cutter, decide on your nap direction. Most sewists position the pile running upward on garments so the color appears deepest and richest when worn. Downward-running pile is more durable and less prone to marking, so it works well for home decor and upholstery projects. The non-negotiable rule is this: all pattern pieces must face the same nap direction. Cutting inconsistent nap creates visible shading differences across finished seams that cannot be fixed after the fact.
| Tool | Purpose | Notes |
|---|---|---|
| Rotary cutter | Clean, precise cuts without dragging | Use sharp blade; replace often |
| Pattern weights | Hold pattern pieces without pinning | Pins leave marks in velvet pile |
| Tailor’s tacks | Transfer markings to fabric | Safe for pile; no surface marks |
| Pressing cloth | Protect pile during any heat exposure | Velvet board is even better |
| Single-layer cutting mat | Stable surface for single-layer work | Non-slip surface is ideal |
Mark on the wrong side using tailor’s tacks or chalk on the fabric backing. Never use tracing wheels or carbon paper on velvet. The pressure bruises the pile and leaves permanent marks on the right side.
Pro Tip: Place your velvet pile-side down on a table covered with a flannel sheet or similar fabric. The texture grips the velvet and prevents it from sliding while you cut.
When laying out pieces, work with the fabric right side up so you can see the pile direction clearly. Use pattern weights instead of pins wherever possible. If you do pin, pin within the seam allowance only, parallel to the seam line, to avoid marking the visible fabric.
Getting your machine set up correctly is just as important as any velvet fabric sewing technique you apply during sewing. Start with needle selection. A microtex 70/10 or 75/11 gives you a sharp, fine point that pierces velvet cleanly. Thicker needles push the pile fibers aside rather than cutting through them, which creates uneven stitching and pulled threads.
Set your stitch length between 3.0 and 4.0mm and loosen your thread tension slightly. This prevents the stitches from drawing the fabric together and creating puckered seams. Lower your presser foot pressure if your machine allows it. Too much pressure on velvet crushes the pile directly under the foot and creates a flattened track along your seam line. A walking foot reduces fabric drag and feeds both layers evenly, which is why it is the preferred choice for most velvet sewing projects.
If you have previously worked with silk, you will recognize some of these techniques. The approach to fine and slippery fabrics follows similar logic: fine needles, reduced pressure, and deliberate pacing. Learning how to sew silk can give you transferable skills that carry directly into velvet sewing.
Pro Tip: Never backstitch at the start and end of velvet seams. The machine repeatedly passing over the same area crushes the pile. Instead, leave long thread tails and tie them off by hand.
The finishing stage is where velvet projects either look handmade or look professional. Getting it right means making a few specific choices that differ from how you would finish most other fabrics.
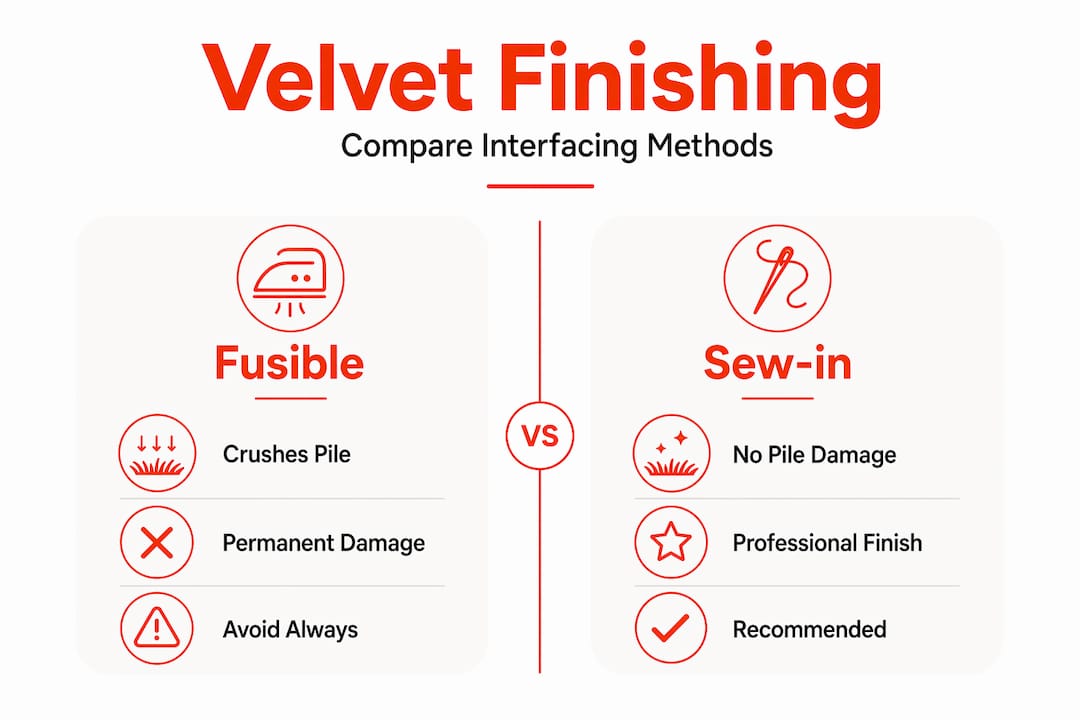
When it comes to interfacing, the rule is firm: fusible interfacing crushes pile and damages the sheen permanently. Use sew-in interfacing instead, preferably silk organza, which adds structure and support without any heat application. Sew-in interfacing protects velvet’s texture and preserves the finished garment’s durability over time.
For raw edges, serging is the cleanest finish and reduces bulk effectively. Pinking shears work as a secondary option when a serger is not available. Avoid bias tape on velvet seam allowances since the added bulk shows through on lightweight velvets.
| Method | Best for | Avoid if… |
|---|---|---|
| Steam from wrong side | All velvet types | You cannot control steam output |
| Velvet board | Woven and silk velvet | You are pressing stretch velvet flat |
| Pressing cloth | All velvet types | Cloth is too thick and reduces steam penetration |
| Zigzag hem stitch | Stretch velvet | Fabric has no stretch content |
| Blind hem stitch | Woven velvet garments | Pile is too thick for needle to pass cleanly |
Use steam pressing on the wrong side and hover the iron slightly above the fabric rather than pressing down. A velvet board, which has a surface covered in fine needles that cushion the pile, is the professional choice for this step. If you do not own one, fold a spare piece of velvet pile-side up and press your seam over it. The pile-on-pile surface prevents crushing.
For hemming, zigzag stitch on stretch velvet allows the hem to move with the fabric without breaking. On woven velvet, a blind hem stitch worked by hand gives the cleanest result and avoids any pressure marks from the machine foot along the hem edge.
Even experienced sewists run into problems with velvet. Knowing what to look for and how to fix it saves fabric, time, and frustration.
Pro Tip: Choose patterns labeled “easy” or “beginner” for your first velvet project, not because velvet is simple, but because simpler construction lets you focus on fabric handling rather than fitting challenges.
I have sewn with velvet enough times to know that the biggest mistake isn’t a technique error. It’s rushing the prep. Every single time I skipped hand-basting because I was in a hurry, I paid for it with seams that crept and had to be resewn. Cutting single layer felt tedious at first. Now I wouldn’t do it any other way.
What genuinely changed my results was testing everything on scraps. Not just a quick test stitch, but actually sewing a full seam, pressing it, finishing the edge, and checking the pile on both sides. That ten-minute test has saved me hours of unpicking.
I also learned to stop fighting velvet’s personality. It has a nap, it has direction, and it tells you what it wants. When I started treating that as information rather than inconvenience, my projects got better fast. Selecting the right velvet type for each project matters enormously too. Rayon velvet on a structured jacket is a battle. Cotton velvet on the same pattern feels almost easy by comparison.
If you have been avoiding velvet because it seems too difficult, I want to reassure you: it is manageable. It just requires patience and a willingness to work at the fabric’s pace rather than your own. The results are worth every careful stitch.
— kev
Ready to put these techniques into practice? The tools and materials you use make a real difference, and starting with quality velvet is half the battle.

Fabric-fabric carries a wide selection of fabrics well-suited to velvet sewing projects, including options from the backdrop fabrics collection that work beautifully for both apparel and home decor applications. If you are working on cushions, curtains, or statement home pieces, the home decor fabric range includes budget-friendly velvet options that do not sacrifice quality. Browse by fabric type and use the product descriptions to match your material to the techniques covered in this guide. Getting the right fabric from the start means your skills have room to shine.
A microtex 70/10 or 75/11 needle is the best choice for most woven velvets, as its sharp point pierces the pile cleanly without snagging. For stretch velvet, use a stretch needle in the same size range.
Velvet creeps because the pile on two layers in contact causes them to shift at different rates as they pass under the presser foot. Hand-basting seams with diagonal stitches before machine sewing, combined with a walking foot, prevents this effectively.
No. Fusible interfacing requires heat and pressure to bond, both of which crush velvet pile permanently. Use sew-in interfacing, preferably silk organza, to add structure without damaging the fabric.
Steam from the wrong side using a velvet board or a piece of spare velvet pile-side up as a pressing surface. Keep the iron hovering slightly above the fabric rather than pressing down directly.
A zigzag stitch is the recommended hem method for stretch velvet, as it allows the seam to flex with the fabric without breaking. Avoid straight stitch hems on any velvet with stretch content.