

 Canadian Dollars

Step by Step Curtain Making: DIY Guide for Home Decorators
Posted by BLG on 2026 Jun 27th
Posted by BLG on 2026 Jun 27th

TL;DR:
- Making curtains at home involves accurate measuring, fabric preparation, and pressing to achieve professional results. Properly choosing fabric, pre-washing, and adding linings or weights improve the curtain’s appearance and longevity. Precision during each step ensures curtains hang well and reflect personal style effectively.
Step-by-step curtain making is the process of crafting custom window treatments using basic sewing techniques and accurate measurements. You can save 50–80% compared to buying professionally made custom curtains. The skills required are minimal: straight stitching, accurate measuring, and careful pressing. This guide walks you through every stage, from calculating fabric yardage to adding a finished hem, so you can create curtains that fit your windows perfectly and reflect your personal style.
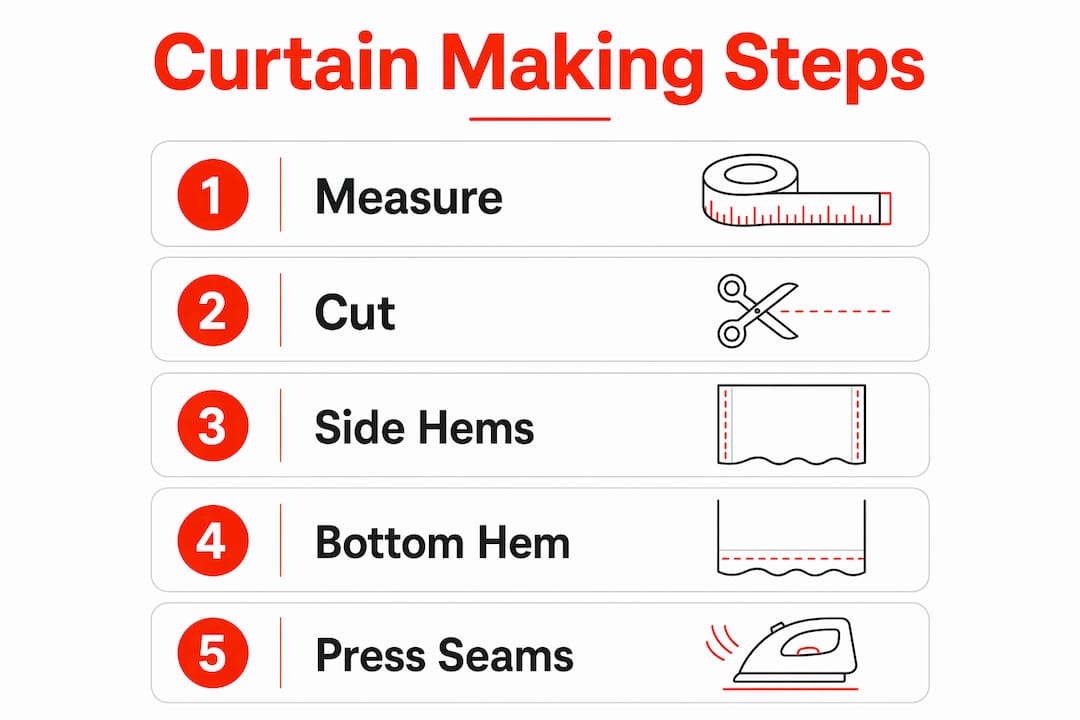
Accurate measurement is the foundation of every successful curtain project. A mistake here costs you fabric and time, so take each measurement twice before cutting anything.
Start by measuring the width of your curtain rod, not the window frame itself. The rod is your baseline. Then measure the drop: from the top of the rod to where you want the curtain to end. Floor-length curtains typically finish 1–2 cm above the floor. Sill-length curtains end at or just below the windowsill. Write both numbers down before you do any math.
The standard fullness ratio for curtains is 2 to 2.5 times the rod width. That ratio creates the gathered, full look you see in well-dressed rooms. A 60-inch rod, for example, requires 120–150 inches of total fabric width. That total gets divided across however many panels you plan to hang.
For a precise breakdown of yardage math, the fabric yardage guide at Fabric-fabric covers each calculation step in detail.
Pro Tip: Add 10 cm to your length calculation for every panel if you are working with a patterned fabric. Pattern repeats must align across panels, and that extra length gives you room to match them.
Preparation separates clean, professional curtains from ones that pucker, shrink, or hang unevenly. Skipping this stage is the single most common beginner mistake.
Washing fabric before cutting pre-shrinks the material and straightens the grain. Curtains that skip this step often come out too short or misshapen after their first wash. Once washed, iron the fabric flat before you mark or cut anything. A straight grain means straight cuts, which means curtains that hang without twisting.
Choosing the right fabric matters as much as preparing it correctly. Cotton drapery fabrics are forgiving and easy to press. Velvet and heavy linens require a lower iron temperature and a pressing cloth. Sheers need extra care because heat can distort the weave. The best fabrics for curtains guide at Fabric-fabric explains how each fabric type behaves during sewing and hanging.
| Tool | Purpose |
|---|---|
| Fabric shears | Clean, straight cuts without fraying |
| Sewing machine | Straight stitch for all hems and seams |
| Iron and ironing board | Press every fold before and after sewing |
| Tailor’s chalk or fabric marker | Mark cutting lines and fold lines |
| Pins or clips | Hold folds in place before sewing |
| Measuring tape and ruler | Accurate length and width checks |
Pro Tip: Set up on the largest flat surface you have, ideally a dining table or clean floor. Fabric that hangs off the edge shifts as you cut, which throws off your measurements.
Most beginner curtain projects rely on five core steps and straight stitches only. You do not need a serger or any special attachments. A basic sewing machine handles every seam in this process.
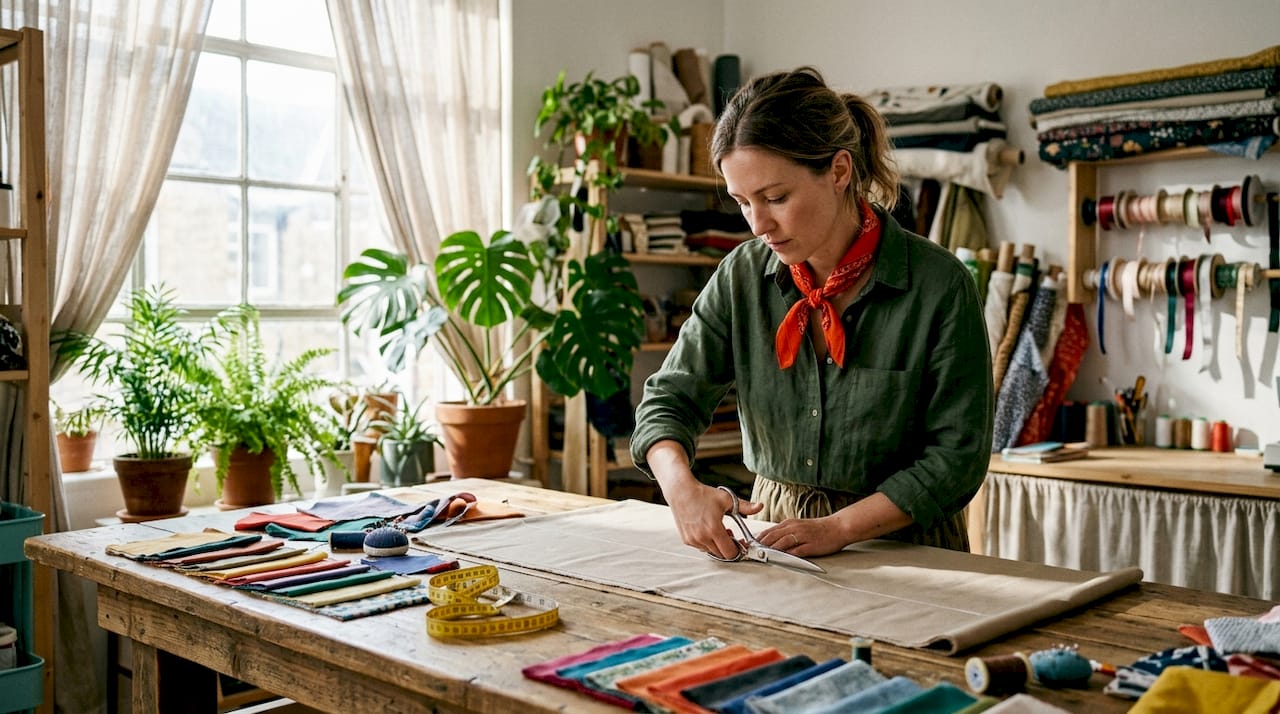
Cut each panel to your calculated length and width. Use a long ruler and tailor’s chalk to draw the cutting line before you cut. Cut one panel at a time rather than stacking layers. Stacked fabric shifts, and even a small shift creates panels of unequal length.
Fold each side edge 1 cm toward the wrong side of the fabric. Press the fold flat with your iron. Fold again another 1 cm and press again. Pin the fold in place, then sew along the inner edge with a straight stitch. Repeat on both sides of every panel.
A double-folded bottom hem of 10–15 cm adds weight and keeps curtains hanging straight. Fold the bottom edge up 7–8 cm toward the wrong side and press. Fold again the same amount and press a second time. Pin and sew along the top edge of the fold. This double layer creates enough weight to prevent billowing in light fabrics.
The header is the top of the curtain. Your choice here determines how the curtain hangs and what hardware you need.
Pressing every fold before and after sewing is the single technique that separates sharp, professional curtains from homemade-looking ones. Press the fold, sew it, then press it again. This takes extra time and is worth every minute.
Pro Tip: When sewing sheer or slippery fabrics, use a microtex needle in size 60/8 or 70/10 and increase your stitch length slightly. Place a strip of tissue paper under the seam line and tear it away after sewing to prevent the fabric from being pulled into the machine.
For a broader look at straight-stitch techniques, the beginner sewing guide at Fabric-fabric covers the fundamentals clearly.
Finishing is where good curtains become great ones. The details in this stage determine how your curtains drape, last, and perform over time.
Lining protects fabric from sun damage, improves drape, and adds thermal insulation and sound absorption. That combination of benefits makes lining worth the extra effort on any curtain you plan to keep for years. Unlined curtains fade faster and hang with less body. For a full walkthrough, the curtain lining guide at Fabric-fabric covers every attachment method.
There are three practical lining options:
Weight tape sewn inside the bottom hem prevents lightweight curtains from flying up in air currents near vents or open windows. This is a professional technique used in made-to-measure workrooms. Cut the tape to the width of the hem, fold it inside the double hem before you sew, and stitch it in place. The difference in how the curtain hangs is immediate and noticeable.
| Finishing technique | Best for | Result |
|---|---|---|
| Sewn-in lining | All fabric weights | Better drape, insulation, durability |
| Weight tape in hem | Lightweight and sheer fabrics | Prevents billowing, improves hang |
| Final steam pressing | All curtain types | Crisp edges, smooth face fabric |
| Stack distance planning | Wide windows | Curtains clear the glass when open |
Pro Tip: Hang your finished curtains for 24 hours before doing a final press. Gravity pulls the fabric into its natural hang, and pressing after that sets the drape permanently.
Custom curtains made at home require accurate measurement, proper fabric preparation, and consistent pressing at every fold to achieve professional results.
| Point | Details |
|---|---|
| Use the fullness ratio | Multiply rod width by 2 to 2.5 for a full, gathered curtain look. |
| Pre-wash all fabric | Washing before cutting prevents shrinkage and keeps the grain straight. |
| Press every fold twice | Iron before and after sewing each hem for crisp, sharp edges. |
| Add lining for longevity | Lining protects fabric from sun damage and improves drape and insulation. |
| Use weight tape for sheers | Sewing weight tape inside the bottom hem stops lightweight curtains from billowing. |
The first time I made curtains, I skipped the pre-wash step because the fabric looked fine and I was impatient. Six months later, after the first real wash, the curtains were 5 cm too short and twisted at the hem. That mistake cost me more fabric and more time than the pre-wash would have taken.
The thing most beginner guides understate is how much of curtain making is ironing, not sewing. The sewing itself takes maybe 20 minutes per panel. The pressing takes twice that. Beginners who rush the iron work always end up with curtains that look handmade in the wrong way. Slow down at the ironing board and the sewing machine becomes almost irrelevant.
The other lesson I keep coming back to is the fullness ratio. New makers almost always underestimate how much fabric they need. A curtain that covers the window is not the same as a curtain that looks full and intentional. The 2.5x ratio feels like a lot of fabric until you hang the finished panels and realize why it matters.
Curtains are genuinely one of the most forgiving sewing projects you can take on. They are rectangles. Every seam is straight. The only real skill is patience with measuring and pressing. If you have that, the results will surprise you.
— kev
Making curtains at home starts with choosing the right fabric. The weight, weave, and finish of your fabric determines how the finished curtain drapes, blocks light, and holds up over time.

Fabric-fabric carries a wide selection of home decor fabrics suited to every curtain style, from lightweight sheers to structured drapery weights. The backdrop fabric collection includes options that work beautifully for floor-length panels and statement window treatments. Each product listing includes fabric weight, width, and care instructions so you can match the material to your project before you buy. Free shipping thresholds and regular promotions make stocking up on yardage practical for larger projects.
The standard fullness ratio is 2 to 2.5 times the width of the curtain rod. A 60-inch rod requires 120–150 inches of total fabric width for a full, gathered appearance.
Washing fabric before cutting pre-shrinks the material and straightens the grain. Curtains made from unwashed fabric can shrink unevenly after the first wash, leaving them too short or misshapen.
A double-folded bottom hem of 10–15 cm (4–6 inches) is the standard for most curtain styles. The extra depth adds weight that helps curtains hang straight and resist billowing.
A microtex needle in size 60/8 or 70/10 works best for sheer fabrics. The fine point reduces puckering, and placing tissue paper under the seam prevents the fabric from being pulled into the machine.
Lining protects fabric from sun damage, improves drape, and adds thermal insulation and sound absorption. Lined curtains last significantly longer and hang with more body than unlined ones.