

 US Dollar
Curtain Lining Step by Step: DIY Guide for Flawless Results
Posted by BLG on 2026 Apr 19th
Posted by BLG on 2026 Apr 19th

TL;DR:
- Lined curtains can reduce heat loss by up to 25 and enhance room aesthetics.
- Choosing the right lining fabric, preparing materials properly, and mastering the French return method ensure professional results.
- Additional finishing touches like training folds and adding weights improve curtain drape and longevity.
Lined curtains can cut heat loss through windows by up to 25%, and yet the visual payoff matters just as much as the energy savings. A well-lined curtain hangs straighter, drapes more beautifully, and instantly elevates a room from functional to polished. But many DIY sewers hit snags along the way: lumpy headers, lining that creeps below the hem, or fabric that puckers after the first wash. This guide walks you through every stage of the process, from choosing the right lining fabric and gathering your tools, to mastering the French return method and applying finishing touches that set your work apart from anything store-bought.
| Point | Details |
|---|---|
| Lining selection matters | Choose the right lining for light, privacy, and insulation before beginning your project. |
| Follow measured steps | Accurate measurements and preparation lead to flawless hems and fit. |
| Try different techniques | Explore methods like French return or bagging to suit your skill and style preference. |
| Finishing touches count | Add weights, train folds, and fix issues for a polished, professional look. |
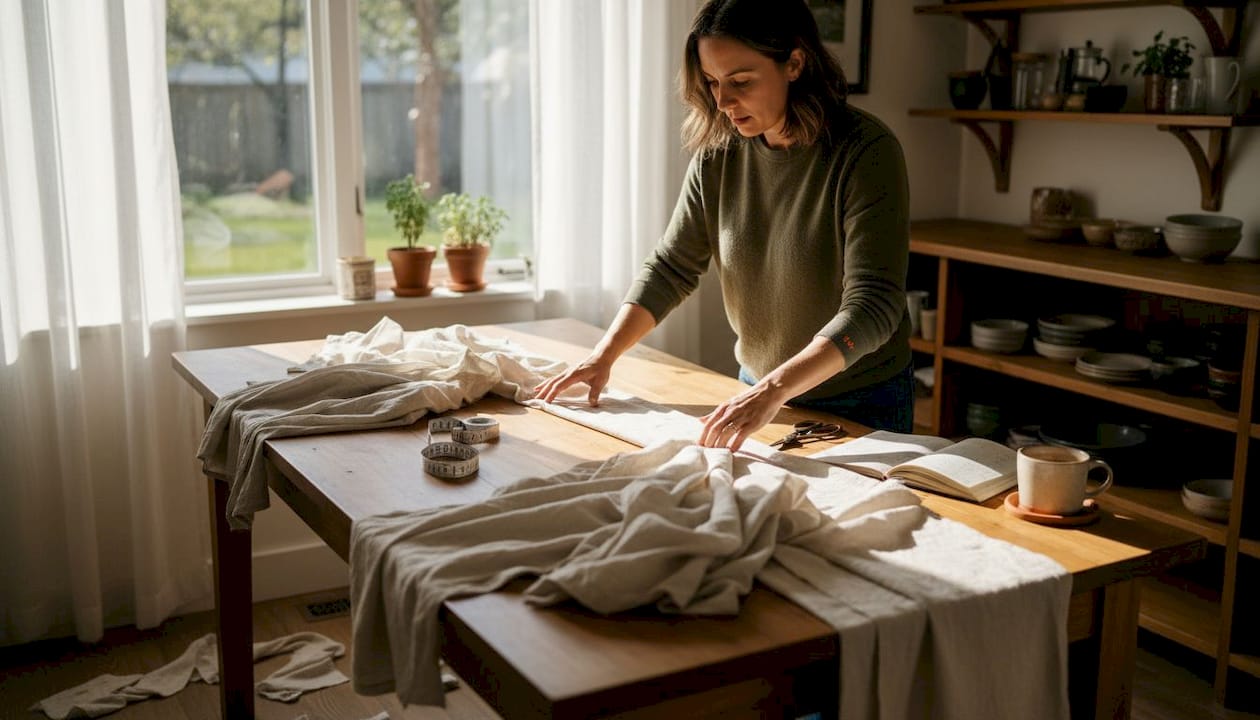
Now that you know the benefits and challenges, let’s start by organizing your workspace and materials. Skipping this step is the number one reason DIY curtain projects stall halfway through.
Choosing your lining fabric
Not all linings are created equal. Your choice depends on how much light control and insulation you want. Here’s a quick breakdown:
| Lining type | Best for | Key benefit |
|---|---|---|
| Basic cotton lining | Light filtering, general use | Affordable, easy to sew |
| Blackout lining | Bedrooms, media rooms | Blocks 99% of light |
| Thermal lining | Cold climates, energy savings | Reduces heat transfer |
For lining fabric selection, consider the room’s purpose first. A bedroom with east-facing windows calls for blackout. A living room with gentle northern light might only need basic cotton.
As a rule of thumb,
Must-have tools
Browsing the range of lining fabric options before you buy helps you compare weights and finishes side by side, which is far easier than guessing from swatches alone.
Preparing your fabrics
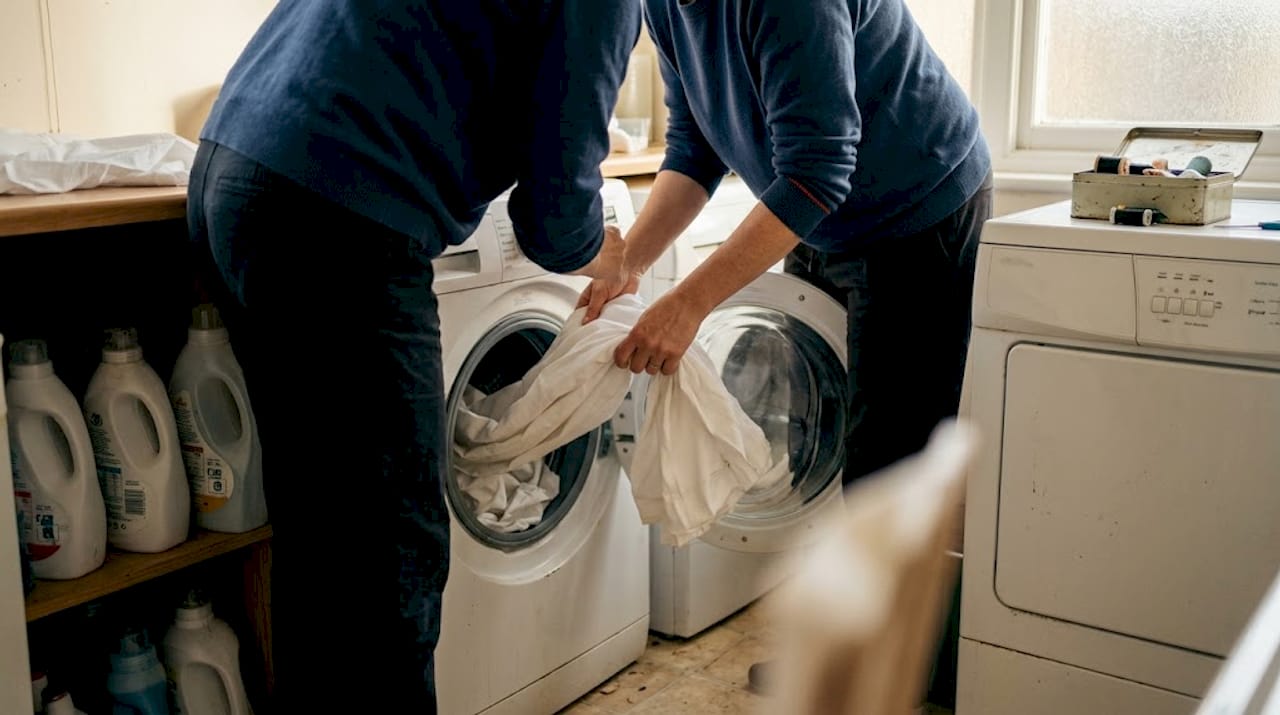
Always pre-wash both the face fabric and the lining separately before cutting. Fabrics shrink at different rates, and if you skip this step, your curtain may pucker or pull after its first wash. Press both fabrics thoroughly on the correct heat setting before measuring and cutting.
Pro Tip: Trim the lining header by about half an inch compared to the face fabric width. This reduces the bulk that gets folded into your header tape or rod pocket, giving you a smoother, flatter finish at the top.
If you’re still figuring out quantities, a practical resource on ordering fabric for DIY sewing can help you calculate yardage accurately before you place your order.
Once your materials are prepped and tools ready, it’s time to get into the French return lining method. This technique, sometimes called the side hem tuck, gives you a clean, tailored look with the lining fully enclosed on three sides and hand-stitched along the bottom.
The French return method follows this sequence:
Key measurement rule: Position the lining 1 inch above the face fabric’s finished hem and 3 inches in from each side. This offset is what creates the clean return fold and prevents lining from peeking out at the edges.
French return vs bagging: at a glance
| Feature | French return | Bagging method |
|---|---|---|
| Skill level | Intermediate | Beginner |
| Finish quality | Tailored, crisp | Clean, simple |
| Best for | Pinch pleat, eyelet | Rod pocket, tab top |
| Time required | 2 to 3 hours | 1 to 1.5 hours |
Understanding why use lining fabric at each stage helps you make smarter decisions about which method matches your curtain style.
Pro Tip: Before finishing the bottom hem, tuck a small drapery weight into each corner and one at the center. Weights create consistent downward pull and help your curtain hang in perfect straight lines from day one.
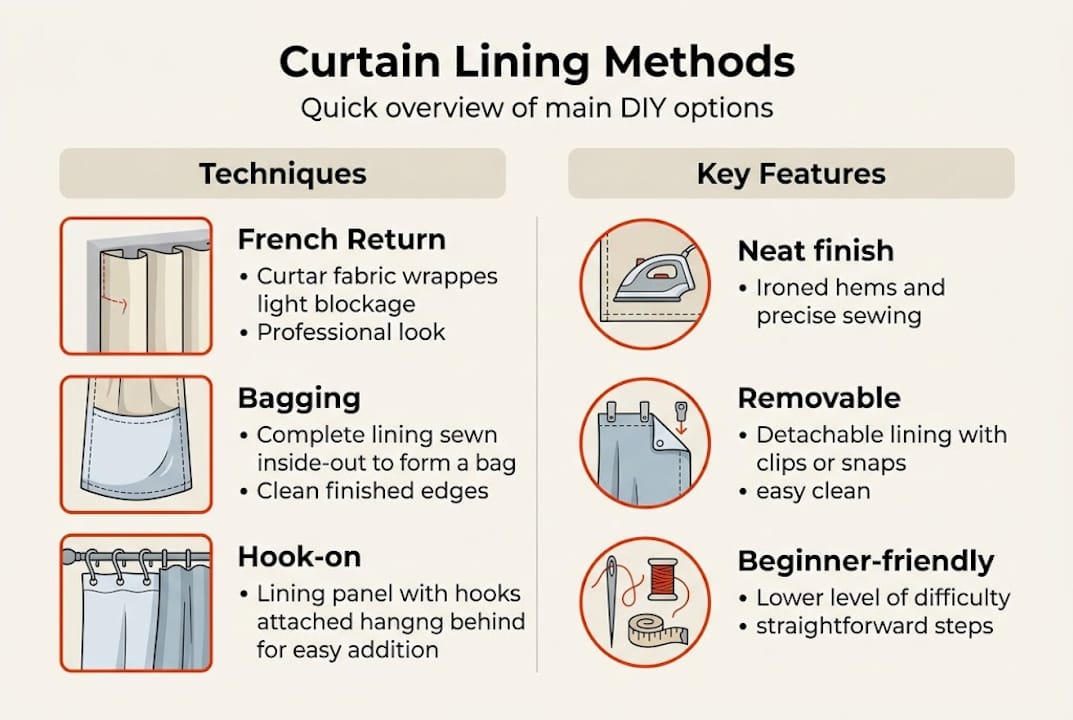
While the French return is popular for tailored results, you can also explore other lining methods based on your style and skill level.
The bagging method is exactly what it sounds like. You sew the lining and face fabric together on three sides, flip the panel right-side out through the open bottom, then finish the hem. It’s fast, forgiving, and perfect for beginners.
Bagging method: pros and cons
The bagging technique involves sewing the lining and face fabric right sides together on both vertical sides and the top, leaving the bottom open. This is the defining difference from the French return, where sides are hand-stitched after folding rather than machine-sewn before turning.
Hook-on linings are a third option worth knowing about. These are separate lining panels that attach to your main curtain via header tape hooks. They’re removable, which makes laundering simple and lets you change lining types seasonally, swapping thermal lining in winter for basic cotton in summer.
Side-by-side comparison
| Method | Effort level | Finish | Best use case |
|---|---|---|---|
| French return | Medium-high | Premium, tailored | Formal rooms, heavy drapes |
| Bagging | Low-medium | Neat, casual | Everyday rooms, rod pockets |
| Hook-on | Low | Practical | Rentals, seasonal changes |
For more guidance on pairing lining methods with the right face fabric, the curtain fabric guide is a solid starting point.
Time-wise, bagging typically takes 1 to 1.5 hours per panel, while the French return runs closer to 2 to 3 hours. Hook-on lining attachment takes under 30 minutes once the main curtain is sewn.
After lining installation, the finishing touches and troubleshooting make your curtains truly professional. This is where patient DIYers pull ahead of rushed ones.
Training your curtain folds
Drape secret: Add weights in the corners and at the center of each panel. This keeps the trained folds from relaxing over time and ensures the curtain skims the floor or sill evenly.
For more detail on getting the perfect hang, the guide on making custom drapes covers curtain length calculations and installation tips in depth.
Troubleshooting common problems
Pro Tip: If puckering appears after washing, dampen the curtain, re-hang it while still slightly wet, and retrain the folds with ties for 24 hours. The weight of the damp fabric helps pull out puckers naturally.
Here’s something most tutorials won’t say outright: the results you get from lined curtains have almost nothing to do with the price of your sewing machine. We’ve seen stunning, hotel-quality panels made with a basic machine and a steam iron that cost less than $30. What actually matters is your lining fit and your attention to bulk reduction.
Most guides focus on technique steps, but the real quality gap shows up in the details: is your lining trimmed the right amount narrower so it doesn’t ghost through the face fabric? Are your hems pressed with enough steam to hold their shape? Did you bother pre-washing?
Readers who take time with a smart fabric buying guide before they start end up saving money and getting better results, because they’re choosing fabrics that actually work together. Pairing a stiff blackout lining with a lightweight voile face fabric, for example, creates drag and uneven drape no technique will fix.
The truth is that high-end lined curtains are accessible to any careful DIYer. The investment is attention, not equipment.
Ready to get your project underway? Here’s where to find trusted resources and supplies for great results.

At Fabric-Fabric, you’ll find a wide selection of home decor fabric including thermal, blackout, and basic lining options alongside face fabrics suited for every curtain style. Whether you’re making floor-length drapes or short cafe panels, the right fabric pairing makes the whole process smoother. You can also browse backdrop fabrics for creative layering and staging ideas. Our team is happy to help you find the right weight and weave for your window dimensions and light needs, so your finished curtains look exactly the way you envisioned.
The best lining for blackout curtains is a dedicated blackout lining fabric, which blocks light effectively and adds insulation for energy efficiency. Standard cotton lining won’t achieve true blackout results.
Lining should sit about 1 inch above the finished face fabric hem and be positioned 3 inches in from each side edge. This offset prevents the lining from showing below or at the sides of your finished panel.
Machine washing is possible, but separate lining panels or hook-on linings reduce the risk of puckering that occurs when attached linings shrink at a different rate than the face fabric.
Yes. Adding weights in corners and at the center of each panel creates a straighter drape and helps trained folds hold their shape over time, giving your curtains a more professional finish.