

 Canadian Dollars

Stop Ruining Buttonholes: 3 Test First Methods for Beginners
Posted by BLG on 2026 Aug 30th
Posted by BLG on 2026 Aug 30th

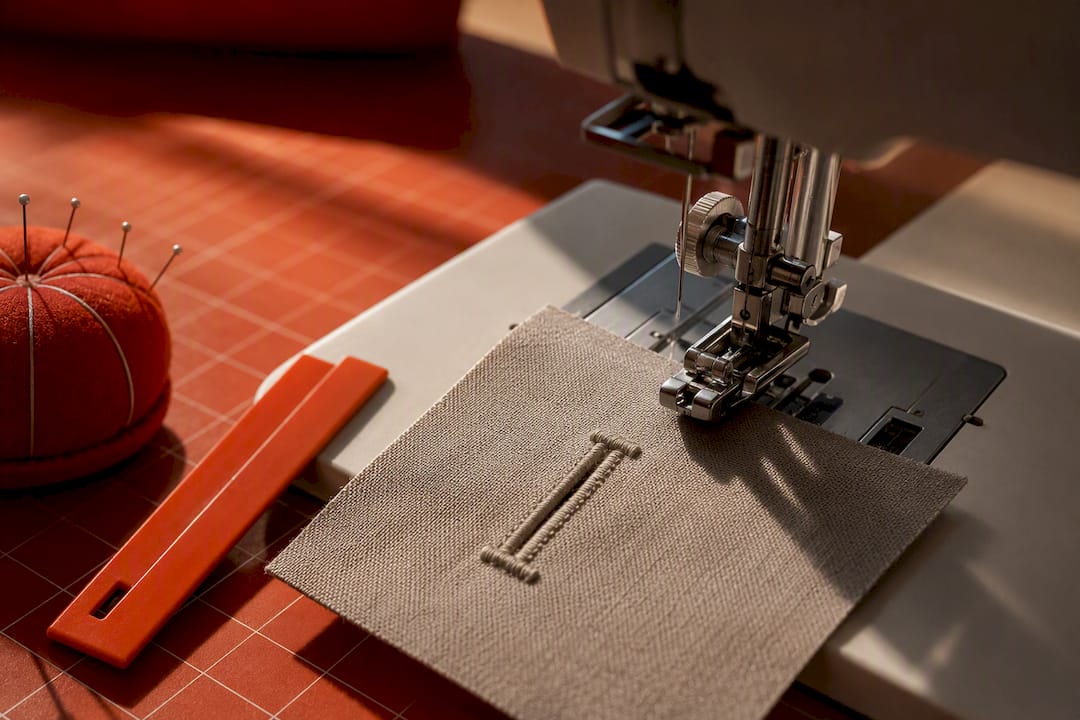
For most garment sewing, the one-step automatic buttonhole on your machine is the fastest, most reliable route. Save hand-sewn buttonholes for couture finishes, thick coats, or fabric your machine can’t chew through cleanly. Before either method, the one step that saves you from a ruined garment is this: stabilize the area with interfacing and sew a full test buttonhole on a matching scrap first.
TL;DR:
- Always stabilize the fabric with matching interfacing or stabilizer before sewing buttonholes to prevent puckering, stretching, or tearing during wear.
- Test each buttonhole method on a scrap of the same fabric, interfacing, and layer count as the final garment to catch issues early.
- Choose the appropriate buttonhole style for your garment, considering button size, fabric type, and whether stretch or corded options are necessary for durability.
- Use a full-length test buttonhole on scrap fabric, sewing at least two inches, to ensure proper fit and stitch quality before working on the actual garment.
- For high-stress closures, reinforce the buttonhole opening with extra stitches or a corded or bound technique to extend durability and prevent tearing.
Buttonholes fail for one of two reasons: wrong tools or skipped prep. Before threading anything, gather what you need and build a scrap that mimics your actual garment.
Match your needle and thread to the fabric: a size 70/10 or 80/12 universal needle with all-purpose thread for cottons and light wovens, a 90/14 for denim or coating weight. Build your test scrap from the same fabric, interfacing, and number of layers you’ll actually sew through. A single layer of scrap fabric tells you nothing about how the machine handles your real seam allowance.
Not every buttonhole style fits every garment. Choosing the wrong one is a common beginner mistake that shows up only after the button won’t sit right.
For sizing, a reliable rule is button diameter plus about 1/8 inch, which accounts for the button’s thickness as it passes through. Thick or shanked buttons need a bit more, so always test with the actual button rather than trusting a formula alone.
A buttonhole sewn into unstabilized fabric puckers, stretches, or tears within a few wears. Stabilizing the area is one of the steps most beginners skip, and it’s the one that determines whether your buttonhole survives daily use.
Match interfacing weight to fabric weight: lightweight fusible interfacing for cotton shirting, medium weight for twill or wool suiting, and a firmer woven interfacing for coats and jackets. Knits and lightweight wovens often do better with a tear-away or wash-away stabilizer placed under the foot rather than fused to the fabric, since fusible interfacing can add unwanted stiffness to a soft drape. For a deeper look at matching weight to fiber, Fabric-fabric’s interfacing guide breaks down which type suits which project.
Once interfacing is fused or basted in place, press the placket flat before marking. Distortion from an unpressed seam is one of the most common causes of a crooked buttonhole. Mark your lines with a water-soluble pen, checking that each line sits perpendicular to the button placket and spaced correctly for button size.
Pro Tip: Cut your interfacing slightly larger than the buttonhole area and trim after fusing. A too-small scrap of interfacing shifts under the presser foot and throws off your stitch line.
Machine buttonholes come in three flavors, and knowing which your machine uses changes your entire workflow.
One-step automatic is the standard on most modern machines. You install the buttonhole foot, drop the actual button into the slot on the back of the foot to set the length automatically, then let the machine complete the full cycle: forward bartack, side, reverse bartack, other side. The critical rule here is hands off. Don’t push or pull the fabric while it sews, since doing so changes stitch density and throws off the length the foot just measured.
Manual or multi-step machines require you to select each stage yourself using a dial or lever, sewing the first side, pivoting for the bartack, sewing the second side, then finishing with the closing bartack.
Freehand buttonholes, done with a straight-stitch or zigzag foot on machines without a buttonhole function, follow their own sequence:
Whichever method your machine uses, sew a complete test buttonhole on a scrap built with the same fabric, interfacing, and layer count as your garment before touching the real piece. Stitching two inches on a single-layer scrap and calling it good is how buttonholes fail. Problems tend to surface only when the machine hits a bartack or changes direction, exactly the spots a short test skips.
A second pass over the finished buttonhole tightens stitch density and gives a cleaner, more finished edge. It costs you thirty extra seconds and roughly doubles the durability of the stitching around the opening.
Hand-sewn buttonholes work in reverse order from machine ones: you cut the slit first, then stitch over the raw edge to encase it. This is standard practice for couture tailoring and heavier fabrics, where a hand-worked purl stitch outlasts anything a machine produces.
A purl-stitch edge creates a raised, knotted ridge that resists fraying far better than a straight overcast stitch, which is why tailors still hand-work buttonholes on wool coats and suit jackets.
Pro Tip: Use a waxed thread or a heavier topstitching thread for hand-worked buttonholes. Regular all-purpose thread wears thin fast under the friction of a button sliding through daily.
Practice this sequence on a folded scrap of the same weight fabric before attempting it on a finished garment. Your first few will look uneven, and that’s normal. The purl stitch takes muscle memory more than it takes technique.
The single most nerve-wracking moment in this whole process is the cut. Do it wrong and you slice through your bartacks after all that careful stitching.
Most buttonhole failures trace back to one of four causes. Match the symptom to the fix instead of ripping out and starting over blind.
If a buttonhole is truly unsalvageable, cover it with a small patch on the wrong side and re-stitch a fresh one slightly beside it rather than fighting a compromised opening. When in doubt, redo the scrap test before you touch the garment again.
Getting a buttonhole right starts with the fabric and interfacing you’re stitching into, not just the technique. Fabric-fabric carries a range of woven and knit yardage alongside interfacing suited to different weights, so you can match your stabilizer to the actual fabric on your cutting table instead of guessing.
Before committing to yardage for a full garment, order a swatch or a small sample cut and run your scrap test on it with the interfacing you’re planning to use. If you’re working with tricky fabrics like silk or velvet, that test scrap matters even more, since both fabrics behave differently under a buttonhole foot than a plain cotton would.
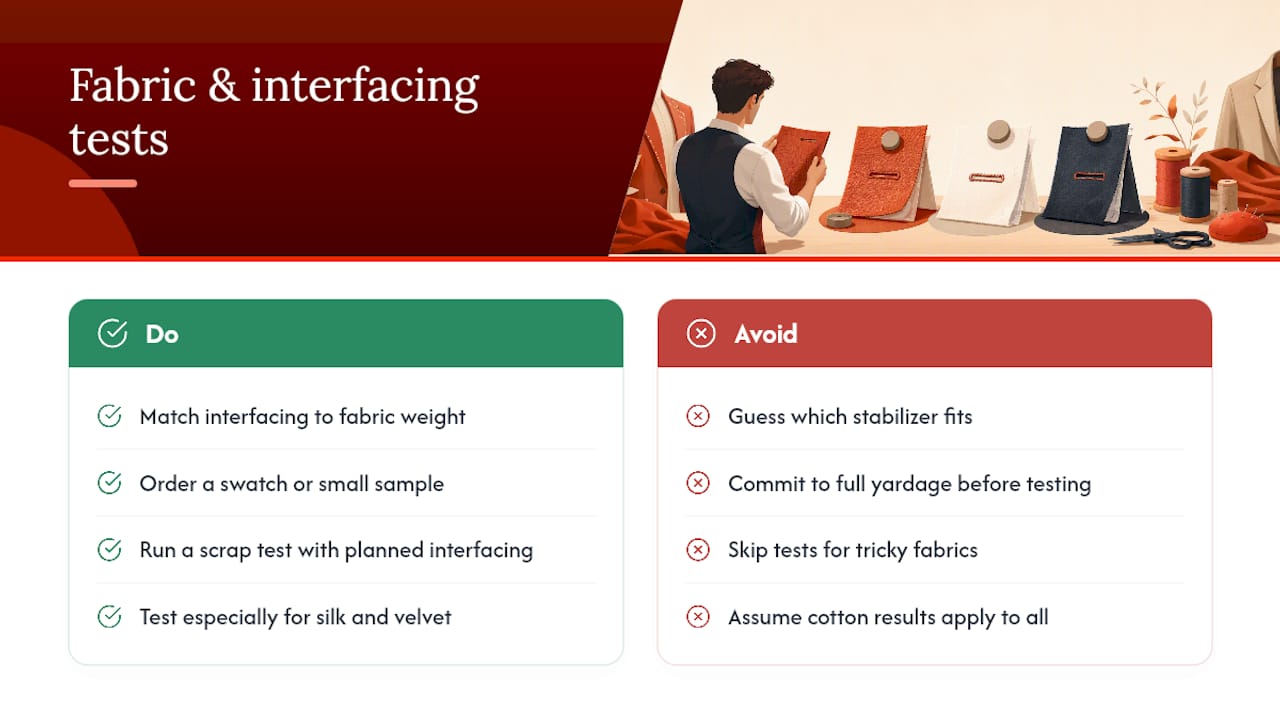
I’d machine-sew nearly everything: shirts, dresses, everyday jackets. The one-step foot is fast and consistent once you’ve run your test scrap. Where I switch to hand-work is heavy wool coating, fabric too bulky for the foot to clear, or a tailored piece where a purl-stitch edge is part of the expected finish. When you’re unsure, sew both on scrap and compare. Your fabric will usually tell you which method it wants.
— kev
Every buttonhole tutorial in this guide assumes you’re starting with the right fabric and interfacing on hand, and that’s where most home sewists get stuck before they even thread the machine. Fabric-fabric stocks heavier-weight yardage suited to coats, structured jackets, and other buttonhole-heavy projects where a flimsy fabric won’t hold a bartack.

If your next project calls for structured, stable fabric that can take a keyhole or corded buttonhole without puckering, browse the backdrop fabric collection for heavier weaves built to hold stitching, or check the home decor fabric selection if you’re working on upholstery-weight pieces with closures. Before cutting into full yardage, order a swatch, run your scrap test with matching interfacing, and confirm the fabric handles your buttonhole method the way you expect. Add your fabric, interfacing, and a spare buttonhole foot to your cart, and test everything on scrap before it touches your garment.
For machine-specific settings, check your manufacturer’s guide, such as Brother’s one-step buttonhole instructions. For hand-sewing form, Craftsy’s tutorial remains a solid reference.