

 US Dollar
How to Evaluate Fabric Samples: Steps for Crafters
Posted by BLG on 2026 Apr 18th
Posted by BLG on 2026 Apr 18th

TL;DR:
- Proper fabric evaluation involves sensory tests and industry-standard measurements to ensure suitability.
- Testing methods differ for home crafters and professionals, with equipment and standards guiding assessments.
- Combining tactile intuition with practical tests prevents costly mistakes and project failures.
Choosing the wrong fabric can turn a promising project into a costly disappointment. Imagine spending hours constructing a quilt, only to find the colors bleed after the first wash, or cutting into a fashion piece to discover the weave unravels under minimal stress. These are not rare mishaps. They happen every day to crafters and designers who rely on gut instinct instead of a structured evaluation process. This guide walks you through exactly how to assess fabric samples the way professionals do, from gathering the right tools to running durability tests, so your next project turns out as beautiful as you imagined.
| Point | Details |
|---|---|
| Use all senses | Sight, touch, sound, and smell each reveal important details about fabric quality even before testing. |
| Test for performance | Durability, colorfastness, and strength tests are essential for predicting how fabrics will behave in real-world use. |
| Adapt to specialty fabrics | Take extra care with blends, finishes, or unusual samples—use both at-home techniques and request lab data when needed. |
| Prepare your toolkit | Having the right tools ensures you evaluate fabric samples safely, accurately, and consistently every time. |
Effective fabric evaluation starts before you touch a single sample. Having the right equipment on hand saves time and prevents guesswork. The good news is that you do not need a full laboratory to get reliable results, especially for personal projects. What you need depends on whether you are working at home or in a professional studio setting.
For home evaluation, these are your core tools:
For studio or lab settings, the equipment list expands significantly:
| Tool | Purpose | Standard Reference |
|---|---|---|
| Tensile tester | Measures breaking strength | ASTM D5034 |
| Martindale tester | Abrasion resistance cycles | ASTM D4966 |
| Light box | Colorfastness under UV | AATCC TM16 |
| Wyzenbeek tester | Heavy-duty abrasion testing | ASTM D4157 |
| Gray Scale | Colorfastness rating | AATCC standards |
Understanding which category you fall into matters. Professionals prioritize lab tests per ASTM and AATCC standards for compliance, while hobbyists rely on practical home tests like wet rub, stretch recovery, and cautious burn tests. Neither approach is wrong. They just serve different purposes. For a deeper look at matching tools to your specific project needs, a solid fabric selection guide can point you in the right direction, and reviewing textile testing standards helps you understand what labs are actually measuring.
Pro Tip: Always perform burn tests in a fireproof dish outdoors or near ventilation. Some synthetic blends release toxic fumes. If you have known textile allergies, wear gloves during initial handling.
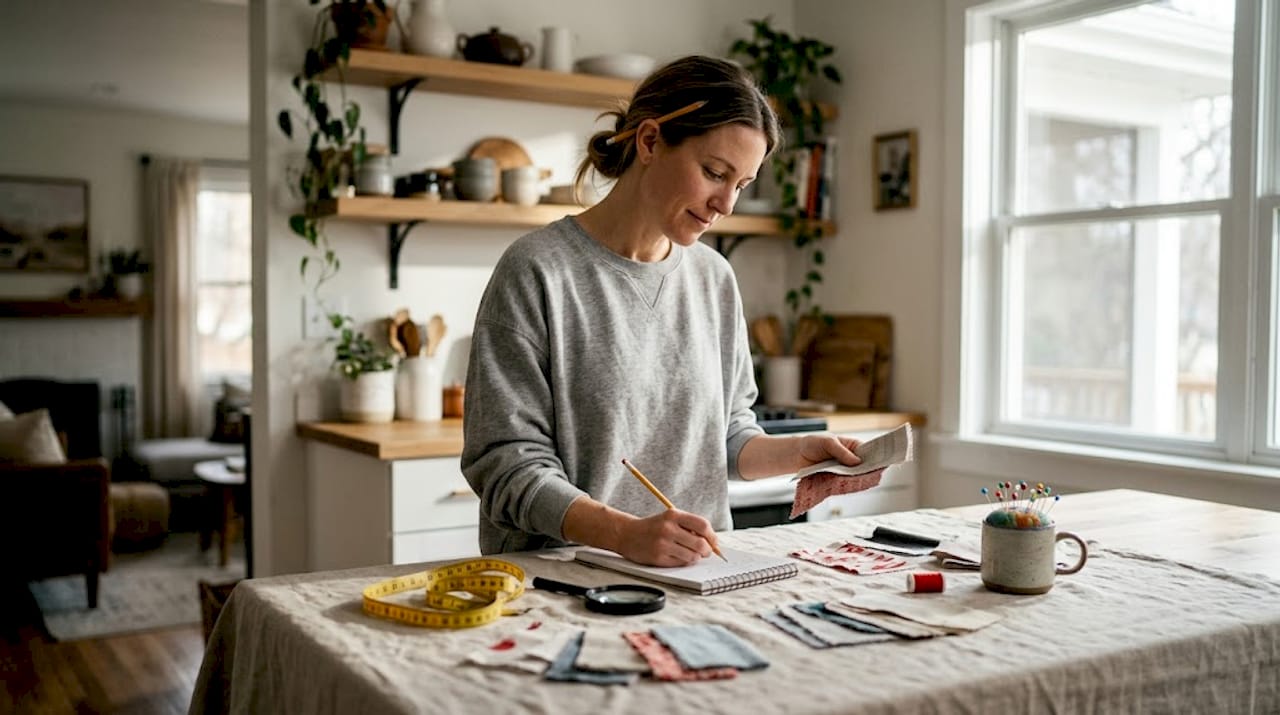
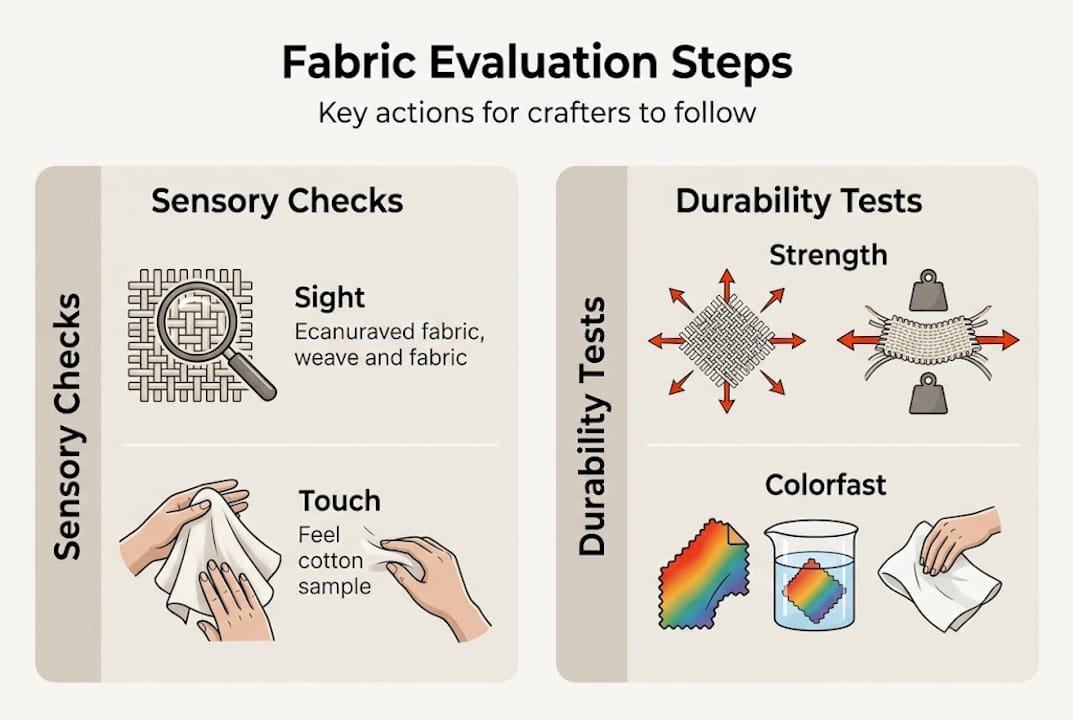
With your tools ready, it is time to engage your senses before you run a single formal test. Experienced textile professionals can tell a lot about a fabric’s fiber content and potential performance just by careful observation. You can develop this skill too.
Sight is your first line of evaluation. Look at the luster: is it bright and uniform (suggesting synthetic fibers like polyester) or soft and slightly irregular (natural fibers like linen or cotton)? Examine the weave density by holding the fabric up to light. Tightly woven samples let through very little light and are generally stronger and less prone to snagging.
Touch reveals what sight cannot. Run the sample through your fingers and note:
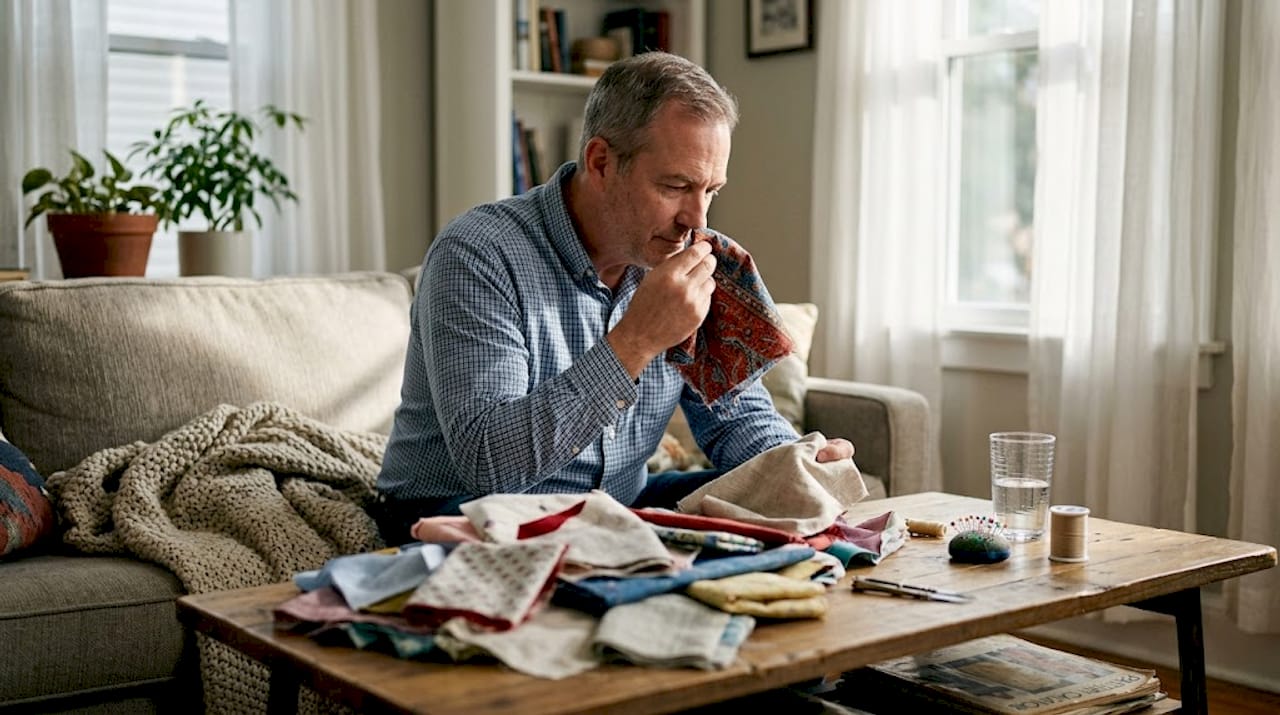
Sound is often overlooked but genuinely useful. Silk, for instance, produces a distinctive rustling sound called scroop when rubbed together. Taffeta crinkles audibly. Stiff, papery sounds can indicate heavy starching that will wash out, changing the fabric’s character entirely.
Smell is your early warning system. A musty or sour odor can indicate moisture damage or aging, while a sharp chemical smell may point to formaldehyde-based finishes or dyes that could irritate skin. According to sensory identification methods, smell that indicates deterioration is a red flag worth taking seriously before investing in yardage.
Pro Tip: Always evaluate fabric color under natural daylight or a daylight-balanced bulb. Fluorescent lighting can shift perceived hues dramatically, causing you to misjudge whether two fabrics will coordinate. Learning to identify fabric quality through sensory methods is a skill that rewards patience, and once developed, you will compare textiles for quality far more confidently.
Once you have gathered sensory clues, it is time to put the fabric through its paces. Performance tests reveal how a sample will actually behave during construction and throughout the life of the finished piece.
Start with these practical at-home tests:
Industry benchmarks matter here. Tensile strength measured via ASTM D5034 tells you the force required to break a fabric, with durable choices like denim scoring significantly higher values than lightweight shirting. For abrasion resistance, Martindale or Wyzenbeek standards measure how many rub cycles a fabric can withstand before visible wear appears. Upholstery fabrics need to hit 15,000 rubs at minimum, with heavy-use applications requiring 50,000 or more.
For color integrity, AATCC colorfastness standards like TM61 (washing), TM16 (light), and TM8 (rubbing) evaluate color retention under real conditions, with results rated on a Gray Scale from 1 (poor) to 5 (excellent). Ratings below 3 are a concern for washable projects.
Important: At-home tests provide direction, not certification. If your project requires compliance with safety or performance regulations, always commission lab testing from an accredited facility before committing to a full purchase.
For garment makers, understanding garment durability and building in the right fabric care for durability are two sides of the same coin.
Standard evaluation methods work well for pure weaves and familiar materials. However, many fabrics sold today are blends or carry special finishes, and that is where things get tricky.
Remember: A fabric that looks premium may have a stain-resistant or wrinkle-free coating that fundamentally changes how it stitches, dyes, or wears. Never judge a specialty fabric by visual appearance alone.
Common evaluation pitfalls and how to sidestep them:
For quilters, focus on thread count consistency, color fidelity under washing, and how well the fabric handles repeated folding at seam lines. For apparel designers, stretch recovery, seam integrity, and drape are your top priorities. For home decorators, prioritize abrasion scores and UV light resistance, especially for window treatments or high-traffic upholstery.
Pro Tip: Always ask vendors for technical data sheets or performance test results on specialty fabrics. Reputable suppliers can provide this without hesitation. If they cannot, that tells you something important. For a full breakdown of navigating blended fabrics, the fabric blends guide is worth bookmarking before your next sourcing run.
Here is something we have learned from years of working with textile buyers and experienced crafters: the fabrics that cause the most project failures are often the ones that felt perfect in hand.
Satin is gorgeous to the touch. Velvet looks luxurious. But both can score poorly on abrasion and colorfastness tests, making them completely wrong choices for a high-use item like a throw pillow or a child’s costume that needs repeated washing. We have seen returned projects and refund requests trace directly back to one skipped test. Not a wrong fabric choice exactly, but an untested one.
The most skilled designers and experienced crafters we work with share one habit: they combine tactile instinct with at least two or three practical tests before purchasing more than a sample yard. They know that their hands are a starting point, not a conclusion. Learning to evaluate fabric quality with this mindset, sensory first and performance test second, is what separates a good project from a great one. Investing 20 minutes in proper evaluation upfront saves hours of frustration later.
Ready to put your new evaluation skills to work? The process only becomes useful when you have quality samples to test. At fabric-fabric.com, every fabric listing includes clear descriptions of fiber content, weight, and intended use, so you know exactly what you are working with before you order.

Browse our full range of quality quilting fabrics with detailed specs that make evaluation straightforward from the start. Planning a room refresh? Our home decor fabrics are curated for durability and style, and each listing includes care instructions and weight details. For event or studio work, explore our backdrop fabrics collection, ideal for testing drape and light performance before your shoot. Order swatches, run your tests, and choose with complete confidence.
Tensile strength via ASTM D5034 and abrasion resistance are the two most critical tests for durability, especially for heavy-use items like upholstery or outerwear. These measurements tell you whether a fabric will hold up over real daily use or fail prematurely.
Rub a damp white cloth firmly on your fabric sample. If color transfers, the dye is not stable enough for regular washing. Full compliance testing uses AATCC TM61 and TM8 standards with a Gray Scale rating system for precise results.
Blends behave differently than pure fibers, so their performance on stretch, shrinkage, and burn tests may not match what you expect from either individual fiber. Always test blend samples independently for accurate results.
A dense, tightly woven fabric with a smooth but firm hand feel typically lasts longer than loosely woven or overly stretchy alternatives. Strong sensory indicators like consistent weave density and neutral smell also suggest a fabric that has been properly stored and processed.