

 US Dollar

How to Sew a Quilt Top: Practical Steps for Beginners
Posted by BLG on 2026 Jul 28th
Posted by BLG on 2026 Jul 28th

TL;DR:
- Accurate cutting and a consistent 1/4 inch seam allowance are essential for well-matched quilt tops.
- Chain-piecing, nesting seams, and proper pressing techniques help assembly and point matching.
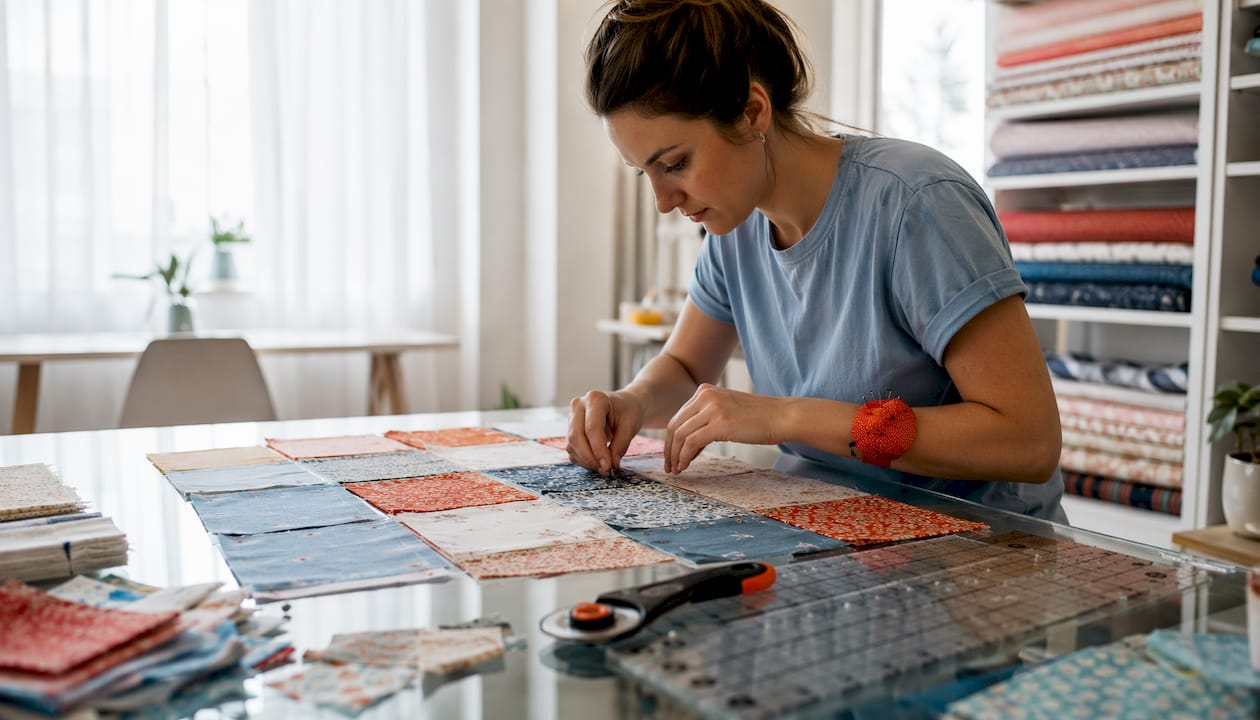
You can sew a square, well-matched quilt top by cutting accurately, using a consistent 1/4" seam allowance, chain-piecing your blocks, nesting seams between rows, and squaring the top before adding borders. The two standards that matter most from the first cut to the last seam: a fresh rotary blade and a seam allowance that never drifts. Everything else builds on those two things.
Before you cut a single piece, run a strip test: sew three 1.5" strips together, press, and measure the center strip. It should finish at exactly 1". If it doesn’t, adjust your needle position now, not after 40 blocks.
What to have ready before you start:
Pro Tip: Run the strip test on every new machine or after changing thread weight. Half a sixteenth of an inch compounds fast across multiple blocks.
The right tools make the difference between a flat, accurate top and one that fights you at every seam.
Must-haves:
Helpful extras that pay off quickly:
For fabric, 100% quilting cotton is the best fabric for quilt tops at any skill level. It doesn’t stretch much on the straight grain, it presses flat, and it’s widely available. Fabric-fabric carries a solid range of quilting cottons by the yard, including geometric prints that work well for beginner patterns. Prewashing is optional, but if you skip it, at least press your yardage with steam before cutting to remove fold distortion. For fussy cuts or bias-heavy pieces, a light spray of spray starch before pressing keeps edges stable.
Inconsistent cutting is the most common beginner mistake, and it causes cascading errors through every step that follows. A piece cut even 1/16" too wide throws off the block, which throws off the row, which throws off the whole top.
Cutting fundamentals:
Grainline and bias handling: Cut pieces so the longest edges run on the straight grain (parallel to the selvage). Bias edges, like those on half-square triangles, stretch easily. Handle them minimally, press with a lift-and-place motion rather than sliding the iron, and consider a light starch application before cutting. For fussy cuts, where you’re centering a specific print motif, check out Fabric-fabric’s guide on matching fabric patterns for placement tips.
Organization: Once pieces are cut, sort them into labeled stacks by row and position. A design board lets you audition the full layout before a single seam is sewn. Don’t skip this step on your first project.
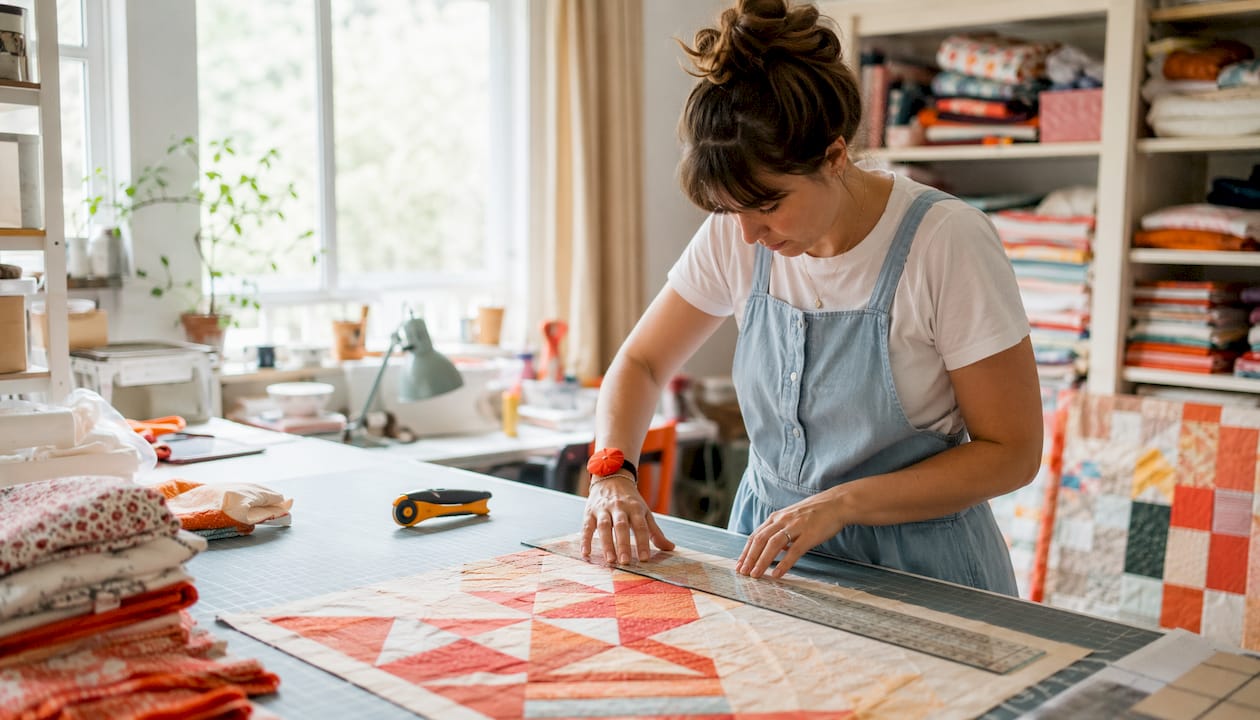
Pro Tip: Before mass-cutting, make one test cut and measure it against your ruler. A blade that’s slightly dull will cut narrower on the far end of a long strip. Catching this early saves a full re-cut.
Chain piecing eliminates repeated thread cutting, keeps seam tension consistent, and speeds up production significantly. Here’s the exact workflow:
Maintaining a consistent 1/4" seam while chain-piecing comes down to three things: a 1/4" presser foot (or a marked guide on the machine bed), keeping your eyes on the fabric edge rather than the needle, and not pulling the fabric. Let the feed dogs do the work.
A scant 1/4" (a thread’s width less than a true quarter inch) is worth trying if your blocks consistently sew up slightly small. The seam fold itself eats a tiny amount of fabric, and a scant seam compensates for that. You can also adjust needle position one click to the right on most machines to achieve the same effect.
Pro Tip: At intersections and tiny units, slow your machine to its lowest speed and use a stiletto to guide the fabric. Pulling or pushing causes the seam to drift.
Pressing is as important as sewing. A well-pressed seam is flat, accurate, and ready to nest. A slid-over seam is distorted and adds bulk in the wrong places.
The pressing sequence:
Nesting seams is how you get points to match without fighting pins. Press adjacent rows in opposite directions so that when you bring two rows together, the seam allowances interlock like puzzle pieces. The seams lock at the intersection, and you can feel them click into place with your fingers before you even pin.
When to open seams instead: at thick intersections (like a 12-block star center), opening seams distributes bulk evenly and prevents a lump under the needle. The trade-off is that open seams can’t nest, so you’ll need to pin more carefully.
A wool pressing mat and a tailor’s clapper are worth every dollar. The mat reflects heat back through the fabric; the clapper traps it and flattens the seam as it cools.
Pro Tip: Finger-press seams to the side and finger-nest them before final pressing. This lets you check alignment at intersections without committing to a direction.
Use a walking foot for long row seams. It feeds both layers at the same rate, which prevents the bottom layer from creeping ahead of the top. After joining every two or three rows, measure the assembled section against your pattern’s expected dimensions. Catching a 1/4" drift at row 4 is fixable; catching it at row 12 is not.
A scant 1/4" or a one-click needle adjustment can fine-tune final row joins if blocks are consistently landing slightly small.
Pro Tip: Pin at intersections only, not along the entire seam edge. Over-pinning distorts the fabric between pins and creates a wavy seam.
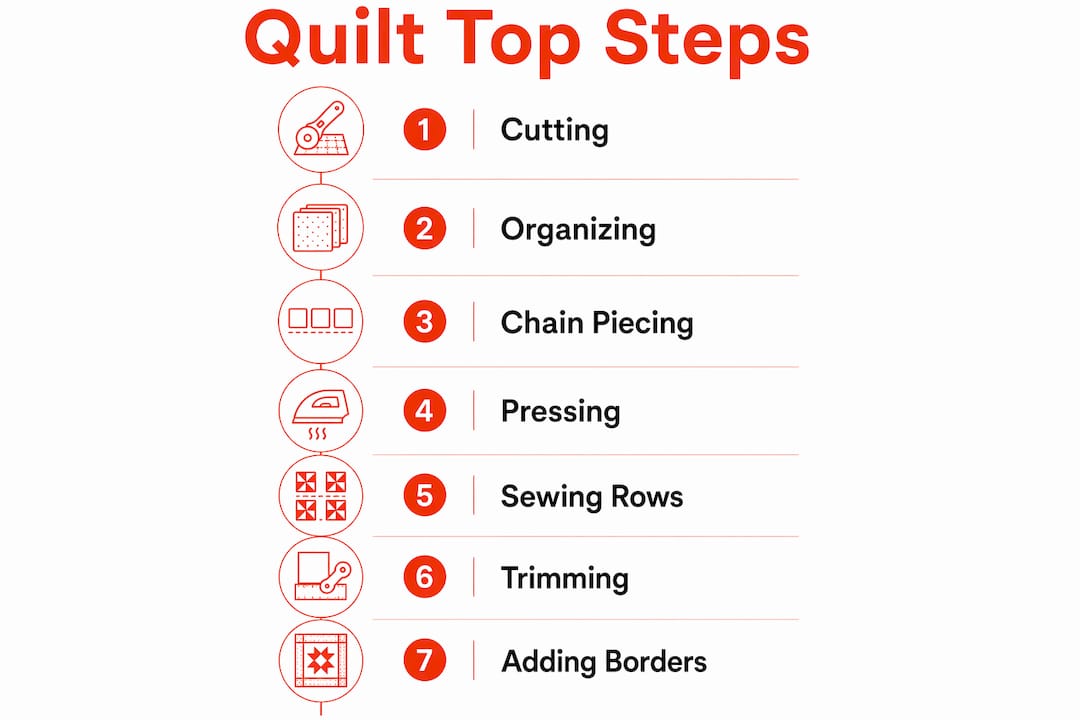
A quilt top that isn’t square will never lie flat, no matter how well it’s quilted.
Squaring the top:
Adding borders:
Pre-press the finished top with steam before basting. It removes the last of the handling distortion and gives you a flat, stable surface to work with.
| Mistake | Cause | Fix |
|---|---|---|
| Inconsistent seam allowance | No seam guide, eyes on needle not edge | Add a 1/4" foot or tape guide; run the strip test |
| Blocks sewing up too small | True 1/4" instead of scant | Switch to scant 1/4" or shift needle one click right |
| Stretched bias edges | Sliding iron, handling bias cuts too much | Starch before cutting; lift-and-place pressing only |
| Misaligned points | Seams not nested, pinning at wrong spots | Press rows in opposite directions; pin at intersections only |
| Wavy borders | Measuring along the edge instead of center | Always measure through the center; ease borders to fit |
When a single row is misaligned, a partial unpick is faster than ripping the whole seam. Unpick just past the problem intersection, re-nest, and re-sew. If a block is slightly off-square but within 1/8", trimming to the smaller size and adjusting the adjacent blocks is often faster than re-sewing.
Know when to adapt versus when to rip. A 1/16" misalignment in a scrappy quilt is invisible once quilted. A 1/4" drift in a geometric pattern will show. Use your judgment.
Pro Tip: Keep a small ruler at your machine and measure one block per row as you assemble. Catching drift early means a quick fix, not a full re-do.
Once the top is pressed and squared, you’re ready for the quilt sandwich.
For fabric guidance on backing and batting choices, Fabric-fabric’s quilting fabric guide covers material selection in detail.
A successful quilt top comes down to three non-negotiables: accurate cuts with a fresh blade, a tested and consistent 1/4" seam, and seams pressed and nested before joining rows.
| Point | Details |
|---|---|
| Test seam allowance first | Sew three 1.5" strips, press, and confirm the center strip measures exactly 1" before cutting all pieces. |
| Fresh blade every project | A dull rotary blade causes blade drift and inconsistent cut widths, which compounds into misaligned blocks. |
| Chain-piece and use leaders/enders | Chain piecing stabilizes thread tension and speeds production; leaders and enders prevent loose first and last stitches. |
| Nest seams between rows | Press adjacent rows in opposite directions so seam allowances interlock at intersections, reducing pinning and improving point alignment. |
| Fabric-fabric for quilting cottons | Fabric-fabric stocks quilting cottons by the yard and curated bundles suited to beginner and intermediate quilt top projects. |
Most beginner guides focus on the steps. What they underplay is the compounding nature of small errors. A 1/16" drift in your seam allowance sounds trivial. Across 10 blocks in a row, that’s 5/8" of accumulated error. Your row won’t match the next one, your points won’t align, and you’ll spend more time troubleshooting than sewing.
The strip test isn’t optional. Neither is pressing as you go. Experienced quilters don’t press at the end of a session; they press after every unit, every row, every join. It takes longer in the moment and saves hours later.
The other thing worth saying plainly: a quilt top doesn’t have to be perfect to be beautiful. Scrappy quilts hide a lot. Geometric patterns don’t. Know what you’re making and calibrate your tolerance accordingly. A first quilt with slightly imperfect points is still a quilt. Press it flat, baste it well, and quilt it. The next one will be better.
Fabric-fabric stocks a curated range of quilting cottons, geometric prints, and backing fabrics that work well for beginner and intermediate quilt top projects. You won’t need to hunt across multiple suppliers.

What to explore at Fabric-fabric:
Browse the full quilting fabric range at Fabric-fabric and pick up everything you need for your first or next quilt top in one order.