

 Canadian Dollars

How to Prewash Fabric Before Sewing or Quilting
Posted by BLG on 2026 Aug 26th
Posted by BLG on 2026 Aug 26th

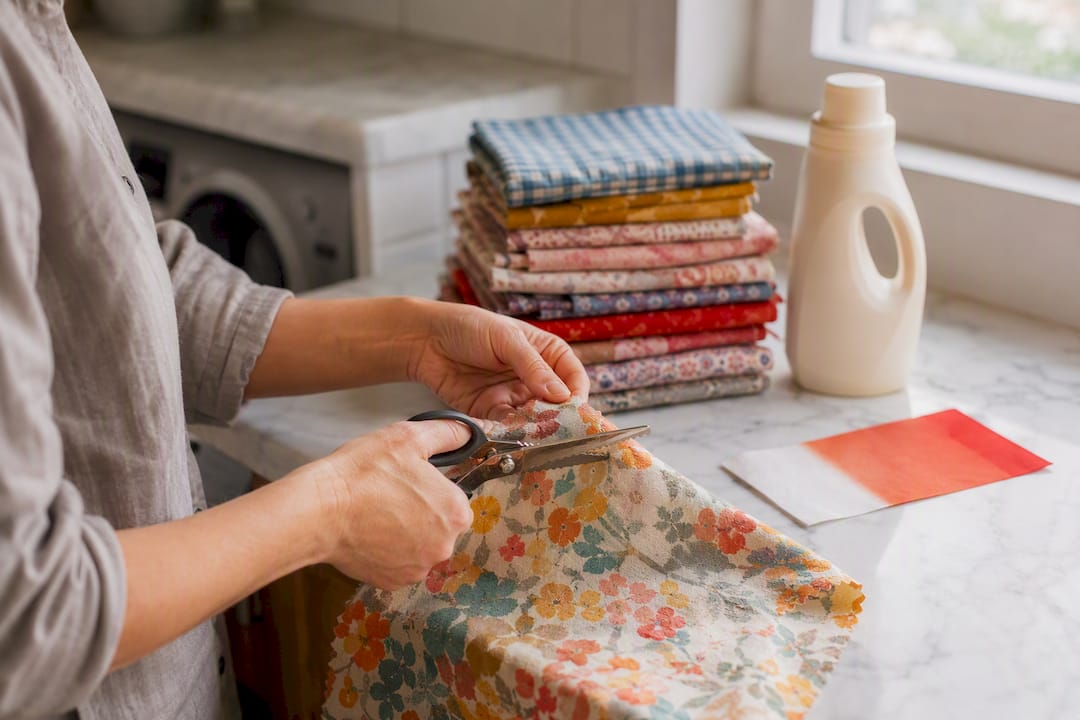
Yes, prewash for most washable projects, and do it using the same wash and dry settings the finished piece will get. That single rule solves more sewing headaches than any other prep step. Skip it and you risk a garment that shrinks noticeably after its first real wash, or a quilt that puckers because the top and batting shrank at different rates.
A hands-on comparison of prewashed versus unwashed garments found the unwashed versions lost up to two inches in some dimensions after their first wash. Before you cut anything, finish raw edges on woven fabric and run a quick colorfastness swatch. Both take five minutes and save hours of rework.
TL;DR:
- Prewashing fabric should match the finished project’s laundering method and temperature to avoid unwanted shrinking and distortion.
- Finish raw edges before washing to prevent fraying and measure shrinkage to adjust yardage accordingly.
- Avoid prewashing precuts, layer cakes, or fabrics with finishes, as this can distort dimensions and fray edges.
- Test fabric for color bleeding with a dampened press and measure shrinkage before committing to full yardage.
- Use environmentally friendly practices like washing full loads in cold water and line-drying to reduce resource consumption.
The decision comes down to two questions: what are you making, and what is the fabric made of?
Project type drives the first call. Anything that gets laundered regularly, garments, bedding, baby items, kitchen linens, needs a prewash. If the finished piece is going in a washing machine eventually, the raw fabric should go through one first. Wall hangings, some home decor accents, and one-time display pieces are more flexible.
Fiber content drives the second. Natural fibers move the most water and shrink the most:
Precuts, batiks, and fabrics with designer finishes deserve their own category. Strip packs, jelly rolls, and layer cakes are cut to precise dimensions, and running them through a wash cycle can distort those sizes and fray the edges past usability. Skip prewashing precuts, or test a single strip first if you’re nervous about bleeding.
Follow this order and you’ll avoid the two most common failures: fraying that eats your yardage and shrinkage that throws off your pattern.
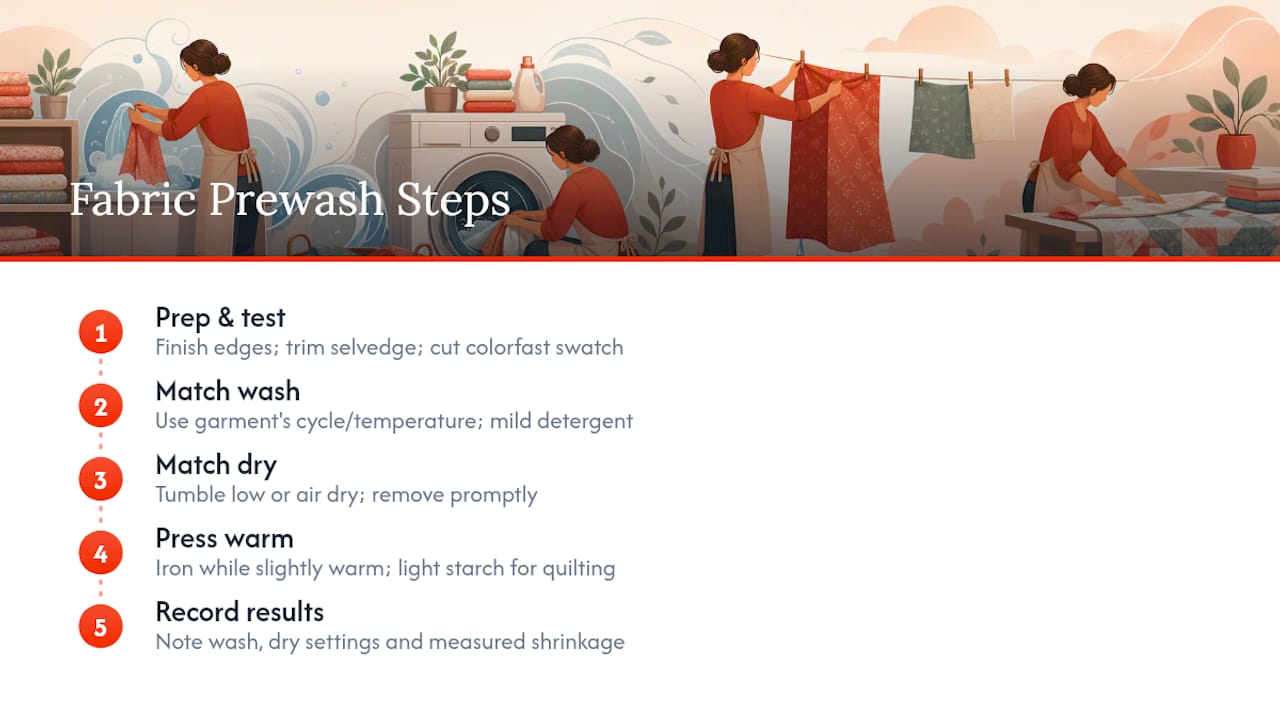
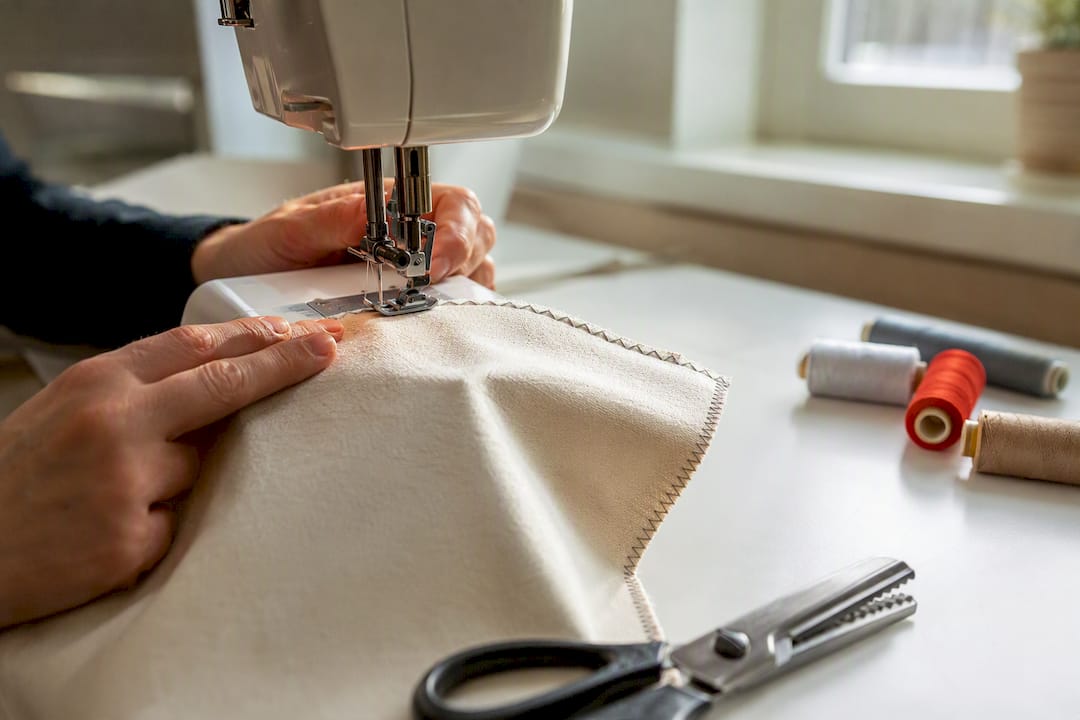
1. Prep before the fabric touches water. Finish every raw edge with a serger, a tight zigzag stitch, or pinking shears. Skipping this step is the single fastest way to lose an inch of fabric to fraying on both sides. If the selvedge is stiff or puckered, trim it off now rather than fighting it later. Sort fabrics by color and weight so a dark dye doesn’t bleed onto something pale, and cut a small swatch to set aside for a colorfastness check before the full piece goes in.
2. Wash it the way the finished piece will be washed. This is the rule that matters most: match the cycle and temperature to the garment’s future care, not to whatever setting is fastest. A baby quilt that will get washed on hot needs to be prewashed on hot. Use a mild detergent, and skip fabric softener entirely if you’re piecing or quilting. Softener leaves a residue that interferes with how fabric glue, fusible interfacing, and pins behave later.
3. Dry it the same way you’ll dry the final project. Tumble dry on low if that’s the plan for the finished item, or air dry if that’s how you’ll actually care for it. Pull fabric out of the dryer promptly. Fabric left sitting in a warm, damp pile can develop wrinkles that are hard to press out and can distort the grain.
4. Press while the fabric is still slightly warm. Ironing warm fabric helps realign the grain that got twisted in the wash and dry cycle. For quilting cottons, a light spray starch at this stage restores crispness and makes rotary cutting far more accurate.
5. Record what you did. Jot down the wash temperature, dry setting, and the shrinkage you measured (before and after length and width). Future you, buying fabric for a matching project, will thank present you.
Not every fabric belongs in a washing machine, and treating silk the way you treat quilting cotton is how good yardage gets ruined.
A luxury-focused guide on caring for finer garment fabrics makes a point worth repeating for sewists: the gentlest method that removes dust and residue is almost always the right one for fabrics with a finish worth protecting. When in doubt, steam beats submerging.
How you dry fabric affects it almost as much as the wash itself. Tumble drying on high heat pulls out more shrinkage than a low or air-dry cycle, which is exactly why matching the dryer setting to your finished project’s actual care routine matters more than picking whichever setting finishes fastest.
That label matters more than it sounds like it should. Buy the same fabric line again in six months and you’ll know exactly how it behaves instead of guessing.
Two quick tests catch almost every prewash problem before it ruins a project.
1. Test colorfastness first. Dampen a hidden corner or scrap and press it between two white cloths with a hot iron. Any color transfer means that fabric bleeds, and you should wash it separately or with a color-catcher sheet.
2. If it bleeds, isolate it. Rewash the piece with a color-catcher until the water runs clear, or keep that fabric physically separated from lighter pieces in your final project.
3. Measure shrinkage before assuming it’s fine. Mark a fabric square before washing, remeasure after, and calculate the percentage change. If shrinkage runs high, buy extra yardage or accept a smaller finished size rather than guessing.
4. Fix fraying with reinforcement. If a machine-finished edge still frays badly, add a stabilizer strip or hand-bind the raw edge before it unravels further.
Pro Tip: Always test with a color-catcher sheet, even on fabric you’re fairly sure is colorfast. It costs pennies and it’s cheaper than a bleached-looking quilt top.
Different fibers behave differently enough that a one-size checklist only gets you so far. Fabric-fabric’s fabric care guide breaks down wash and dry recommendations by fiber type, and the fabric care tips for retailers resource covers chemical removal and handling for bulk orders.
Every prewash cycle uses water, energy, and detergent, and quilters and sewists working through multiple projects a year can meaningfully cut that footprint with a few adjustments.
Wash full loads instead of single yardage pieces whenever your project timeline allows it. Combining several fabric prewashes into one load cuts water and energy use per yard without changing the outcome. Cold or warm washes work for most natural fibers and use far less energy than hot cycles, so reserve hot water for pieces that genuinely need it, like fabric destined for items that will be sanitized regularly.
Skip fabric softener. Beyond the piecing problems it causes, softener adds a chemical layer that eventually washes down the drain and isn’t necessary for fabric that’s about to be sewn and pressed anyway. A mild, phosphate-free detergent gets the job done with less environmental load.
Air-dry when your project’s final care allows it. Line-drying uses no electricity, and it’s gentler on fiber structure than repeated tumble-dry heat cycles, which matters if you’re testing swatches multiple times before settling on yardage. And buy only what you need. Testing a swatch first and recording accurate shrinkage numbers means you order closer to the exact yardage required instead of over-buying “just in case,” which cuts textile waste at the source.
Most prewash problems trace back to one of five avoidable habits.
Skipping the edge finish. Throwing raw-cut yardage straight into the wash is the single most common mistake, and it’s the one that costs actual fabric. Unfinished edges can fray several inches deep in one cycle.
Mixing wash settings across a quilt. If you prewash the quilt top but not the backing or batting, you’ve set up two materials to shrink at different rates. The advice from experienced quilters is unanimous here: prewash all components together or none at all.
Using hot water “just to be safe.” Hotter water and higher heat pull out more shrinkage, which sounds useful until it’s more shrinkage than the finished piece will ever see again in normal care.
Skipping the colorfastness test on “safe-looking” fabric. Dark reds, navy, and black are the usual bleed offenders, but plenty of unexpected colors bleed too. The five-minute test costs nothing and prevents a ruined light-colored piece.
Prewashing precuts out of habit. If a pattern calls for a jelly roll or layer cake, prewashing it defeats the purpose of buying it precut in the first place, and the fraying that follows often makes the strips unusable at their stated width.
The conventional advice on this topic usually stops at “always prewash” or “never prewash,” and both extremes miss the point. The right call depends on what you’re sewing, not a blanket rule you can memorize once and forget.
What gets underestimated is the edge-finishing step. Sewists obsess over detergent brands and water temperature while skipping the thirty seconds it takes to serge or zigzag a raw edge, then wonder why their yardage came out narrower than expected. That’s not a washing problem. It’s a prep problem.
If you take one thing from this whole process, prioritize matching your prewash to the fabric’s final care, not to whatever’s fastest today. A quilt washed gently now but blasted with heat later will still surprise you eventually. Test first, wash to match, and write down what happened. That habit does more for consistent results than any single product or technique.
— kev
Prewashing fabric before you cut protects both fit and fabric budget by matching preparation to how the finished piece will actually be laundered.
| Point | Details |
|---|---|
| Match wash to final care | Prewash fabric on the same cycle and temperature the finished piece will get. |
| Finish edges first | Serge, zigzag, or pinking-shear raw edges before washing to prevent fraying loss. |
| Skip precuts | Avoid prewashing strip packs and layer cakes since it distorts their precise sizes. |
| Test before you commit | Dampen a swatch and press between white cloths to catch dye bleeding early. |
| Prewash all quilt parts together | Wash top, backing, and batting together if you prewash any of them, to avoid puckering. |
Ready to start a project with fabric you can trust from swatch to finished seam? Browse Fabric-fabric’s backdrop fabrics for full-yardage options suited to garments, quilting, and home decor, and order a sample swatch first to test shrinkage and colorfastness before committing to the full cut.