

 US Dollar
Fashion Fabric Cutting Guide for Precision Garments
Posted by BLG on 2026 Jan 20th
Posted by BLG on 2026 Jan 20th


Few things are more frustrating for hobbyist fashion designers than battling uneven cuts or mismatched seams after hours of work. Precise fabric cutting is the backbone of garment construction, impacting how your designs fit, move, and hold up over time. By focusing on careful fabric preparation and choosing the right tools, you can dramatically upgrade your sewing results and make every project faster and more enjoyable.
| Key Insight | Explanation |
|---|---|
| 1. Proper Preparation is Crucial | Prepare your fabric and tools to ensure accurate cuts and improve the quality of your garments. |
| 2. Align Fabric Grain Accurately | Correctly positioning the fabric grain prevents distortion and ensures the garment fits well. |
| 3. Use Appropriate Cutting Tools | Sharp, dedicated tools like fabric scissors and rotary cutters enhance cutting precision and efficiency. |
| 4. Marking is Essential | Clearly mark important points on your fabric to guide your sewing process and maintain accuracy. |
| 5. Inspect Edges Before Assembly | Check the cut edges for consistency and trim loose threads to ensure high-quality garment construction. |
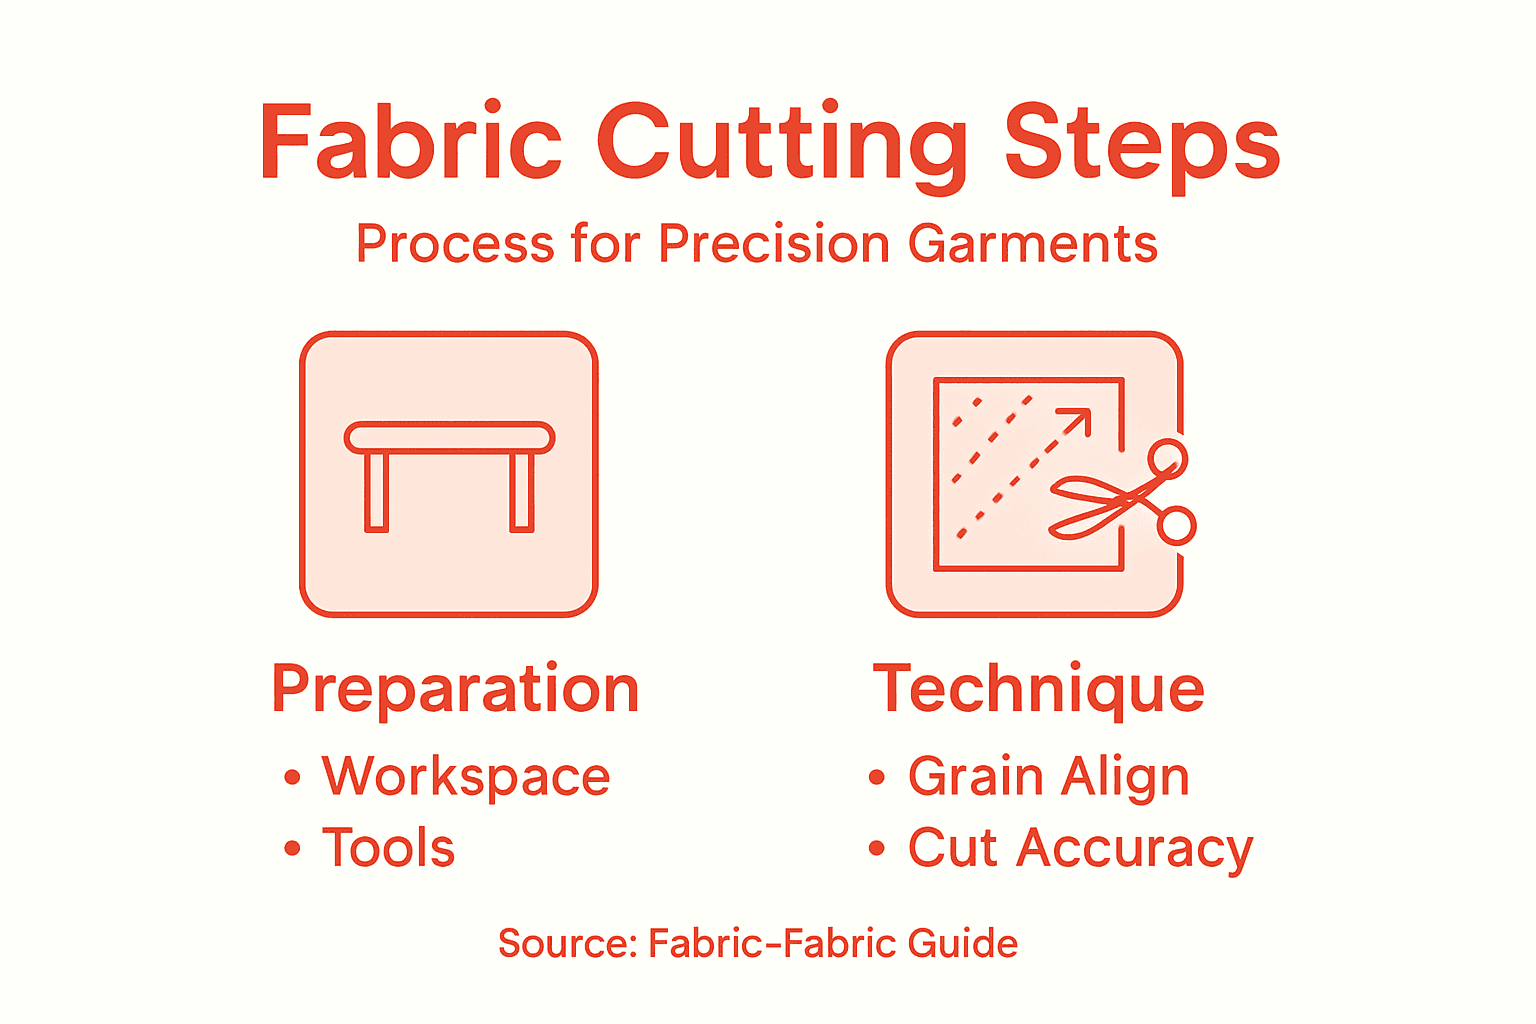
Precision garment construction starts with meticulous fabric and tool preparation. Getting your workspace and materials ready will dramatically improve the accuracy and quality of your final product. Professional fashion designers understand that proper setup is the foundation of exceptional garment design.
Begin by selecting a clean cutting surface large enough to accommodate your fabric. Ideally, use a cutting mat with grid lines to help you measure and align fabric accurately. Fabric preparation involves strategic pre washing to prevent future shrinkage and remove any sizing or chemical treatments. Wash your chosen fabric using a gentle cycle and similar temperature settings to how you plan to clean the finished garment. After washing, press the fabric carefully with an iron to remove wrinkles and create a smooth cutting surface.
Gather your essential cutting tools before starting: sharp fabric scissors, rotary cutter, measuring tape, fabric chalk or marking pencils, pattern weights, and a reliable cutting mat. Check that your scissors are specifically designed for fabric cutting they should have sharp blades and comfortable handles. Position your tools within easy reach to maintain an efficient workflow and minimize unnecessary movement during the cutting process.
Here’s a concise summary of essential garment cutting tools and their key advantages:
| Tool | Main Benefit | Best Use Case |
|---|---|---|
| Rotary Cutter | Clean, straight cuts | Most fabrics |
| Fabric Scissors | Precision cutting | Delicate or curved sections |
| Pattern Weights | Stabilize fabric | Prevent shifting while cutting |
| Cutting Mat | Protects surfaces | Enables accurate measurement |
| Measuring Tape | Ensures accurate sizing | Verifying pattern dimensions |
Pro tip: Always keep a spare set of sharp scissors dedicated exclusively to fabric cutting to maintain precision and prevent dulling from cutting other materials.
Mastering fabric grain alignment is crucial for creating professional quality garments that maintain their intended shape and drape. Your ability to correctly identify and position fabric grain will directly impact the final fit and appearance of your finished piece.
Fabric grain alignment prevents distortion and ensures your garment hangs perfectly. Start by laying your fabric flat on a large cutting surface with good lighting. Locate the fabric’s lengthwise grain running parallel to the selvage edge and the crosswise grain perpendicular to it. You can identify the grain by gently pulling a thread from the fabric edge to create a visible guideline. Smooth out the fabric carefully to eliminate any wrinkles or bunching that might skew your alignment.
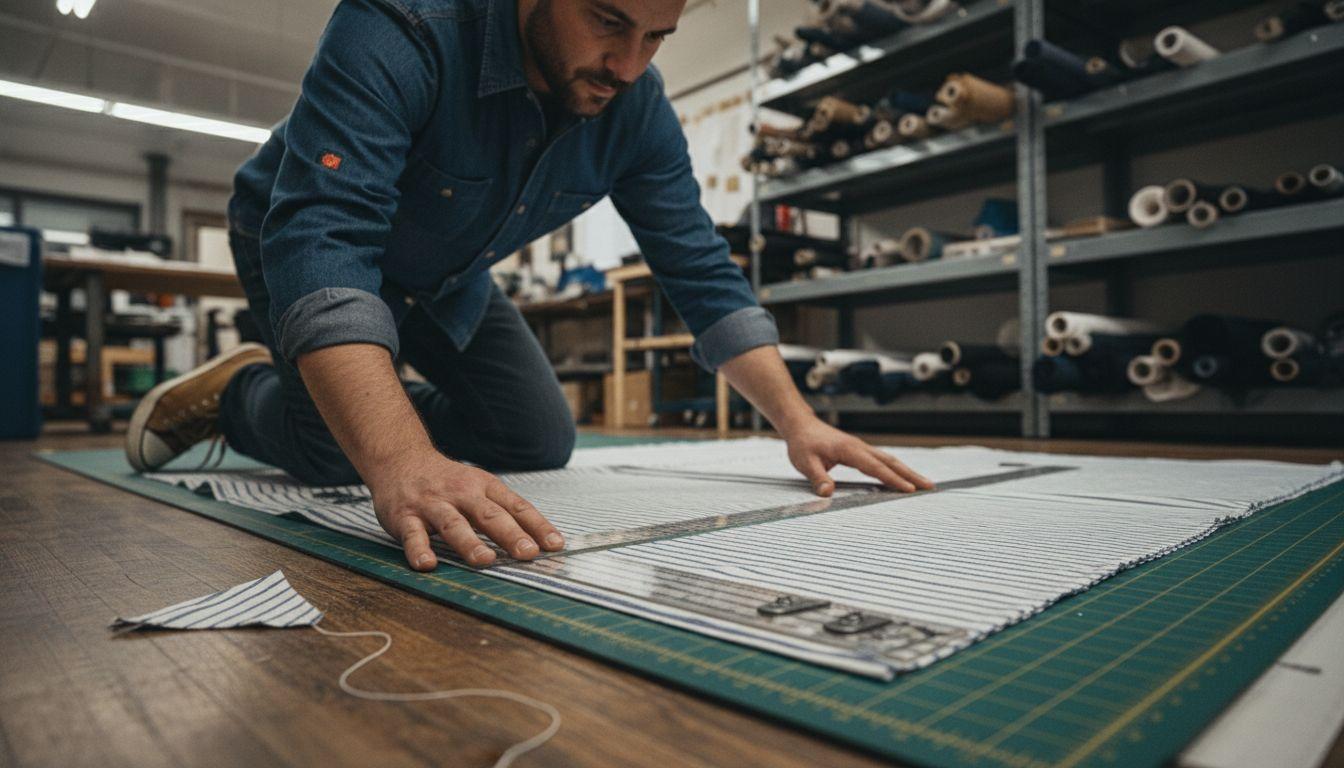
To secure the fabric grain, use pattern weights or pins to hold the fabric in place without stretching or distorting the material. If your fabric tends to shift, consider using a lightweight fusible interfacing to stabilize the material and prevent movement during cutting. Carefully position your pattern pieces following the grain lines marked on the pattern, ensuring they run parallel or at the specified angle to the fabric’s natural threads.
The following table compares fabric stabilization methods when preparing to cut:
| Stabilization Method | Pros | Ideal Fabric Types |
|---|---|---|
| Pattern Weights | Non-invasive, reusable | Medium to heavy fabrics |
| Pins | Secure hold, precise placement | Most woven fabrics |
| Fusible Interfacing | Adds structure, prevents stretch | Lightweight, shifting fabrics |
| Temporary Adhesive | No holes, fast application | Slippery or delicate fabrics |
Pro tip: Test your fabric’s grain by folding it diagonally and checking if the edges align perfectly a misaligned fold indicates grain distortion.
Precision pattern placement and accurate marking are the foundation of creating professional quality garments. Your goal in this step is to strategically position pattern pieces to maximize fabric usage while maintaining the integrity of your design.
Fashion designers carefully position patterns to optimize fabric efficiency and ensure accurate garment construction. Begin by laying out your pattern pieces on the fabric surface, taking care to align grain lines precisely with the fabric’s woven threads. Use pattern weights to hold pieces in place without distorting the fabric. Check that each pattern piece is positioned with enough space between them for seam allowances and cut lines.
Choose precise marking tools like tailor’s chalk, washable fabric markers, or fine tipped pencils that create clean lines without damaging the fabric. Mark all critical points including darts, notches, fold lines, and cutting edges. Double check that your markings are clear and consistent on both sides of the pattern piece. Pay special attention to transferring internal construction marks that will guide your sewing process.
Pro tip: Use transparent pattern weights and position a bright light underneath your cutting surface to help you see grain lines and pattern details more accurately.
Cutting fabric is a critical moment in garment construction where precision determines the quality of your final piece. Your technique will make the difference between a professional looking garment and an amateur result.
Precise fabric cutting techniques require careful equipment selection and methodical approach. Choose sharp cutting tools specific to your fabric type rotary cutters work best for most materials while fabric scissors remain ideal for more delicate textiles. Position your fabric on a self healing cutting mat and ensure your cutting surface is clean and smooth. Hold your cutting tool at a consistent angle approximately 15 to 20 degrees from the fabric surface to create clean uninterrupted cuts.
Move your cutting tool in smooth continuous motions without lifting or jerking the blade. Apply consistent pressure to prevent fabric shifting or creating uneven edges. For slippery or delicate fabrics, consider using pattern weights or temporary fabric adhesive to minimize movement during cutting. Always cut with the fabric grain to maintain fabric integrity and prevent distortion of your garment pieces.
Pro tip: Replace your rotary cutter blade after every 3 to 4 significant projects to maintain sharp cutting precision and prevent fabric fraying.
The final stage of fabric cutting requires careful inspection and strategic preparation to ensure your garment pieces are ready for seamless construction. Attention to detail during this phase will significantly impact the quality of your final product.
Designers meticulously verify cut edges to guarantee precision and structural integrity. Carefully examine each fabric piece under good lighting, checking for clean edges without fraying or uneven sections. Run your fingers along the cut lines to feel for any rough spots or inconsistencies. Trim any loose threads or minor imperfections using sharp fabric scissors to create crisp clean edges.
Prepare your cut pieces for assembly by organizing them systematically and applying stabilizing techniques. Consider using lightweight fusible interfacing on areas that require additional structure like collar stands, cuffs, or waistbands. Mark critical alignment points such as notches, darts, and seam intersections using fabric chalk or washable marking pens. Group corresponding pieces together to streamline your sewing process and minimize confusion during assembly.
Pro tip: Store cut fabric pieces between sheets of tissue paper to prevent wrinkling and keep edges crisp until you are ready to begin sewing.
Cutting fabric with exact grain alignment and flawless edges is vital to crafting garments that fit beautifully and last longer. If your challenge is achieving professional precision from fabric preparation to pattern cutting you know how frustrating it can be to work with materials that shift or lack quality. This is why having access to carefully selected fabrics like satin, lace, or velvet and the right cutting tools can transform your sewing experience.

Discover the perfect textiles designed for high precision garment creation at Fabric-Fabric. Benefit from our extensive range of quality fabrics, detailed product descriptions, and expert suggestions to match your project needs. Whether you need fabric that holds grain well or that complements delicate cutting techniques, our collection supports your goal of creating flawless garments. Visit Fabric-Fabric today to browse and order the materials that help turn your precise cutting skills into stunning finished pieces.
To prepare your fabric, start by washing it to prevent future shrinkage and remove chemical treatments. After washing, press it with an iron to create a smooth cutting surface for more accurate measurements.
Essential tools include sharp fabric scissors, a rotary cutter for clean cuts, measuring tape, fabric chalk for marking, and pattern weights to stabilize the fabric. Gather these tools within easy reach to streamline your cutting process.
Check for the fabric’s lengthwise grain running parallel to the selvage edge and the crosswise grain perpendicular to it. Lay the fabric flat and use pattern weights to secure it in place for precise cutting.
Use a consistent angle of about 15 to 20 degrees with your cutting tool while making smooth, uninterrupted cuts through the fabric. Avoid lifting or jerking the blade to maintain clean lines and prevent fraying.
Examine each fabric piece for clean edges, checking for any fraying or imperfections. Trim rough edges with sharp fabric scissors and organize pieces systematically to prepare for efficient sewing.
Use precise marking tools like tailor’s chalk or washable fabric markers to create clear lines without damaging the fabric. Make sure to mark critical points such as darts and seam intersections for accurate assembly.