

 US Dollar
Beginner Sewing Project Guide: Start Crafting Today
Posted by BLG on 2026 Jun 18th
Posted by BLG on 2026 Jun 18th

TL;DR:
- Beginner sewing projects focus on simple techniques like straight stitching and seam finishing using basic tools and stable woven cotton fabrics. Starting with small, functional items such as pillowcases or zipper pouches builds confidence and foundational skills within an hour or less. Consistent pressing, accurate measuring, and completing actual projects are essential to developing sewing proficiency and motivation.
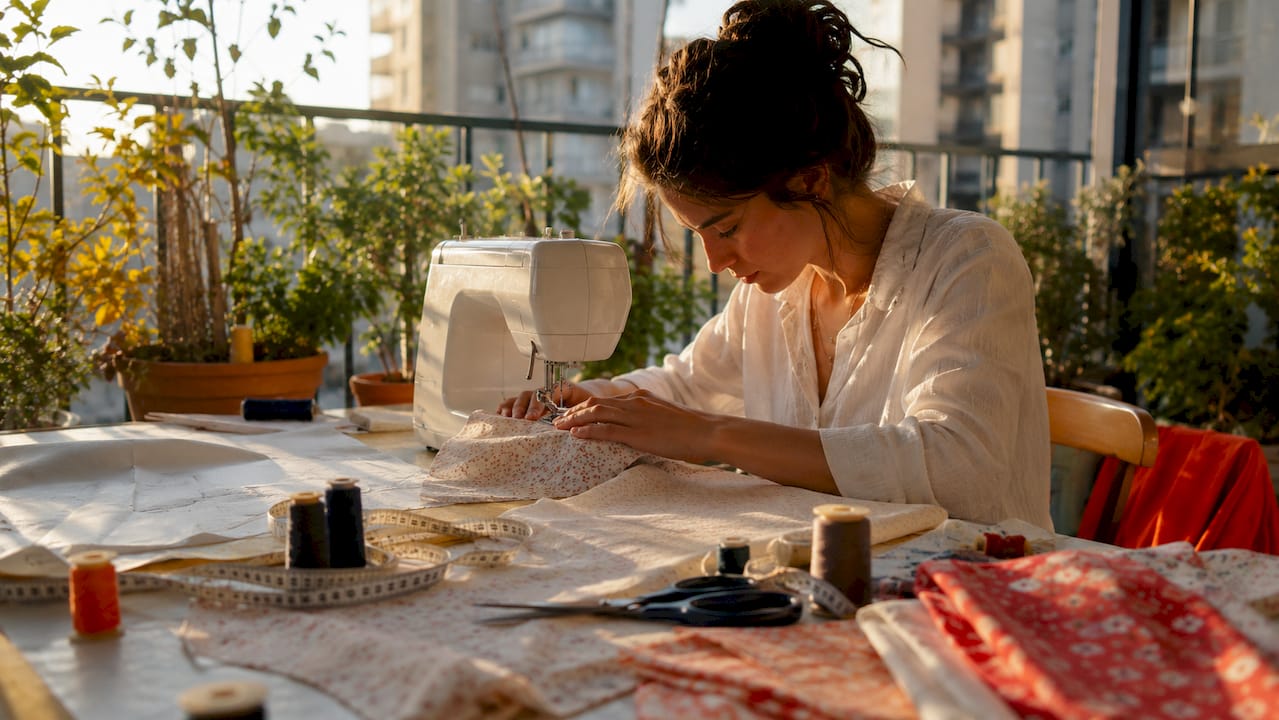
A beginner sewing project is defined as any small, low-skill construction task that teaches core techniques like straight stitching, seam finishing, and basic cutting without requiring advanced equipment or expensive materials. This beginner sewing project guide covers everything you need to pick up a machine, choose the right fabric, and finish your first real project in under an hour. You do not need a $500 machine or a design degree. Entry-level machines cost $100–$300 and handle every project in this guide with ease. The goal here is fast wins that build real skills.
The right starter kit removes most of the frustration from learning to sew. You do not need much. The tools below cover every project in this guide without any unnecessary spending.
Core tools every beginner needs:
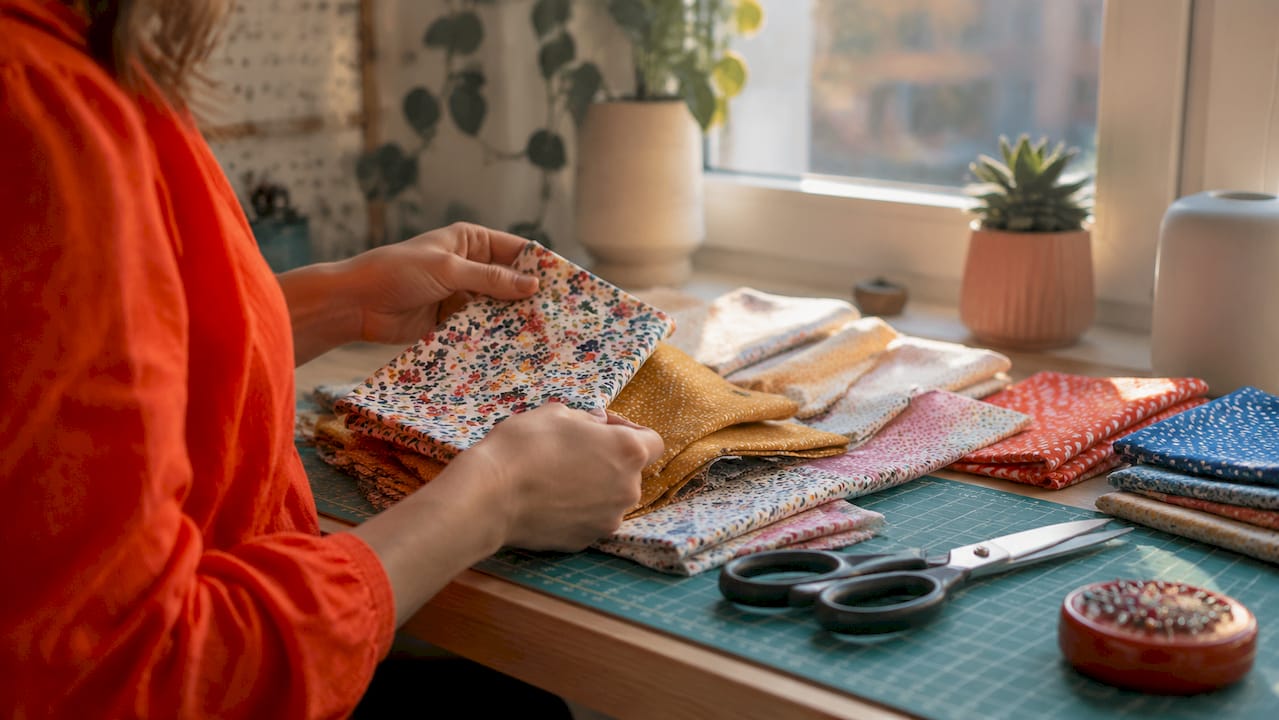
Choosing the right fabric matters more than most beginners expect. Stable woven cotton is the standard recommendation for first projects because it does not stretch, fray excessively, or slip under the presser foot. Quilting cotton, cotton muslin, and cotton canvas all behave predictably. Avoid jersey knit, satin, or chiffon until you have at least ten hours of practice under your belt.
A useful fabric selection checklist can help you confirm your fabric choice before you cut into anything. Cost matters too. Overspending on accessories before you master the basics is one of the most common beginner mistakes. Buy one good pair of scissors and a mid-range machine. Skip the embroidery foot, the walking foot, and the specialty threads until you actually need them.
Pro Tip: Use a scrap of fabric as a “leader” before you start stitching your real project. Leader fabric scraps prevent the machine from eating your fabric at the start of a seam and protect your project from the first few uneven stitches.
The best first projects teach one or two foundational skills, produce something useful, and finish in under an hour. Here are four projects that meet all three criteria.
| Project | Skills taught | Estimated time (first attempt) |
|---|---|---|
| Pillowcase (burrito method) | Straight stitching, seam finishing | 45–60 minutes |
| Drawstring bag | Casing, channel stitching | 45–60 minutes |
| Simple tote bag | Straight seams, handles | 60–90 minutes |
| Zipper pouch with lining | Zipper installation, lining | 60–75 minutes |
The pillowcase is the single best starting point. The burrito method folds the fabric in a way that hides all raw edges inside the finished seam. You learn straight stitching and seam finishing in one project without any hand sewing or complex steps.
The zipper pouch is the best second project. It sounds intimidating, but most zipper pouches complete in under 60 minutes once you know the steps. The lining gives the bag a clean interior finish and teaches you how two fabric layers work together. The zipper is the skill that unlocks bags, pencil cases, and eventually garment closures.
The drawstring bag is the most forgiving project on this list. There are no zippers and no lining. You stitch a rectangle, fold it, and thread a cord through a casing. First-time beginners should expect 45–60 minutes for projects that tutorials claim take 10–15 minutes. That gap is normal and closes quickly with practice.
Pro Tip: For the zipper pouch, skip pins entirely on the zipper step. Double-sided basting tape holds the zipper in place more accurately than pins and removes the risk of stitching over a pin and breaking your needle.
For bag project inspiration beyond basic cotton, Lion Brand Yarn offers a striped self-lined bag pattern that adapts well to fabric construction for beginners ready to experiment with structure.
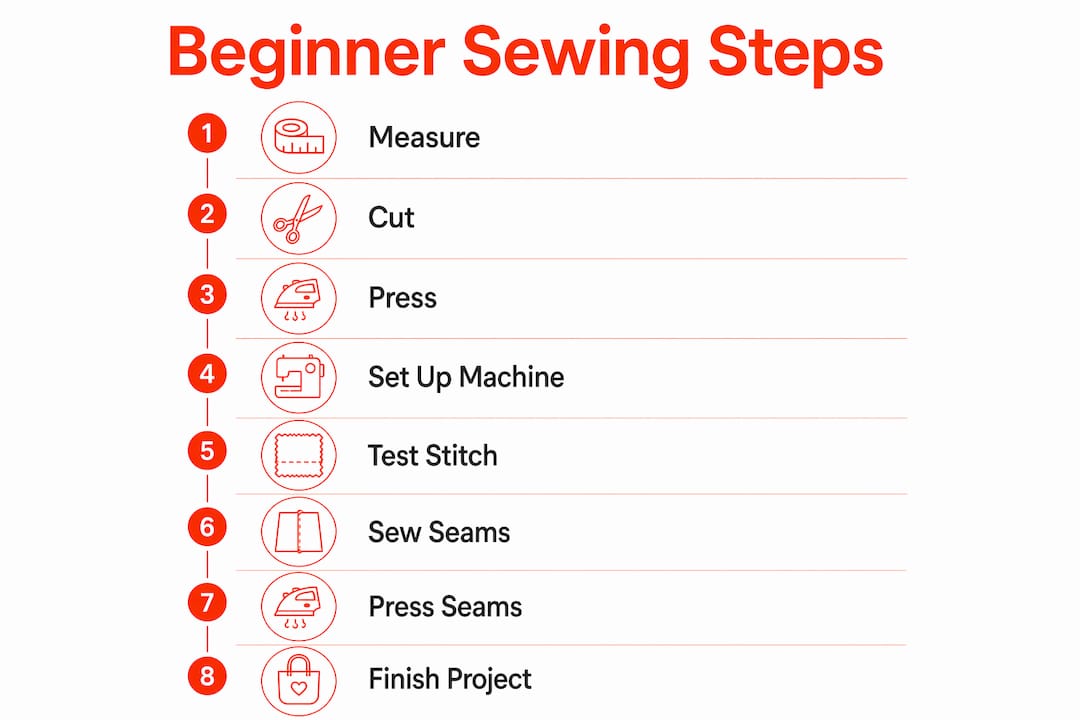
A clear workflow prevents the most common beginner errors. Follow this sequence for any project in this guide.
1. Measure and cut accurately. Lay your fabric flat on a hard surface. Use a ruler or quilting square to mark your dimensions with a fabric marker or chalk. Cut along the line in one smooth pass. Jagged cuts create uneven seams that compound through every step that follows.
2. Press your fabric before you sew. Iron out any wrinkles before cutting and again after each seam. Preparation takes 70–80% of total project time for experienced sewers. That ratio exists because pressing and cutting done right make every subsequent step faster and cleaner.
3. Set up your machine correctly. Thread the machine following the numbered guides printed on the machine body. Use the correct needle for your fabric weight (a universal size 80/12 works for quilting cotton). Set your stitch length to 2.5mm for most seams.
4. Stitch with a leader scrap first. Place a small fabric scrap under the presser foot and stitch through it before starting your project. This stabilizes the thread tension and prevents the machine from pulling your fabric down into the needle plate.
5. Sew your seams at a consistent seam allowance. Most beginner patterns use a 1/4 inch or 1/2 inch seam allowance. Use the guide lines etched on your machine’s throat plate to keep your fabric edge at a consistent distance from the needle.
6. Handle zippers with care. Stop stitching with the needle down when the zipper pull gets close. Lift the presser foot, slide the zipper pull past the needle, lower the foot, and continue. This needle-down technique is the single most important zipper skill a beginner can learn.
7. Press every seam after stitching. Open the seam and press it flat with the iron. Then press it to one side if the pattern calls for it. This step takes two minutes and makes the finished project look professionally made.
The step-by-step sewing guide at Fabric-fabric walks through this workflow with project-specific instructions if you want a visual reference alongside these steps.
Pro Tip: A structured learning path of about 10 hours is enough to reach genuine confidence in machine setup, stitching, and project completion. Spread that across five or six sessions and you will notice a clear improvement in your results.
Most beginner frustration comes from a small set of repeatable errors. Knowing them in advance keeps your motivation intact.
“Sewing is 80% preparation and 20% stitching. The machine is the easy part.”
That mindset shift changes everything. When a project goes wrong, the cause is almost always in the cutting or pressing, not the stitching. Go back to the prep step first.
The most effective approach to sewing for beginners is to start with stable cotton fabric, a basic machine, and one small project that teaches a single foundational skill.
| Point | Details |
|---|---|
| Start with the right machine | A $100–$300 machine with straight and zigzag stitches handles every beginner project. |
| Use stable woven cotton | Quilting cotton and cotton canvas behave predictably and reduce machine handling errors. |
| Prep takes most of your time | Measuring, cutting, and pressing account for 70–80% of project time. Respect that ratio. |
| Choose projects that teach skills | Pillowcases, zipper pouches, and drawstring bags each build one foundational technique. |
| Expect longer times at first | First attempts take 45–60 minutes on projects tutorials show in 10–15 minutes. That is normal. |
Most guides lead with machine specs or fabric theory. I think that is backwards. The fastest way to build real sewing confidence is to finish something. One completed zipper pouch teaches you more about tension, seam allowance, and pressing than three hours of reading about them.
I have watched beginners stall out because they spent their first session threading the machine, reading the manual, and watching tutorials. None of that produces a finished object. A finished object does.
My honest recommendation: buy a yard of quilting cotton, cut it into rectangles, and sew a pillowcase on day one. It will not be perfect. The seams might be slightly crooked. Press it anyway, stuff a pillow in it, and put it on your bed. That physical result is what keeps you coming back to the machine.
The projects in this guide are not “practice.” They are real, useful objects that happen to teach foundational skills. That framing matters. You are not drilling exercises. You are making things. The skills follow automatically.
One more thing: do not upgrade your machine too soon. The $150 machine you start on will teach you more than a $600 machine you do not understand yet. Master the basics first, then decide what features you actually need.
— kev
Every project in this guide starts with fabric. Fabric-fabric carries a broad selection of beginner-friendly materials, from cotton prints to structured home decor options that work beautifully for tote bags and pouches.

If you are making your first bag or pillowcase, the home decor fabric collection at Fabric-fabric offers durable, easy-to-handle options at discount prices, sold by the yard. For photography backdrops, event projects, or larger beginner builds, the backdrop fabric range gives you wide, stable material that cuts and sews cleanly. Browse the full catalog at Fabric-fabric and use the fabric ordering guide to confirm your yardage before you buy.
A pillowcase using the burrito method is the easiest first project. It teaches straight stitching and seam finishing in one session and produces a useful finished item.
Most beginner projects like drawstring bags or zipper pouches take 45–60 minutes on the first attempt. Tutorial times of 10–15 minutes reflect experienced sewers, not first-timers.
Stable woven cotton such as quilting cotton or cotton muslin is the standard recommendation. It does not stretch or slip, which makes it far easier to control under the presser foot.
No. A functional entry-level machine in the $100–$300 range handles every beginner project. Straight and zigzag stitches cover all the techniques covered in this guide.
Use double-sided basting tape instead of pins to hold the zipper in place. Stop with the needle down when the zipper pull gets close, lift the presser foot, move the pull past the needle, then continue stitching.