

 US Dollar
What Is Appliqué? Complete Guide to Creative Embellishment
Posted by BLG on 2026 Apr 11th
Posted by BLG on 2026 Apr 11th

TL;DR:
- Appliqué is decorative fabric layering used across cultures for art and reinforcement.
- There are four main methods: hand needle-turn, machine zigzag, fused raw-edge, and reverse appliqué.
- Choosing the right fabric and matching technique to the project ensures durable, attractive results.
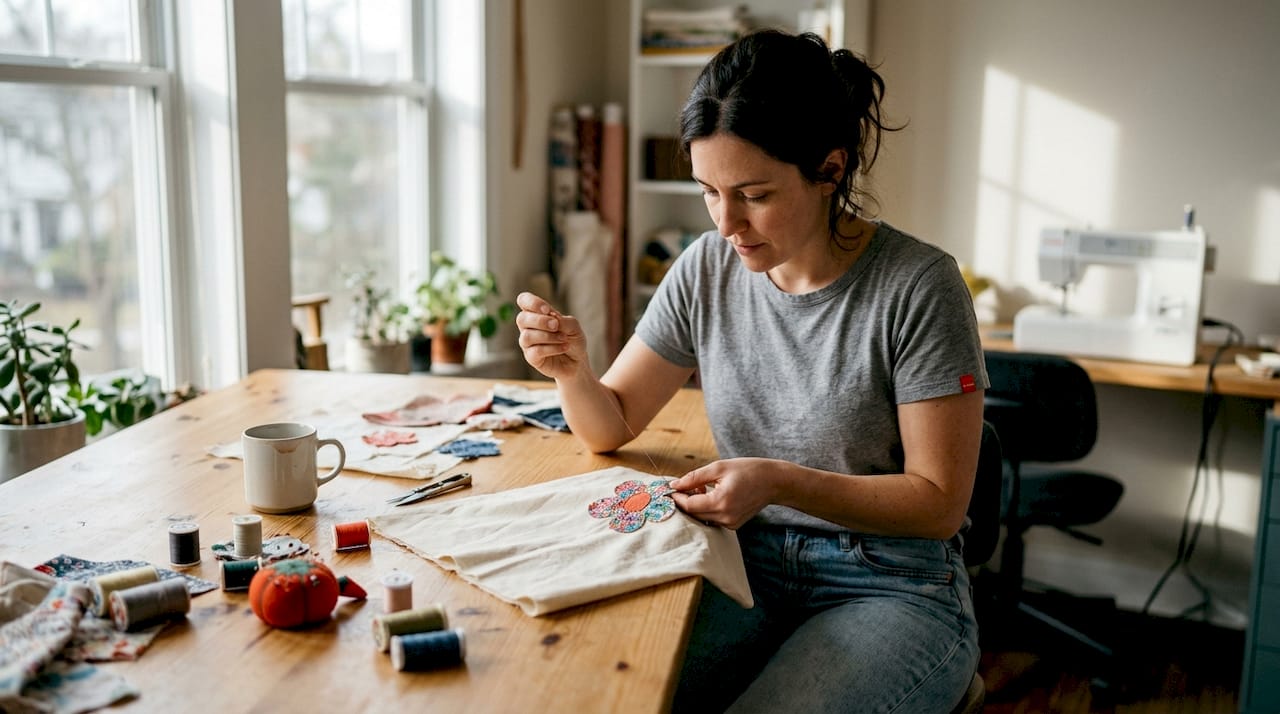
Appliqué has a reputation for being a quilter’s specialty or a skill reserved for patient, experienced sewists. That reputation is wrong. At its core, appliqué is simply) decorative layering: smaller fabric shapes stitched onto a base fabric to create patterns, motifs, or dimension. You can transform a plain tote bag, a child’s jacket, or a quilt block in an afternoon. This guide covers everything you need: a clear definition, the history behind the craft, the main methods, the right materials, step-by-step technique, and honest advice on where beginners actually go wrong.
| Point | Details |
|---|---|
| Definition clarified | Appliqué is decorating textiles by layering fabric shapes on a base. |
| Versatile methods | Hand, machine, and fused appliqué each suit different project needs. |
| Supplies matter | Choosing the right fabric, thread, and stabilizer boosts results and eases frustrations. |
| Troubleshooting tips | Proper stabilizer, careful trimming, and test runs prevent puckering or fraying. |
| Start simple | Begin with straightforward techniques and build skills through experimentation, not perfection. |
The word “appliqué” comes from the French verb appliquer, meaning to apply or put on. In sewing, appliqué attaches fabric pieces) onto a base layer to build up a design. Think of it as collage with fabric. You cut a shape, position it, and secure it with stitching or adhesive. The result is a raised, textured design that paint or embroidery alone cannot replicate.
The technique has roots across nearly every culture. West African kente cloth traditions used layered fabric for storytelling. Hawaiian quilts feature bold, symmetrical appliqué motifs cut from a single folded piece. Medieval European heraldry used appliqué on banners and ceremonial garments. Appliqué was never just decorative; it was also practical, used to reinforce worn areas or add warmth to garments.
Today, sewists use appliqué for a wide range of projects:
“Appliqué gives fabric a voice. A plain background becomes a story the moment you add a single well-placed shape.”
The modern resurgence in home crafting has made appliqué more accessible than ever. Pre-cut shapes, fusible web products, and digital cutting machines have removed many of the barriers. If you enjoy working with animal quilting fabrics or bold prints, appliqué is a natural next step for adding personality to your projects. Understanding fabric hand (how a fabric feels and drapes) also helps you choose base fabrics that will support your design without distorting it.
With a sense of appliqué’s background and uses, it’s time to compare the main techniques you can master. Four primary methodologies exist: hand appliqué, machine appliqué, fused appliqué, and reverse appliqué. Each has strengths depending on your project, your timeline, and your skill level.
| Method | Skill level | Speed | Best for |
|---|---|---|---|
| Hand needle-turn | Intermediate | Slow | Heirloom quilts, fine curves |
| Machine zigzag/satin | Beginner+ | Fast | Kids’ clothing, bold motifs |
| Fused raw-edge | Beginner | Very fast | Embellishments, wall art |
| Reverse appliqué | Intermediate | Moderate | Layered color effects |
Here is how each method works in practice:
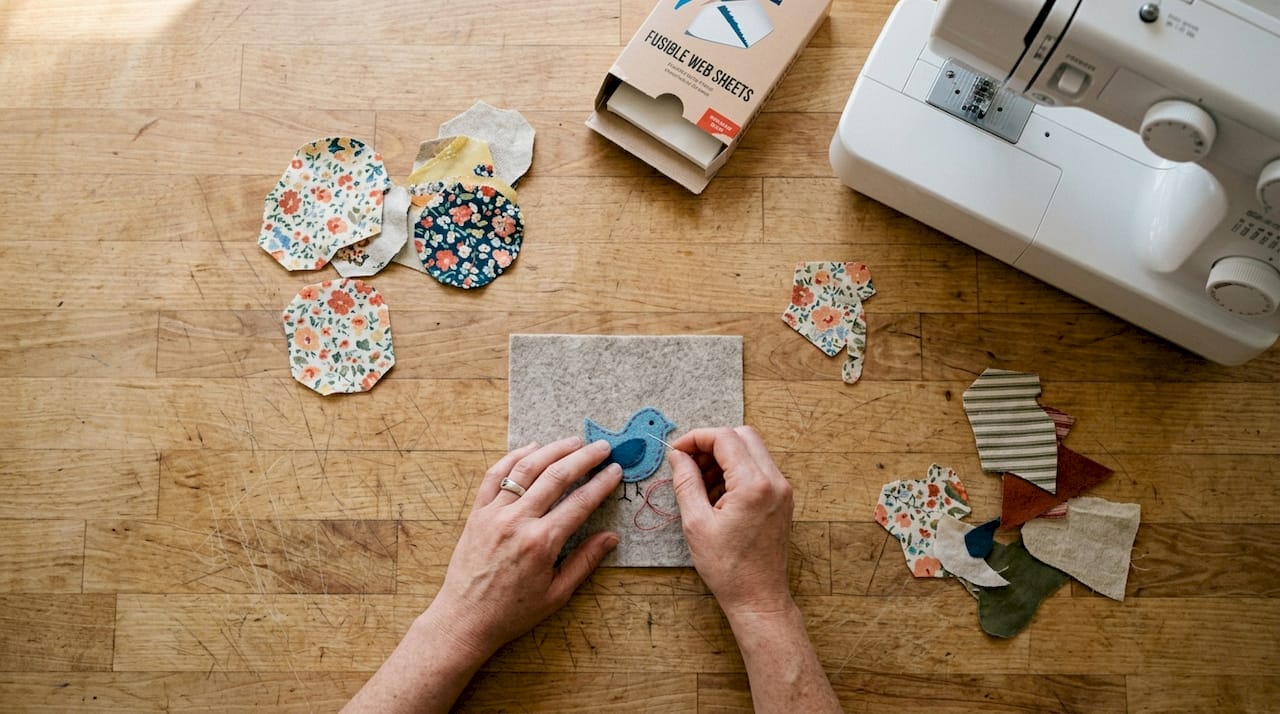
Pro Tip: If you are new to appliqué, start with fused machine raw-edge on felt fabric. Felt does not fray, so you skip the edge-finishing step entirely and focus on learning placement and stitch control. Once you are comfortable, explore the beginner sewing tips that will help you level up to more refined methods.
Understanding the methods is only half the story; choosing the right materials is what makes appliqué shine. Your fabric, thread, stabilizer, and adhesive choices directly affect how clean and durable your finished piece looks.
Fabric options by skill level and use:
| Fabric | Fray risk | Best use |
|---|---|---|
| Felt | None | Beginners, kids’ projects |
| Cotton quilting fabric | Low to medium | Quilts, clothing motifs |
| Linen | Medium | Home décor, wall art |
| Denim | Low | Patches, bag embellishments |
| Satin/silk | High | Advanced, hand appliqué only |
For most home sewists, cotton quilting fabrics are the go-to choice. They press crisply, come in thousands of prints, and behave predictably under a needle. Bold geometric prints make especially striking appliqué shapes because the pattern itself becomes part of the design.
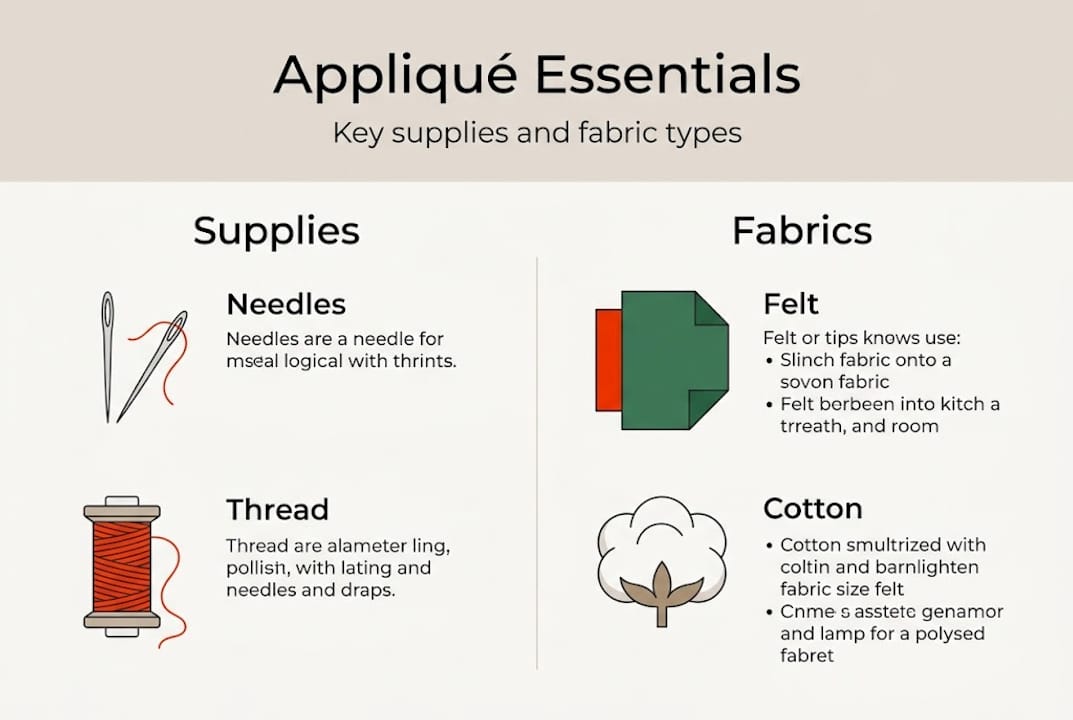
Key supplies to gather before you start:
Thread choice is often overlooked. Matching thread makes stitching invisible and lets the fabric shape do the talking. Contrasting thread, like black on a bright print, creates a graphic, bold outline effect. Both are valid; choose based on the look you want. Reviewing a sewing workflow guide before your first project helps you organize your prep steps efficiently. Understanding your base fabric’s hand and drape also helps you predict how it will behave under the presser foot.
With your supplies ready, let’s move methodically through each phase of the appliqué process and overcome the most common challenges.
Successful appliqué relies on four core mechanics: accurate placement, a solid tack-down, clean trimming, and a well-chosen finishing stitch. Here is a step-by-step approach:
“The stitch you choose changes everything. A tight satin stitch reads as polished and graphic. A loose zigzag reads as casual and handmade. Neither is wrong; they just say different things.”
For curves and points, clip into the seam allowance before turning (for hand appliqué) or reduce your stitch length as you approach the curve (for machine work). Sharp inner corners need a tiny clip; outer points need trimming to reduce bulk. Research confirms that higher stitch density (5 to 8 stitches per centimeter) significantly increases seam strength in cotton fabrics, so tighten your stitch density on appliqué that will face heavy use or frequent washing.
Pro Tip: For quilting fabric appliqué that needs to survive repeated washing, use a cutaway stabilizer and a satin stitch set to a width of 2.5 to 3mm. The stabilizer stays in place permanently and keeps the stitching from distorting over time.
Here is an honest take you will not usually find in standard how-to articles: the biggest mistake sewists make with appliqué is chasing a single “correct” method instead of matching the method to the project.
A hand needle-turn technique is beautiful on a heirloom wall quilt but completely impractical on a five-year-old’s backpack that gets dragged across playgrounds. Fused raw-edge looks perfect on a decorative pillow but will fray apart on a frequently washed garment. The technique is not the point. The match between technique, fabric, stabilizer, and end use is everything.
Most beginners spend too much time reading about appliqué and not enough time running test stitches on fabric scraps. Ten minutes of testing on actual materials teaches you more than an hour of theory. Needle size, stitch tension, stabilizer weight, and fabric thickness all interact in ways that only reveal themselves on real fabric.
The other thing most articles skip: imperfect appliqué still looks great. A slightly wobbly satin stitch on a child’s name patch is charming, not flawed. Consistency improves with every project. Starting simple, finishing the piece, and learning from it beats waiting until you feel “ready.” Follow a solid step-by-step sewing guide to build your process, then let the fabric and the project guide your decisions from there.
Inspired to try appliqué for yourself? The right materials make a real difference in how your finished project looks and holds up over time.

At fabric-fabric.com, you will find a wide range of base fabrics suited for appliqué work, from crisp cotton quilting prints to sturdy home decor fabric that holds up beautifully under machine stitching. If you are working on a larger installation or backdrop project, check out the backdrop fabrics collection for substantial base options. Browse the full range of fabric collections to find prints, solids, and textures that will bring your appliqué designs to life, whether you are just starting out or adding to an established craft practice.
Appliqué is used to decorate, personalize, or repair textiles by attaching fabric shapes) for visual interest or structural reinforcement. It works on everything from quilts to garments to home décor.
Machine raw-edge appliqué with fusible web is generally the fastest and most forgiving technique for beginners, requiring minimal hand skill and no edge turning.
Cotton and felt are ideal starting fabrics because they cut cleanly, hold their shape without stretching, and either fray minimally (cotton) or not at all (felt).
Using the correct stabilizer type (tearaway for wovens, cutaway for knits) prevents puckering, and a tulle overlay can control fraying on raw-edge designs.
Appliqué builds designs by layering and stitching fabric shapes onto a base, while embroidery creates patterns using thread alone without adding separate fabric pieces.