

 Canadian Dollars
How to Use Fabric Trims: Techniques for Crafters
Posted by BLG on 2026 May 18th
Posted by BLG on 2026 May 18th

TL;DR:
- Choosing the right trim and preparing materials properly are essential for professional-looking projects.
- Techniques like machine sewing, seam insertion, and hand sewing vary based on trim type, fabric, and desired finish.
Fabric trims seem simple until you are standing in front of a finished project with a strip of lace that puckers, frays, or just looks wrong. Learning how to use fabric trims correctly is the difference between a project that looks handmade and one that looks handcrafted. This guide walks you through everything: choosing the right trim, prepping your materials, applying trims with both machine and hand techniques, and troubleshooting the problems that trip up even experienced sewers. Whether you are tackling your first fabric trim project or trying to level up your results, this is the guide you will want open on your worktable.
| Point | Details |
|---|---|
| Choose trim after fabric | Match trim scale to your fabric pattern to avoid visual competition and create balance. |
| Prep before you sew | Pre-shrink trims, measure placement carefully, and test stitches on scrap fabric first. |
| Use the right tools | A zipper foot, correct needle size, and matching thread make application far more precise. |
| Fix problems at the source | Puckering and fraying usually come from tension or stitch length settings, not the trim itself. |
| Trims are budget-friendly | Basic braids start around $1.25 per meter, making them one of the most affordable ways to refresh a project. |
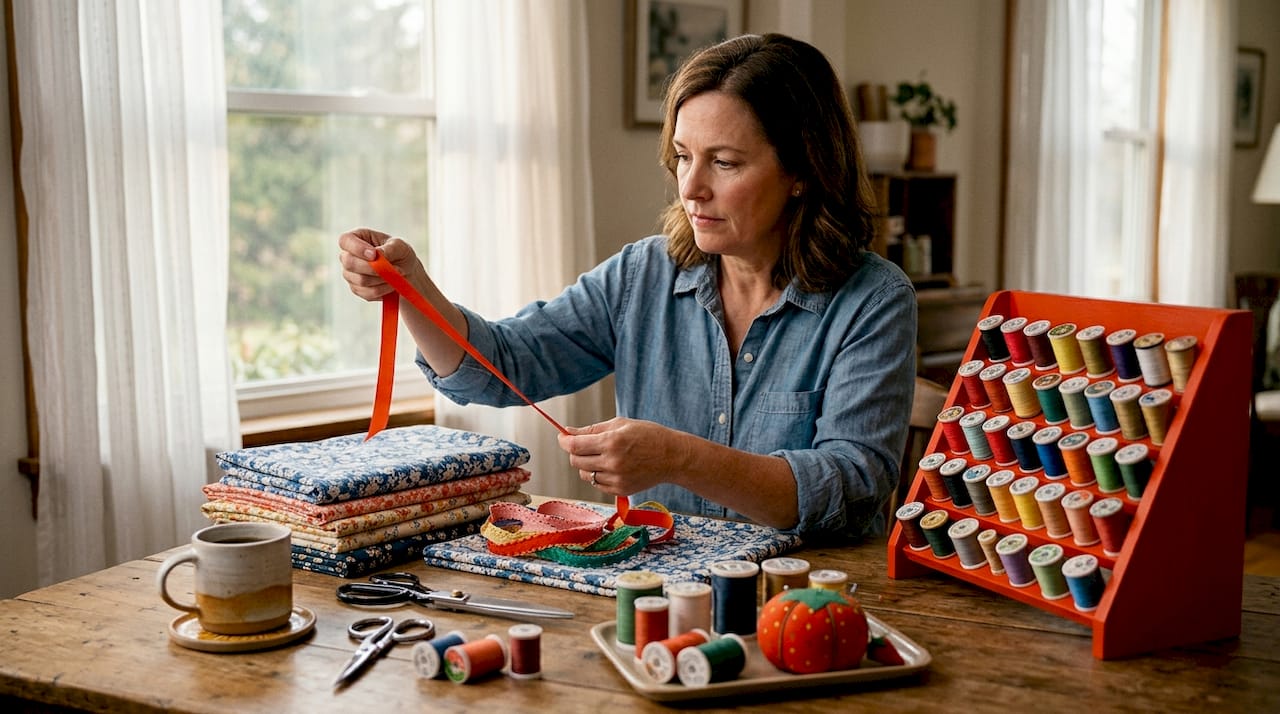
Before you touch a needle or a glue gun, you need to pick the right trim. That choice alone determines whether your project looks polished or chaotic.
Fabric trims add color, texture, and structural definition to finished pieces, and common types include lace, braid, fringe, tassels, piping, pom-poms, and cord. Each one behaves differently on fabric, so knowing what you are working with matters.
Here is a quick breakdown of the most common trim types and where they work best:
Material matters just as much as style. Cotton trims work well with natural fabrics and can be washed freely. Synthetic trims (polyester or nylon) hold their shape and color well but sometimes behave unpredictably with heat. Blended trims sit somewhere in between. When in doubt, choose a trim made from the same fiber family as your base fabric.
Professional designers choose trim after fabric, matching trim scale to fabric scale. That means narrow trims pair with large or bold patterns, while bolder trims suit solid fabrics or small prints. Put a chunky fringe on a busy floral print and neither one wins.
Pro Tip: When shopping for trims, bring a swatch of your base fabric. Holding them together in natural light tells you immediately whether the scale and color are working.
For decorative trim inspiration across home and fashion projects, Fabric-fabric’s trim ideas blog is a strong starting point before you buy anything.
Good preparation is not optional. It is what separates a trim that lies flat from one that warps your project after the first wash.
Gather these before you start any trim application:
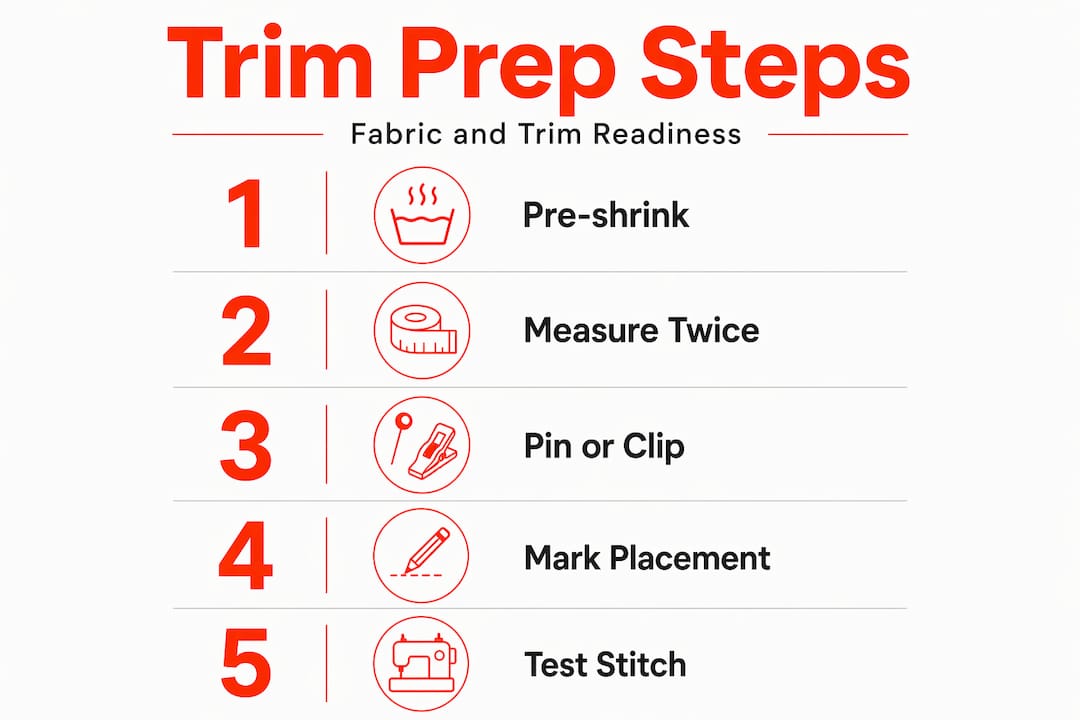
Pre-shrink both your fabric and your trim before cutting anything. Even a 1/4 inch of shrinkage in a trim that is already sewn to a pillow cover will cause puckering and pulling. Soak cotton trims in warm water, dry them flat, and press them lightly before use.
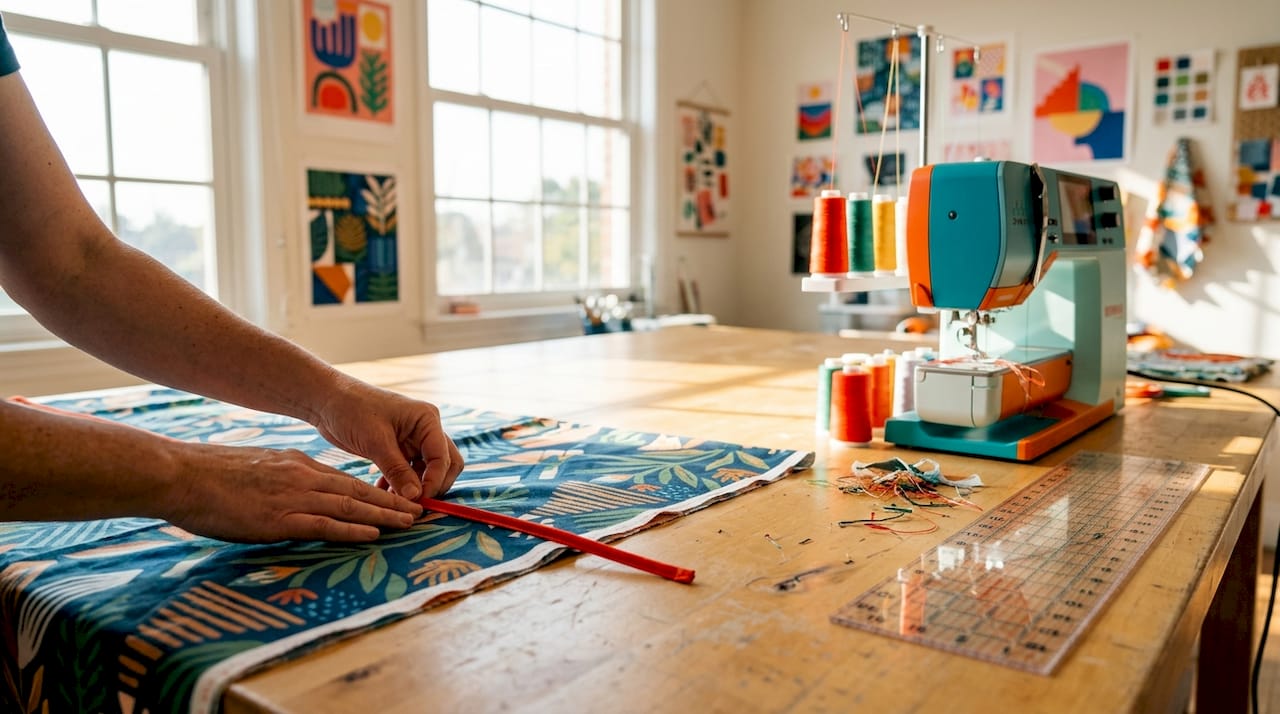
Measure your placement twice. Pin or clip your trim to the fabric dry before committing to any stitch. Mark your placement line with tailor’s chalk or a water-soluble pen so your trim stays exactly where you want it.
| Prep step | Why it matters |
|---|---|
| Pre-shrink trim | Prevents puckering after washing |
| Test stitch on scrap | Confirms tension and length before touching your project |
| Measure and mark placement | Keeps trim straight and consistent |
| Clip, don’t pin through trim | Avoids snags and distortion in delicate trims |
| Press trim before application | Removes wrinkles that cause uneven sewing |
Testing your stitch on scrap fabric is non-negotiable. A straight stitch at 2.0 to 2.5mm length works for most flat trims, but you need to confirm your tension is correct before you commit. For stretch fabrics, a narrow zigzag handles movement without distorting the trim or the base.
Pro Tip: Always cut your trim 1 to 2 inches longer than your measured length. You can always trim the excess, but you cannot add length back.
Here is where the actual fabric trim techniques come into play. There are three main application methods, and knowing which one to use depends on your trim type, fabric, and the look you want.
This is the fastest method and works well for flat trims like ribbon, lace with a straight header, braid, and rickrack.
This technique works beautifully with piping, pom-pom trim, and fringe. It creates a clean, professional finish because the trim flange is hidden inside the seam.
Align the decorative part of the trim facing inward toward the center of the fabric, with the flange extending toward the raw edge. Using a zipper foot for precise placement, baste the trim to one fabric layer first. Then place the second fabric layer right side down and sew through all layers using your basting line as a guide.
Hand sewing works best for delicate trims on curved areas, thick trims on upholstery, or places your machine foot simply cannot reach. Use a slip stitch for nearly invisible attachment, or a small running stitch for a decorative finish.
Fabric glue and fusible web tape are solid options for no-sew projects or when working with non-fabric surfaces. Apply adhesive to the trim, not the fabric, and press firmly. Let it cure completely before handling.
Pro Tip: When using fabric glue on trim, test it on a scrap first. Some adhesives bleed through sheer or lightweight trims and create visible staining.
Even with good prep, problems come up. Here is how to identify and fix the most common ones before they ruin your project.
Recognizing when to hand finish is a skill. If your machine is fighting you on a particularly delicate or shaped piece, put it down and pick up a hand needle. You will get a cleaner result with far less frustration.
Once you know the mechanics, the fun part starts. Trims are one of the most affordable ways to personalize a project, and trims can introduce color in small doses, which is perfect when you want impact without committing to a bold fabric choice.
Here are some of the best fabric trim ideas worth trying:
When mixing multiple trims on a single project, keep one element consistent. That might be color, material, or scale. Two very different trims can work together if they share at least one visual thread. The role of trims in upholstery is a great read if you are working on home decor pieces and want professional guidance on combining trim styles.
Pro Tip: Trims are a sustainable way to refresh home decor without replacing entire pieces. Before buying new cushions or curtains, consider whether a $5 roll of trim would do the same job.
Coordinating color is simpler than most beginners think. Match your trim to one secondary color already present in your fabric, not the dominant one. That creates harmony without making the trim disappear.
I have worked with trims on everything from garment hems to full upholstery projects, and the single biggest mistake I see is people picking trim first. They find a beautiful fringe at the store and then go looking for a fabric to match it. That process works backward.
In my experience, starting with your fabric and building outward always produces better results. Your fabric is the largest visual element. The trim serves it, not the other way around.
The second thing I have learned is that expensive trim does not automatically mean professional results. I have seen gorgeous finishes achieved with $2-per-meter ribbon and mediocre results from premium gimp, simply because the scale was wrong or the application was rushed. Prep work and technique matter far more than price.
For beginners, I would say this: start with ribbon or flat braid on a straight edge. Master that single skill before moving to curves, piping, or seam insertion. Confidence builds fast when you have a few clean finishes under your belt. Every crafter I know who sticks with it gets there, and the learning curve is far shorter than you think.
— kev

If you are ready to put these techniques into practice, Fabric-fabric has the materials to make it happen. The discount home decor fabric collection covers a wide range of weights and styles, from upholstery-grade textiles to lighter decorator fabrics, all priced for DIY budgets. Whether you are refreshing cushion covers, adding trim to curtains, or starting a garment project from scratch, the right base fabric makes every trim technique easier. Browse the full range and find fabrics that pair well with the trims you already love.
A straight stitch at 2.0 to 2.5mm length works for most flat trims like ribbon, braid, and lace. For stretch fabrics, switch to a narrow zigzag stitch (width 1.0 to 1.5mm) to maintain flexibility.
Apply fray check or clear fabric glue to cut ends before sewing. You can also fold the trim end under by about 1/4 inch and stitch it flat, or singe the ends of synthetic trims with a lighter.
Stop with the needle down in the fabric, lift the presser foot, pivot the fabric slightly, then continue. Also reduce your machine tension by 1 to 2 numbers and make sure your stitch length is not too short.
Yes. Fabric glue or fusible web tape works well for non-sew projects. Apply the adhesive to the trim rather than the fabric and allow it to cure fully before using or washing the item.
Align the decorative part of the trim facing inward toward the fabric center, with the flange at the raw edge. Baste with a zipper foot, place the second fabric layer right side down, then sew through all layers using the basting as your guide.