

 US Dollar

How to Use Fabric for Accent Walls: A DIY Guide
Posted by BLG on 2026 Jul 16th
Posted by BLG on 2026 Jul 16th


TL;DR:
- Fabric accent walls add texture and sound absorption, making rooms warmer and more decorative. Choosing the right installation method and fabric type is essential for a successful DIY project, with liquid starch ideal for renters and medium-weight fabrics preferred for durability. Regular vacuuming and small repairs keep the fabric wall looking fresh and professional, and testing fabrics beforehand prevents costly mistakes.
Fabric accent walls are defined as interior wall treatments where textile panels replace or supplement paint, wallpaper, or other surface finishes. Learning how to use fabric for accent walls gives you something paint simply cannot: texture, warmth, and sound absorption that softens echoes in bedrooms and home offices. The technique works for renters and homeowners alike, costs far less than professional wallcovering installation, and reverses cleanly when you are ready for a change. This guide covers fabric selection, tools, step-by-step installation, and maintenance so you finish with a wall that looks intentional and lasts.
Three installation methods dominate DIY fabric accent wall projects: liquid starch, wallpaper adhesive, and mechanical fastening. Each suits a different situation, and picking the wrong one before you buy fabric is the most common mistake first-timers make.
Liquid starch is the go-to choice for renters. It costs between $10 and $30, removes cleanly with warm water, and leaves no residue on the wall. Wallpaper adhesive bonds more firmly and suits homeowners who want a permanent or semi-permanent installation. Mechanical fastening, which uses a perimeter track system to stretch fabric taut, is a professional-grade approach that produces a seamless, high-end finish but requires more tools and budget.
Your method choice also shapes your fabric choice. Starch works best with medium-weight wovens. Adhesive handles a slightly wider range. Track systems accept almost any fabric with enough body to stay taut. Decide on your method first, then shop for fabric.
Medium-weight fabrics are the clear winners for DIY fabric accent walls. Cotton duck, linen blends, and cotton-polyester mixes all bond reliably with starch or adhesive, hold their shape on a vertical surface, and resist sagging over time.
Here is how the main fabric categories compare for wall use:
Fabrics to avoid for starch methods include lightweight sheers, which sag and show every bubble, and heavy upholstery fabrics with dense backings. Heavier backed fabrics delaminate quickly when starch cannot penetrate the backing to grip the wall. Always test a small swatch against your wall for at least 48 hours before committing to a full roll.
Climate matters too. Fabric absorbs moisture, so avoid fabric walls in kitchens or bathrooms where humidity is high. Stick to bedrooms, living rooms, and home offices with good ventilation. If you live in a humid region, look for fabrics with airflow-resistant linings or backing materials that reduce moisture absorption.
Pro Tip: Buy a quarter-yard sample from Fabric-fabric before ordering your full yardage. Hang it on the wall with a dab of starch, leave it for 48 hours, and check for sagging, color shift, or adhesion failure. This one test saves you from a costly mistake.
Preparation separates a clean result from a frustrating one. Gather everything before you cut a single inch of fabric.
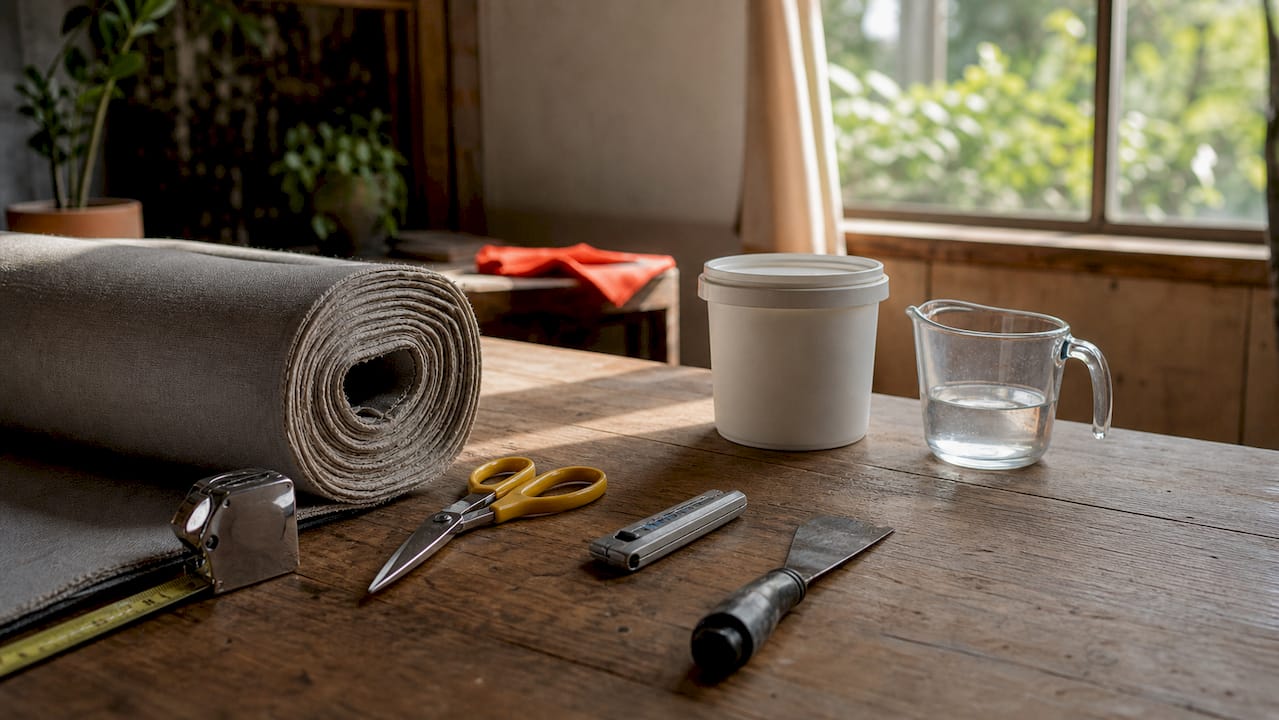
| Item | Purpose | Approximate cost |
|---|---|---|
| Liquid starch (diluted 1:8 with water) | Renter-friendly adhesive; removes with warm water | $10–$30 |
| Wallpaper adhesive | Permanent bond; suits homeowners | $15–$40 |
| Fabric glue | Spot repairs and edge sealing | $5–$15 |
| Paint roller or wide brush | Applying adhesive evenly to wall | $5–$15 |
| Plastic smoothing tool or credit card | Pressing out bubbles after hanging | $0–$10 |
Wall preparation is not optional. Dust, grease, or loose paint will prevent adhesion no matter how good your fabric is. Remove all switch plates and outlet covers before you start. Professional installers allow 2–3 inches of overlap on every panel edge so you can trim cleanly after the fabric is stuck. Cut your panels with that overlap built in, and match any pattern repeat before you cut the second panel.
Pro Tip: Pre-wash cotton and linen fabrics before cutting. Both shrink slightly, and a fabric that shrinks after installation will pull away from edges and create gaps.
A full accent wall installation takes 3–6 hours depending on wall size, fabric type, and your experience level. Work in panels roughly 24–36 inches wide so each section stays manageable.
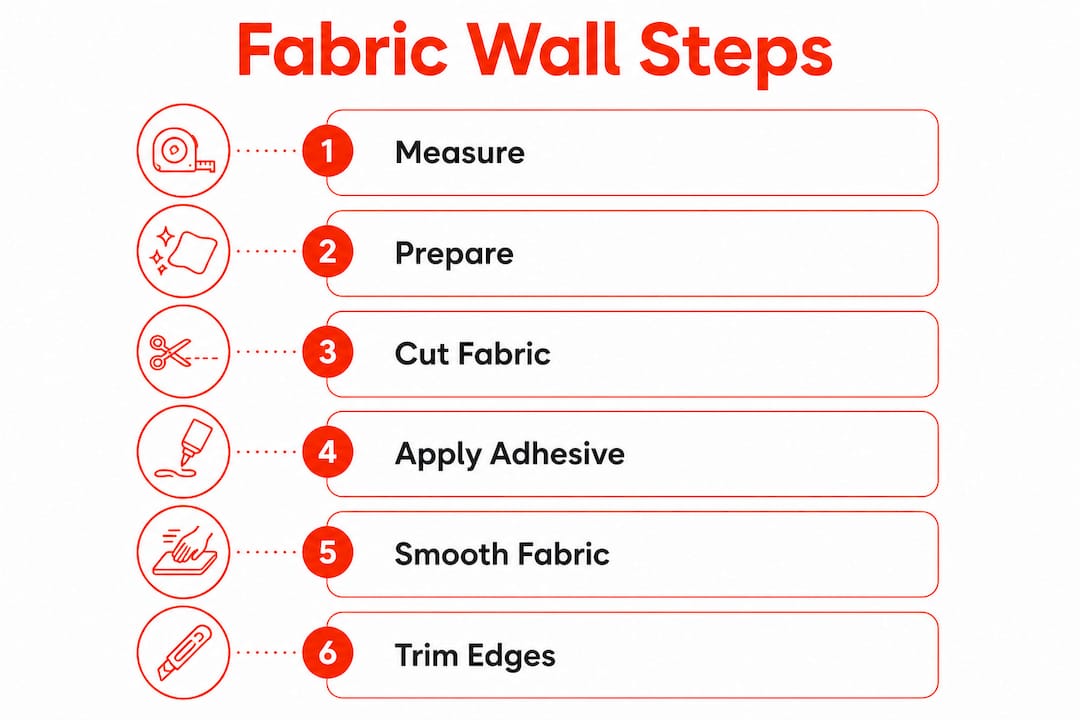
Clean and prep the wall. Wipe the surface with a damp cloth, fill any holes with spackling, sand smooth, and let it dry completely. Remove switch plates and outlet covers.
Mark your panel lines. Use a level and pencil to draw light vertical lines showing where each panel starts. This keeps your fabric straight even if your walls are slightly off-plumb.
Mix your starch solution. Combine 1 part liquid starch with 8 parts water in a bucket. This dilution gives enough tack to hold fabric without making it stiff or discolored.
Apply starch to the wall. Roll or brush the starch solution onto one panel section at a time. Cover an area slightly wider than your fabric panel.
Hang the first panel. Press the fabric to the wet wall starting at the top, leaving 2–3 inches of overlap at the ceiling. Smooth downward with your plastic tool, working from the center outward to push out bubbles.
Trim the edges. Once the panel is smooth and the starch has begun to set (about 15–20 minutes), use sharp scissors to trim the overlap at the ceiling, floor, and corners. A straight edge helps here.
Hang subsequent panels. Butt each new panel edge against the previous one. Do not overlap panels at seams; instead, align them edge to edge and smooth carefully. Match pattern repeats before pressing each panel flat.
Handle electrical outlets. Before the starch dries, mark the outlet location on the fabric from behind by pressing gently with your finger. Then cut an X-shaped slit over the outlet, fold the flaps back, and trim cleanly. This technique prevents tearing and keeps the fabric from shifting around the fixture.
Apply a top coat of starch (optional). A second light coat of starch solution brushed over the fabric surface after it dries adds durability and helps flatten any remaining texture.
Reattach switch plates. Replace outlet covers and switch plates last. They hide any rough cuts around electrical fixtures and give the wall a finished look.
Seams are where most DIY fabric walls fail. The fix is simple: apply a thin bead of fabric glue along the back edge of each panel before pressing it to the wall. This locks the seam before the starch fully cures and prevents the edge from lifting as the fabric dries and contracts slightly.
For ideas on finishing your wall edges with decorative trim, the trim ideas guide at Fabric-fabric shows how ribbon, cord, and braid can turn a raw edge into a design feature. For textile-inspired wall art that complements a fabric accent wall, African wall art collections offer bold patterns that pair well with solid or subtly textured fabric panels.
Fabric walls are easier to maintain than most homeowners expect. Regular vacuuming with an upholstery attachment handles the vast majority of dust buildup without any wet cleaning needed. Run the attachment lightly over the surface every few weeks, and the fabric stays fresh.
For specific problems, here is what works:
Avoid steam cleaning or soaking the fabric in place. Excess moisture weakens the starch bond and can cause the entire panel to release from the wall. For rooms with any humidity risk, the home decor fabric guide at Fabric-fabric covers moisture-resistant fabric options worth considering before you install.
Fabric accent walls succeed when you match the right fabric weight to the right adhesive method and prepare the wall surface properly before hanging a single panel.
| Point | Details |
|---|---|
| Choose medium-weight fabrics | Cotton duck, linen blends, and cotton-polyester mixes bond reliably and resist sagging. |
| Match adhesive to your situation | Use liquid starch for rentals; wallpaper adhesive for permanent installations. |
| Prep the wall first | Clean, spackle, and dry the wall completely before applying any adhesive. |
| Test before you commit | Hang a fabric swatch with starch for 48 hours to confirm adhesion before buying full yardage. |
| Maintain with a vacuum | Regular vacuuming with an upholstery attachment keeps fabric walls clean without wet cleaning. |
The most underrated part of a fabric accent wall is the sample test. Every time I have skipped it, I have regretted it. Fabrics that look perfect in a store or online can behave completely differently on a vertical surface with starch. A cotton-polyester blend that felt sturdy in my hands once slid down the wall within 24 hours because the polyester content was too high for starch to grip. That 48-hour swatch test is not optional.
The other thing most guides skip is the seam. Everyone focuses on the center of the panel, but the seam is where the wall either looks professional or looks like a school project. Fabric glue on the back edge of every panel, applied before you press it to the wall, is the single change that separates a clean result from a messy one.
For renters especially, fabric walls are one of the best design moves available. You get a completely transformed room, and when you move out, warm water and a sponge take the whole thing down without a trace. I have done this in three apartments and never lost a security deposit over it.
One last thing: do not let the scale of a full accent wall intimidate you. Start with a smaller wall, like the wall behind a bed or a narrow hallway wall. You will learn the technique on a forgiving surface, and the result will still be dramatic enough to make the effort feel worthwhile.
— kev
Finding the right fabric for a wall project is easier when you can browse by weight, texture, and intended use all in one place.

Fabric-fabric carries a wide selection of backdrop and wall-ready fabrics including cotton duck, linen blends, and cotton-polyester mixes in the medium weights that bond best with starch or adhesive. The home decor fabric collection includes options by the yard so you can order exactly what your wall requires without leftover waste. Every product listing includes fabric weight and composition details, which makes it straightforward to match your fabric to your chosen installation method before you order.
Yes. Liquid starch mixed at a 1:8 ratio with water holds fabric firmly and removes cleanly with warm water, leaving no residue on the wall surface.
Medium-weight cotton duck, linen blends, and cotton-polyester mixes bond reliably with starch or adhesive and resist sagging on vertical surfaces.
A full accent wall installation typically takes 3–6 hours depending on wall size, fabric type, and your experience level.
Fabric walls in humid rooms like kitchens or bathrooms can absorb moisture and develop mold or odors. Use fabric walls only in low-humidity, well-ventilated rooms.
Vacuum the surface regularly with an upholstery brush attachment. This handles routine dust buildup without any wet cleaning required.