

 Canadian Dollars

How to Sew Throw Pillows: Easy Beginner's Guide
Posted by BLG on 2026 Aug 4th
Posted by BLG on 2026 Aug 4th

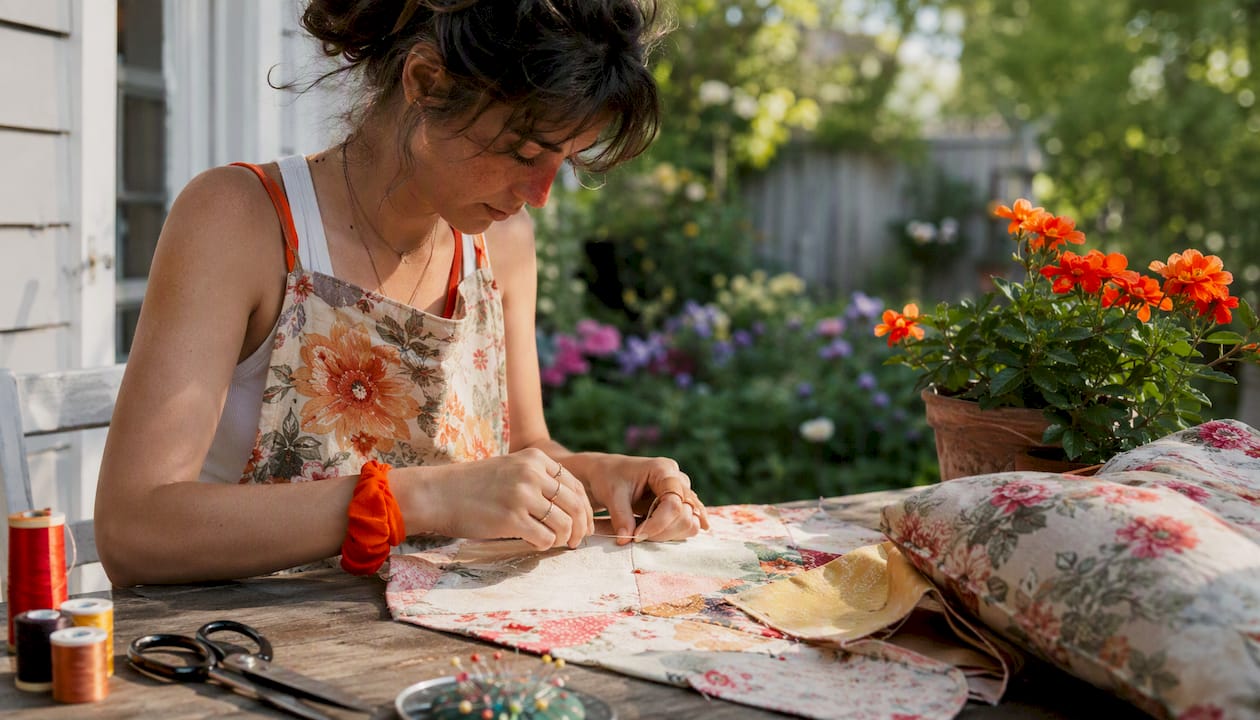
You can sew a finished decorative throw pillow cover using straight stitching and one of two closure methods. No complex fitting, no curved seams. The result looks store-bought, and the skills you pick up — pivoting corners, pressing seams, finishing edges — carry into almost every other sewing project you’ll ever attempt.
Here’s what this guide covers:
Both methods are taught below, step by step.
Pro Tip: Buy your zipper slightly longer than the pillow edge and trim it down after installation. A longer zipper is far easier to sew near the ends without the pull getting in your way.
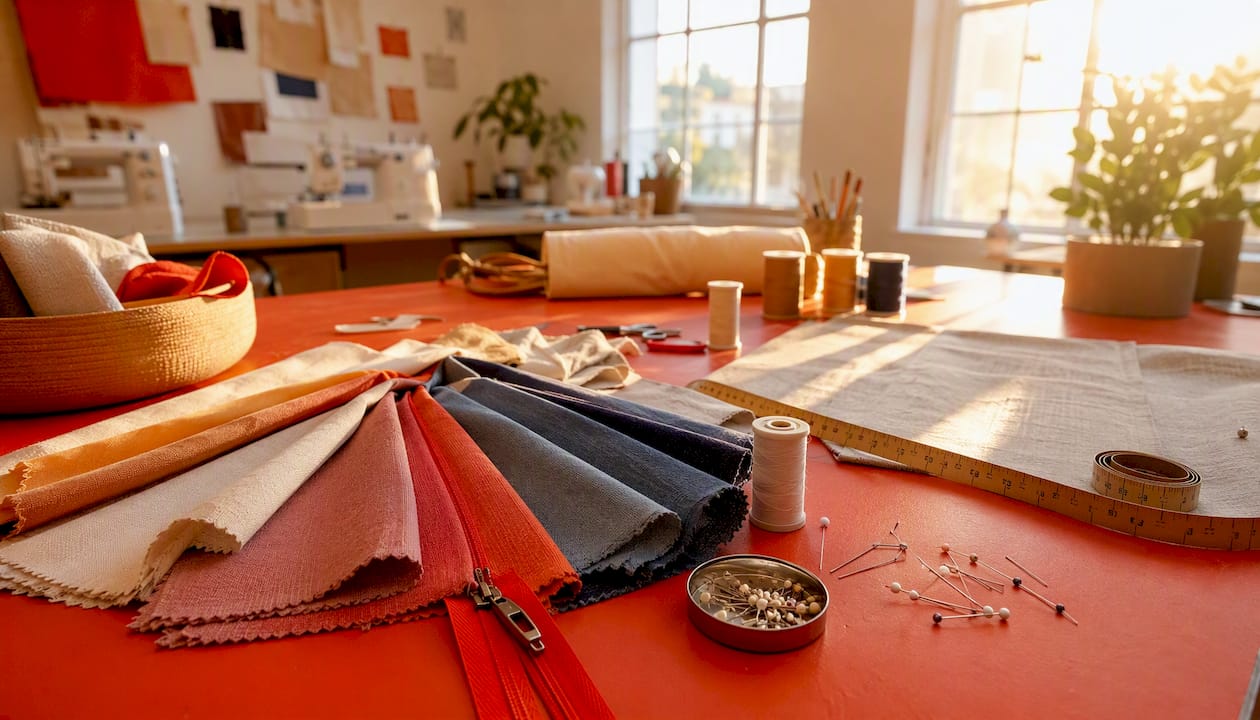
| Finished size | Cut size (front) | Cut size (back panels, envelope) | Approx. yardage (54" wide fabric) |
|---|---|---|---|
| 16" | 17" × 17" | Two panels: 17" × 12" | ½ yd |
| 18" | 19" × 19" | Two panels: 19" × 13" | ¾ yd |
| 20" | 21" × 21" | Two panels: 21" × 14" | ¾ yd |
| 22" | 23" × 23" | Two panels: 23" × 15" | 1 yd |
| 24" | 25" × 25" | Two panels: 25" × 16" | 1 yd |
Cut sizes include a ½" seam allowance on all sides. Back panel overlap is approximately 4".
The math trips up a lot of beginners, so here it is plainly: your cut size is always larger than your finished size, which is itself slightly smaller than your insert size.
That last part is intentional. Cutting your cover about ½" smaller than the insert gives you a snug, plump look rather than a saggy one. A pillow insert that fits loosely inside a cover always looks deflated, no matter how nice the fabric is.
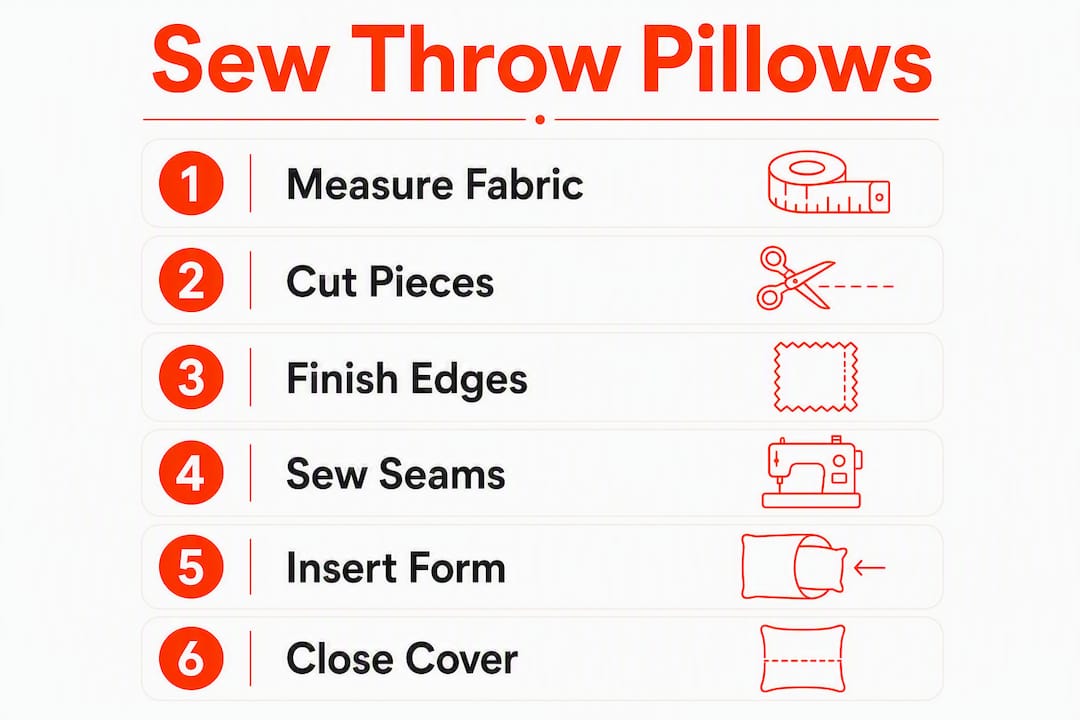
Step-by-step example for an 18" finished pillow:
Common sizes and where they work best:
Prewashing is non-negotiable for cotton and linen. Fabric shrinks in the first wash, and a cover that fits perfectly before laundering can end up too tight afterward. Wash and dry your fabric the same way you plan to wash the finished pillow, then press it flat before you cut.
Before you cut, check these four things:
Pro Tip: Finish your raw edges before assembly — a quick zigzag stitch or a pass through a serger on each cut edge prevents fraying, especially on fabrics that will be washed regularly. Finished seams extend the life of any handmade pillow significantly.
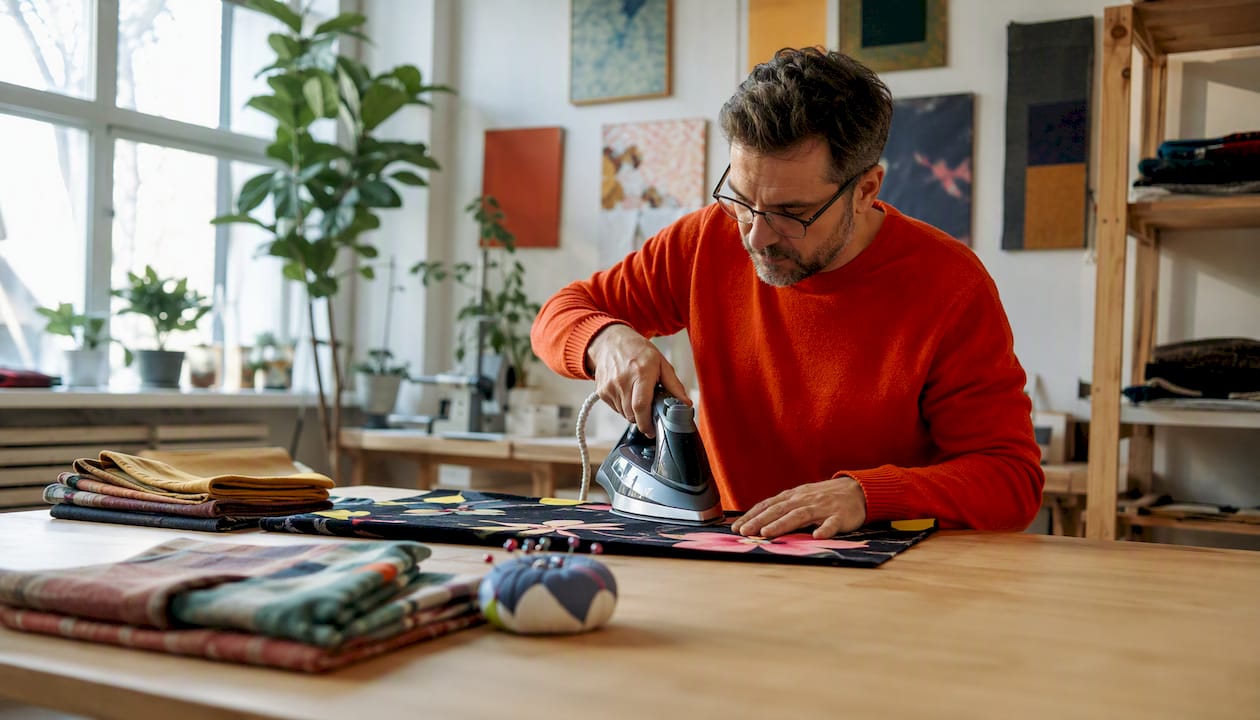
The envelope method is the easiest removable cover you can make — no zipper, no hand stitching, and the insert slips in and out in seconds. Quilting cotton is the friendliest fabric for this method because it presses cleanly and feeds evenly through the machine.
What you need cut and ready:
Steps:
Pro Tip: Press every seam as you go — not just at the end. A quick press after hemming the back panels and again after turning makes a visible difference in the final result.
Time estimate: 45–60 minutes for a first attempt; under 30 minutes once you’ve made two or three.
A hidden zipper (also called an invisible zipper) sits inside the seam so only the pull tab is visible. The result looks professional and holds up well through repeated washing. It’s a step up from the envelope method, but the technique is straightforward once you understand how the zipper sits.
Before you start:
Steps:
Pro Tip: If your zipper edge looks wavy after sewing, the coil was probably not pressed open enough before stitching. Hand-baste the zipper in place first on slippery or stretchy fabrics — it takes two extra minutes and prevents the whole seam from shifting.
Trim the corner surplus after sewing but before turning, cutting diagonally across each corner about ⅛" from the stitching. Never use a pointed tool to push corners out — a chopstick or the eraser end of a pencil gives you a sharp corner without piercing the seam.
Pillow forms give a cleaner, more consistent shape. For the plumpest result, use a form that’s 1" larger than your finished cover size. If you’re stuffing with polyfill, work in small handfuls and push fill into the corners first, then the center. Overstuffing by about 10% gives a firmer feel that softens after a few days of use.
If you sewed the pillow shut (no envelope, no zipper), leave a 6" opening on one side, stuff the pillow, then close the opening with a ladder stitch using a hand-sewing needle and matching thread. Pull the thread snug after every few stitches so the seam stays invisible.
Pro Tip: Remove the pillow insert before washing the cover whenever possible. Washing the cover alone keeps it cleaner longer and protects the insert from compression damage.
Uneven or rounded corners: Almost always caused by skipping the corner trim. Clip diagonally after sewing, then use a blunt tool to push the corner fully into the point. If the corner still looks soft after turning, press it firmly with a hot iron and a damp cloth.
Puckering along seams: Usually a tension issue or a needle that’s too large for the fabric. Drop your stitch length to 2.5mm, check that your thread is seated correctly in the tension discs, and switch to a fresh needle. A size 80/12 universal needle handles most quilting cotton and linen without puckering.
Bulky seams at corners: Grade your seam allowances by trimming the corner at an angle and trimming each layer to a slightly different width. On zipper seams, trim the seam allowance to ¼" after stitching to reduce bulk near the pull.
Cover too loose: The insert is too small for the cover. Either size up your insert or resew the cover with a slightly larger seam allowance (try ⅝" instead of ½").
Cover too tight: The insert is too large, or the cover was cut too small. Let out the seam allowance by ¼" on each side — that adds ½" to the finished size, which is usually enough.
Pro Tip: Understitch the seam allowance to the lining or facing on any edge that tends to roll outward. Run a line of stitching through the seam allowance only, about ⅛" from the seamline, after pressing the seam open. It keeps edges flat without topstitching.
Fabric choice affects how the pillow looks, how long it lasts, and how easy it is to sew. Here’s a practical breakdown by use:
Mixing textures is one of the simplest ways to make handmade pillows look curated. Pairing smooth linen with a chunkier bouclé or knit adds depth that a single-fabric grouping rarely achieves. You don’t need to sew the textures together — just place them on the same sofa.
For sourcing in North America, look for fabric listed by weight (oz/yd²), width (54" is standard for home decor), and care instructions. Fabric-fabric’s home decor fabric category covers upholstery-weight and decor-specific options suited to pillow projects, and its quilting fabric section is a strong starting point for cotton prints. For guidance on matching fabric to your specific decor style, the home decor fabric selection guide breaks down weight, width, and use-case in plain terms.
Pro Tip: Always prewash a small swatch and test colorfastness before cutting into a full yard. Lay the wet swatch on a white paper towel — if color transfers, the fabric will bleed in the wash.
| Fabric type | Best use | Beginner-friendly? | Care |
|---|---|---|---|
| Quilting cotton | Bedroom, accent pillows | Yes | Machine wash cold |
| Linen/linen blend | Living room, natural decor | Yes | Machine wash gentle |
| Canvas/duck | High-traffic sofa pillows | Moderate | Machine wash cold |
| Velvet | Decorative, low-use pillows | No | Spot clean or dry clean |
| Outdoor fabric | Patio, sunroom pillows | Moderate | Wipe clean |
Sewing a throw pillow cover requires accurate cut measurements, a ½" seam allowance, consistent pressing, and either an envelope or hidden-zipper closure to achieve a polished, store-bought finish.
| Point | Details |
|---|---|
| Size your cover to the insert | Cut covers ½" smaller than the insert for a plump, snug fit. |
| Start with the envelope method | No zipper needed; a first cover takes 45–60 minutes with quilting cotton. |
| Press every seam as you go | Frequent pressing is the single biggest factor in a professional-looking result. |
| Clip corners before turning | Diagonal corner cuts reduce bulk and produce sharp, clean points. |
| Fabric-fabric for supplies | Browse home decor fabrics and quilting cottons to find the right weight and print for your project. |
Most beginner sewing advice points people toward tote bags or zippered pouches. Throw pillows deserve that spot more. A tote bag has handles to attach and a flat bottom to engineer. A pillow is four straight seams and a closure. That simplicity isn’t a limitation — it’s the point.
What you actually learn from a pillow project is more useful than it looks on paper. You learn to pivot at corners without losing your seam allowance. You learn that pressing matters more than perfect stitching. You learn that a ½" difference in how you cut changes how the finished piece feels in your hands. Those lessons transfer directly to curtains, duvet covers, and eventually garments.
The other thing pillows give you is fast feedback. You start, you finish, you hold something real within an hour. That cycle of making and seeing the result is what builds the confidence to try harder projects. Experiment with decorative trims like piping or pom-pom fringe on your second or third pillow — the construction stays the same, but the result looks completely different. If you want to keep building skills after your first pillow, the beginner sewing project guide at Fabric-fabric is a solid next step.
The hardest part of a first pillow project is usually not the sewing. It’s standing in front of a wall of fabric options and not knowing which one will actually work. Fabric-fabric takes that friction away with detailed product descriptions that include fabric weight, width, care instructions, and suggested uses — exactly what you need to make a confident choice before you cut a single inch.
For pillow projects, start with the home decor fabric category, which carries upholstery-weight and medium-weight options suited to sofa and accent pillows. Cotton prints for lighter bedroom pillows are in the quilting section. Larger or specialty projects — oversized floor pillows, backdrop-style panels — are covered under backdrop fabrics. Browse the descriptions, check the yardage against the table above, and order a sample if you’re committing to a larger cut. Your first pillow is closer than you think.