

 Canadian Dollars

How to Install a Zipper: A Beginner's Step-by-Step Guide
Posted by BLG on 2026 Aug 27th
Posted by BLG on 2026 Aug 27th

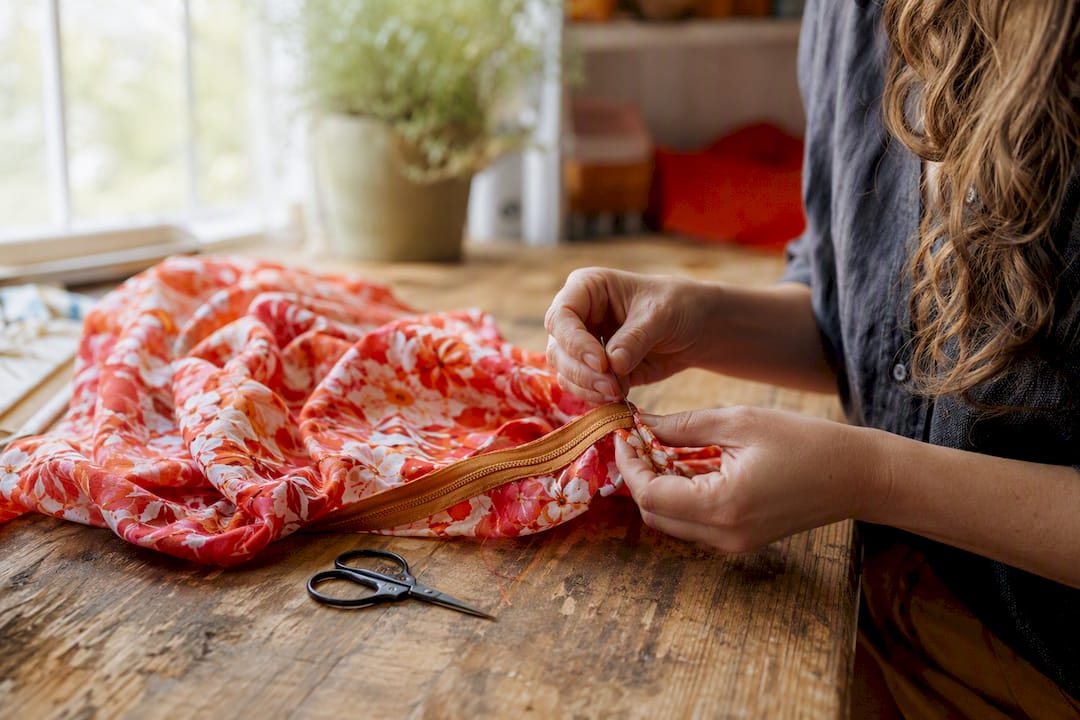
For most beginners, the centered zipper is the easiest place to start: prepare the seam, baste it shut, position the zipper underneath, sew with a zipper foot, then remove the basting. Lapped and invisible zippers have their own uses once you’re comfortable with the basics. Every method follows the same short sequence, and a zipper foot is the one tool you can’t skip.
TL;DR:
- Starting with a centered zipper is ideal for beginners because it hides imperfections with visible topstitching and is forgiving of minor wobbling.
- Use the correct zipper type for your fabric: invisible zippers for lightweight garments, separating zippers for outerwear, coil zippers for curves, and heavy-duty zippers for denim or bags.
- Preshrink nylon coil zippers before sewing to prevent puckering after washing, and interface delicate fabrics to stabilize the seam allowance.
- Installing the zipper before attaching facings or waistbands ensures a flatter finish and easier alignment, reducing the need for rework.
- Troubleshooting common zipper issues involves checking for misaligned teeth, fixing slider problems, trimming bulk, or replacing worn stops to ensure smooth operation.
Get the right zipper and the right prep, and the sewing part almost takes care of itself. Skip this stage and you’ll be fighting puckers, shifted seams, and a zipper that never quite lies flat.
Start with your tool tray. You need:
Zipper choice depends on the project, not personal preference. Invisible zippers disappear into a seam and suit skirts and fitted dresses. Separating zippers, the kind that come fully apart, belong on jackets and outerwear. Coil zippers flex well around curves like cushion corners or fitted waists, while metal or heavy-duty molded plastic zippers hold up on jeans, bags, and anything that takes daily wear.
Preshrink synthetic zipper tape before you sew it in. Soak the zipper in hot water, air dry it, then press. Skip this step and the tape can shrink after the first wash, puckering the seam around it permanently. For delicate or drapey fabrics, interface the seam allowance with a lightweight woven interfacing at least as wide as the allowance itself, so the zipper’s stiffness doesn’t fight the fabric’s natural fall, an issue detailed in guidance from Seamingly Badass. If you’re working with something finer like silk, our guide to sewing silk step by step covers stabilizing techniques that apply directly here.
Timing matters more than most beginners expect. Install the zipper before you attach facings, waistbands, or linings. Sewing it in early keeps the seam flat and avoids the bulky, lumpy finish you get when a zipper fights against layers that are already sewn on.
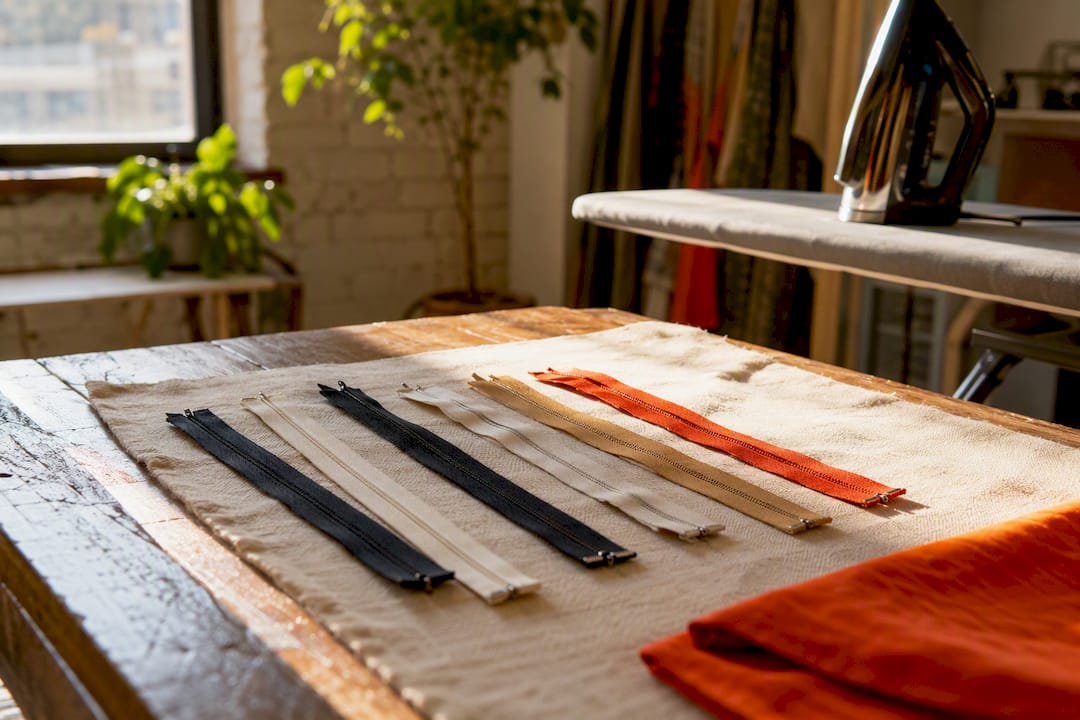
Pro Tip: Run your fingers along the zipper tape before you cut into your project. If it feels stiff or slightly wavy, preshrink it. That five-minute step saves you from ripping out a finished seam later.
The centered, or slot, zipper is the most forgiving method for a first attempt, and it’s one of three fundamental installation techniques every sewing reference teaches alongside lapped and invisible. It hides the zipper’s mechanism between two rows of even topstitching, which is exactly why it’s beginner-friendly: any small wobble in your seam gets absorbed by that visible stitching rather than showing as a gap.
Basting the zipper closed and pressing the seam open before you sew reduces rework more than any other single habit in this process, because it locks the fabric in place before the needle ever touches it. Aim for topstitching about 1/8 to 3/8 inch from the seam line on each side, consistent from top to bottom. If you can see metal or plastic teeth peeking through when the zipper is zipped, your stitching line sits too close to center. Rip it out and move it slightly wider rather than living with it.
A lapped zipper covers one row of stitching with a small fold of fabric, giving you the tailored look you’ll see on the side seam of dress pants or the back of a fitted skirt. There are two standard lapped methods: closed seam and open seam, and closed seam is generally the more forgiving of the two for a first try.
Closed seam method:
Open seam method:
Whichever method you choose, set the lap so the overlap covers the zipper teeth by about 1/8 inch. That small margin hides the mechanism completely while leaving enough clearance that the slider doesn’t catch fabric as it travels. Watch the bottom corner closely. A clean lapped zipper has a crisp L-shaped turn at the base, not a rounded or puckered curve, and that corner is usually where a rushed job shows.
An invisible zipper hides completely once it’s installed, with only a tiny pull tab visible at the top. That result depends almost entirely on one piece of equipment: an invisible zipper foot with grooves that guide the coil, since a standard zipper foot can’t get close enough to the teeth to make this method work.
Two mistakes show up constantly with this method. Stitching too far from the coil leaves a visible gap where the zipper peeks through, so keep the foot’s groove riding directly against the teeth. Puckering usually means you stitched too fast over a curved section or skipped pressing the coil flat in step one. If it happens, unpick just that section, re-press, and re-sew slowly rather than redoing the whole zipper.
Pro Tip: Test your invisible zipper foot on a fabric scrap before committing to the real seam. Machines vary slightly in how close the groove sits to the needle, and five minutes of testing beats an hour of unpicking.
Most zipper problems trace back to one of four causes, and none of them require starting over.
A quick safety habit worth building into every project: stitch a narrow strip of ribbon or fabric onto the underlap side of the zipper. It keeps the coil from snagging skin or lining fabric, especially on cushions and bags that get handled constantly.
This guide is written by kev for Fabric-fabric, drawing on the same vocational sewing references that sewing instructors use to teach these three methods in classrooms and extension programs. Nothing here is theoretical.
For the broader construction sequence around a zipper, our step-by-step sewing guide for beginners covers the surrounding seams and finishing steps in more depth.
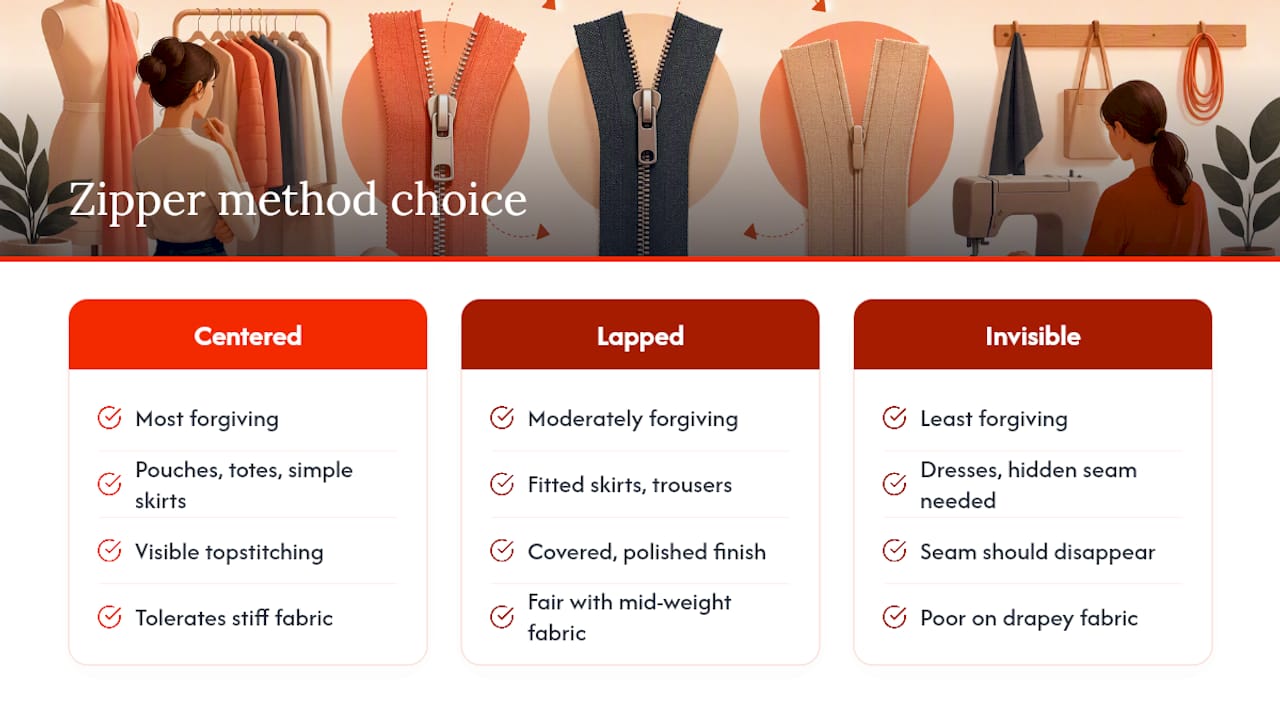
If you’re new to zippers, start with centered. It’s the most forgiving on scrap fabric, and it’s exactly right for pouches, tote bags, and simple skirts where visible topstitching looks intentional rather than accidental. Move to lapped once you want a tailored finish on fitted skirts or trousers, since the covered stitching line reads as more polished. Save invisible for dresses and skirts where you genuinely need the zipper to disappear, but only after you’ve practiced the coil pressing step separately.
Fabric weight changes everything here. A stiff canvas tote forgives a slightly uneven centered zipper; a drapey rayon dress won’t forgive much at all with an invisible one. Before you commit to your actual project, sew a six-inch sample on a scrap of the same fabric. It costs you ten minutes and saves you from unpicking a finished garment.
— kev
A zipper installation only looks as good as the fabric and interfacing behind it. Fabric-fabric stocks the stable, consistent-weight fabrics and interfacing basics that keep a seam flat and a zipper lying true, instead of the thin, shifting yardage that turns a clean centered zipper into a puckered one.

If your next project is a cushion cover, tote, or anything that needs a sturdy, structured zipper seam, browse home decor fabric by the yard for mid to heavy weights that hold topstitching well. Working with something more delicate that needs backup? The backdrop fabrics category carries specialty weights worth checking against your pattern’s requirements. Order a swatch first if you’re unsure how a fabric will press and stitch around a zipper, then place your yardage order once you’ve confirmed the hand and weight suit your project.