

 US Dollar

Buy in Order: 8 Sewing Supplies Beginners Should Buy First
Posted by BLG on 2026 Sep 20th
Posted by BLG on 2026 Sep 20th

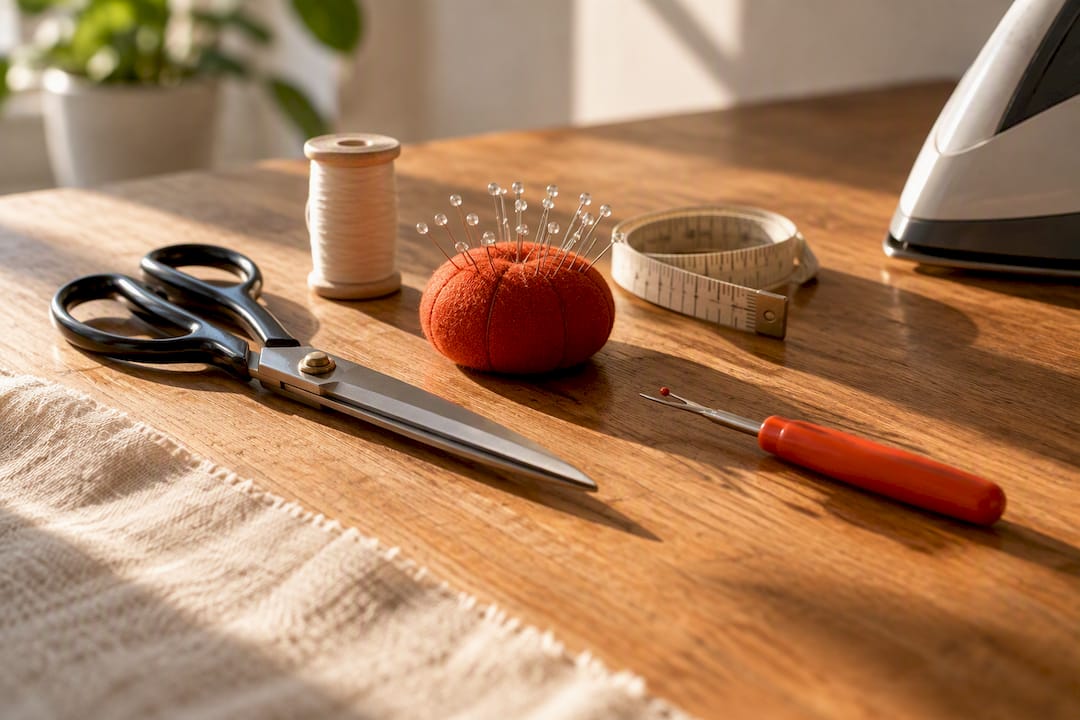
You need eight things to sew almost any beginner project: a basic sewing machine, dedicated fabric scissors, all-purpose thread, a needle assortment, a tape measure, pins or clips, a seam ripper, and an iron. Buy the machine and the scissors first. Everything else, from rotary cutters to specialty needles, can wait until a specific project actually calls for it.
TL;DR:
- A dedicated fabric scissors and a reliable sewing machine are the most important tools to purchase first, while specialty needles and rotary cutters can wait.
- Matching needle type and size to your fabric, such as universal for cotton and ballpoint for knits, is crucial to prevent skipped stitches and fabric damage.
- Buying quality scissors and thread early saves time and frustration, whereas a full notions kit can often be assembled gradually based on project needs.
- Pressing seams as you sew significantly improves the final appearance, making a household iron sufficient for initial projects.
- Stable woven fabrics like quilting cotton are ideal for beginners because they forgive mistakes and press into crisp seams.
Before you spend a dollar, this is the list to work from. Most beginner guides converge on the same core set, and for good reason: skip any one of these and you’ll hit a wall on your very first project.
Keep the small stuff corralled. A zip pouch or a shallow tin holds pins, the seam ripper, and a spare bobbin without them rolling under the couch. A magnetic pin dish is one of the cheapest upgrades you can make. It catches dropped pins in a second and keeps your machine table from turning into a hazard zone.
A sewing machine doesn’t need to be fancy. Look for a sturdy metal frame, straight and zigzag stitch capability, and a bobbin system you can load without a manual in hand. Front-loading bobbins tend to be easier for new sewists than the drop-in style found on some older machines. Skip anything advertising 100+ built-in stitches. You’ll use maybe six of them for the first year.
Fabric scissors, small embroidery snips, and a rotary cutter all cut fabric, but they’re not interchangeable. Fabric scissors handle general cutting and curves. Snips are for trimming threads close to a seam without nicking the fabric. A rotary cutter, paired with a mat, is built for long, straight cuts on quilting projects, and it’s genuinely faster once you get the hang of it. None of these should ever meet a piece of paper. Paper fibers dull a fabric blade far faster than fabric does, and a dull blade chews fabric edges instead of slicing them clean.
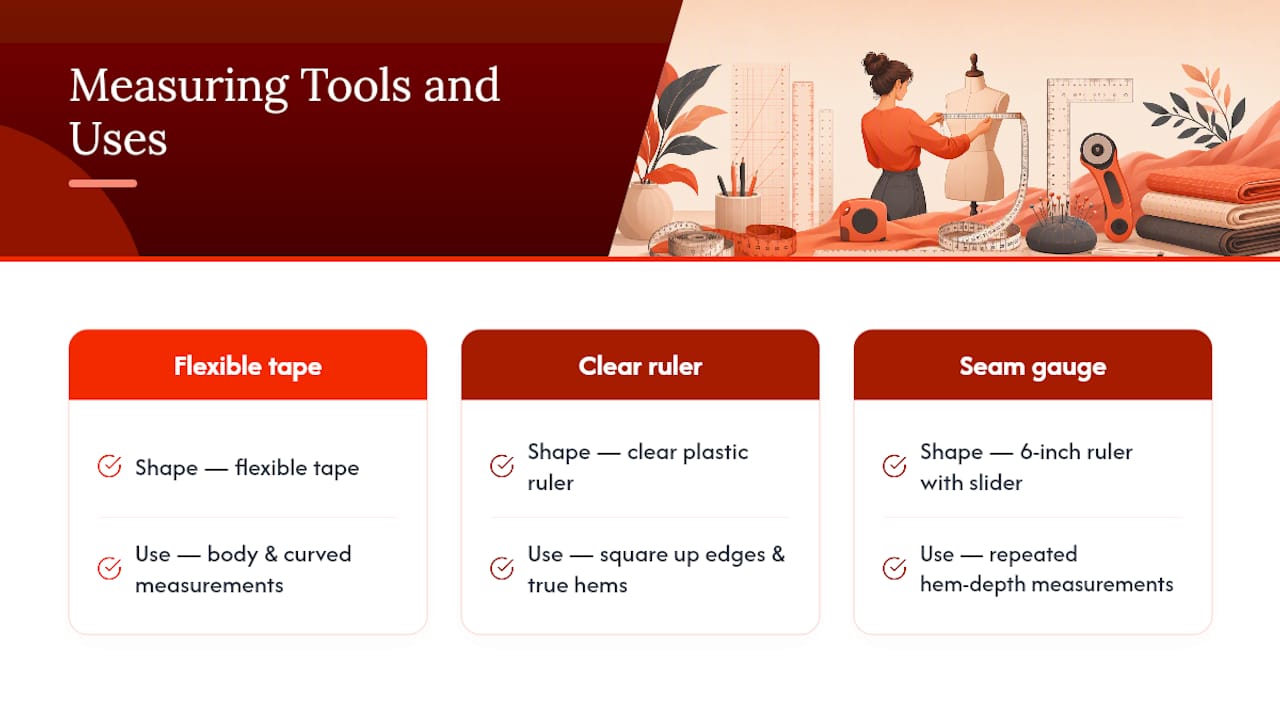
Measuring tools decide whether your project fits. A flexible tape measure handles curves and body measurements. A clear plastic ruler with grid lines helps you square up fabric edges and true up hems. A seam gauge, a small six-inch ruler with a sliding marker, is cheap and makes repeated measurements like hem depth almost foolproof.
Pins and clips both hold fabric in place, but they’re suited to different jobs. Glass-head pins work well on cotton, linen, and most mid-weight wovens because they slide in cleanly and won’t melt under an iron. Clips are better for vinyl, leather, thick denim, or anything where a pinhole would leave a permanent mark. If you sew knits or stretch fabric regularly, clips also avoid the puckering that pins sometimes cause.
A seam ripper looks intimidating until you use one. Slide the pointed tip under a stitch, push through, and use the curved blade to slice the thread. Work from the back side of the seam where stitches sit looser, and go slowly near curves so you don’t tear the fabric itself. Every sewist rips out seams. It’s not a sign you’re bad at this.
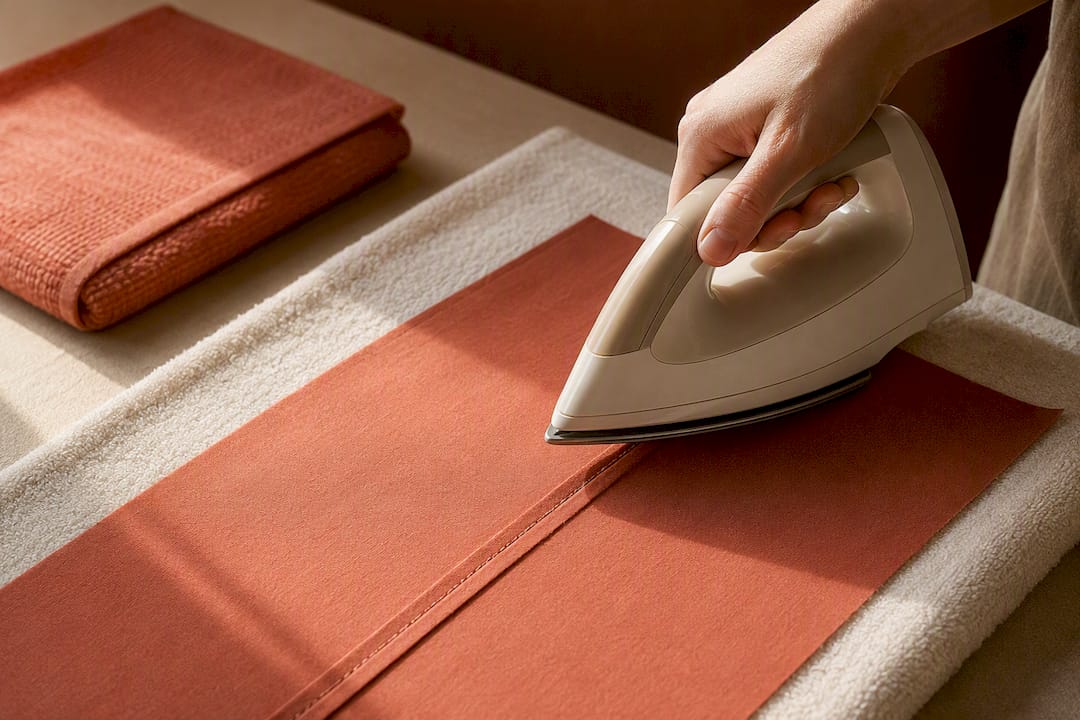
An iron matters more than most beginners expect. Pressing a seam flat as you sew, rather than waiting until the end, is one of the habits that separates a homemade look from a handmade one that actually looks professional. You don’t need a dedicated sewing iron to start. Any household iron and a towel-covered surface will get you through your first several projects.
Needle choice is the most overlooked variable in beginner sewing, and it’s usually the reason a machine starts skipping stitches or shredding fabric for no obvious reason. A universal needle is the default and handles most medium-weight woven fabrics like quilting cotton, poplin, and broadcloth without issue. A ballpoint or stretch needle has a rounded tip that slides between knit fibers instead of piercing them, which prevents the skipped stitches and runs that a universal needle causes on jersey or spandex. A denim needle has a stiffer, sharper shaft built to punch through heavyweight woven fabric and multiple layers without bending. Leather needles have a wedge-shaped point made specifically for piercing hides and vinyl, and specialty needles like twin needles or embroidery needles solve narrower problems you likely won’t hit for a while.
Sizing runs on a dual scale, usually printed as European/American, like 80/12 or 90/14. The lower number is the finer needle. An 80/12 universal needle handles most medium-weight cotton, while heavier cotton, canvas, or light denim usually calls for a 90/14. Go lighter, around 70/10, for delicate fabrics like chiffon or lightweight lawn, where a thick needle would leave visible holes.
For your first purchase, buy a mixed needle pack covering sizes 70 through 100 in universal and ballpoint styles, plus a spool of neutral polyester all-purpose thread. Polyester thread has enough give to handle both wovens and knits, which cotton thread doesn’t always manage well on stretch fabric.
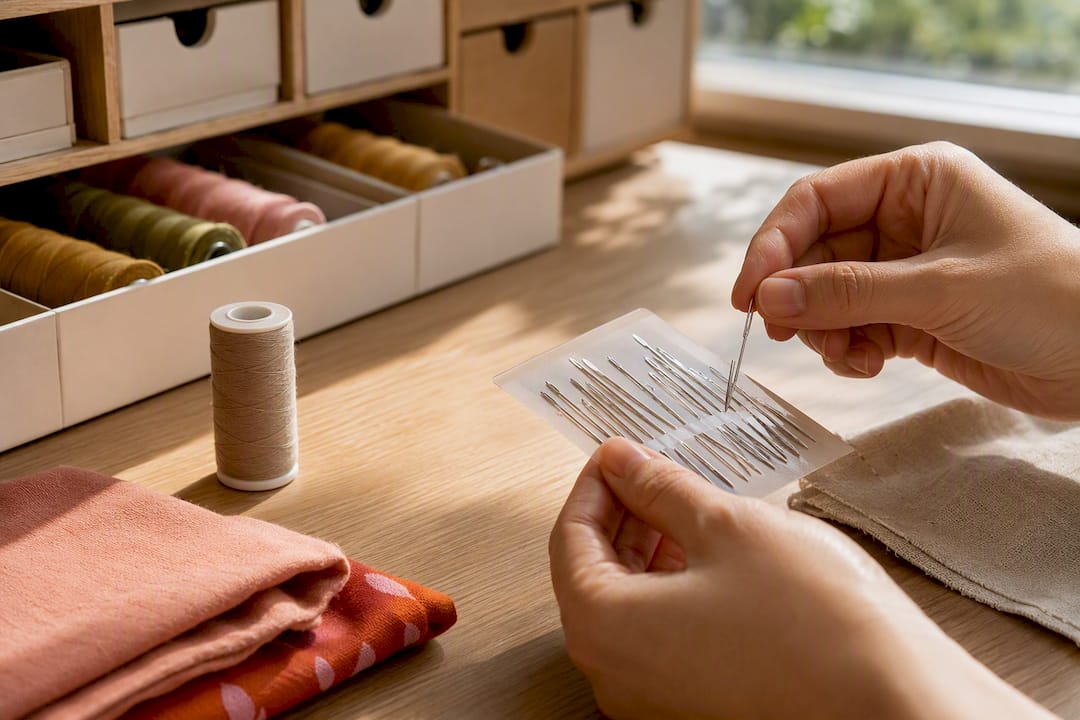
Change your needle at the start of every new project, or after roughly eight hours of sewing time. A dull or bent needle causes skipped stitches and uneven tension long before it looks damaged to the eye, and it’s the first thing worth swapping when your machine starts acting up.
Marking tools each solve a different problem. Tailor’s chalk works well on most fabrics and brushes off easily, but it wears down fast on textured surfaces. Washable fabric markers give a finer, more visible line and rinse out with water, which makes them better for detailed pattern markings. A Hera marker, a small plastic tool with no ink or wax at all, creates a crease by pressing the fabric fibers rather than marking them. It’s the safest option on fabrics that stain easily, like silk or pale linen.
A rotary cutter and self-healing mat make long, straight cuts faster and more accurate than scissors, especially for quilting strips. Scissors still win on curves, notches, and any cut that isn’t a straight line. Whichever you use, measure your pattern piece twice before the first cut. Fabric doesn’t forgive a cut two inches short the way paper sometimes does.
Pro Tip: Keep your fabric scissors for fabric only, and get them professionally sharpened once a year if you sew often. A sharp blade cuts cleanly in one pass; a dull one drags and frays the edge, which throws off every seam that follows.
You don’t need to buy everything on day one, and trying to usually means overspending on tools you won’t touch for months. A staged approach keeps costs down and matches your kit to what you’re actually sewing.
Spend where quality shows up fastest: scissors and thread. A cheap pair of shears will frustrate you on every project, while a $3 spool of thread that shreds mid seam will cost you more time than it saved in cash. Specialty tools like a walking foot, bias tape maker, or point turner can wait until a quilt, a knit garment, or a collared shirt actually requires one.
For storage, a small divided organizer box works well once your kit grows past a zip pouch. Quilters tend to add rulers and rotary blades early; garment sewers usually reach for interfacing and a wider needle range first.
Press every seam as you sew, not just at the end. It’s a small habit that changes how a finished project looks, and it’s one of the first things instructors flag when a beginner’s project looks slightly off despite clean stitching.
Wrong needle, not machine malfunction, causes most early frustration. If your machine skips stitches or the fabric puckers, check the needle before assuming something is broken. A fresh, correctly matched needle solves the problem more often than any adjustment to tension or speed.
Don’t dread the seam ripper. Every sewist, no matter how long they’ve been at it, rips out seams regularly. Go slow, work from the seam’s looser back side, and treat it as a normal step, not a failure.
For a next step once your kit is set, Fabric-fabric’s step-by-step beginner guide walks through a first project from cut to finished seam.
Notions are the small hardware that finishes a garment: buttons, zippers, elastic, hooks, and snaps. They don’t belong on your absolute-essentials list because you won’t need them until a specific pattern calls for them, but skipping this category entirely leaves you stuck mid-project with no way to finish.
Buttons close a garment and range from basic two-hole plastic types to decorative shank buttons for coats and jackets. Buy them after you’ve chosen a pattern, since button size and spacing depend on the buttonholes the pattern specifies.
Zippers come in a few common styles: standard coil zippers for skirts and bags, invisible zippers that disappear into a seam for dresses, and separating zippers for jackets. Length matters more than most beginners expect. A zipper that’s even an inch too short can derail an otherwise finished project.
Elastic is the quiet workhorse of casual sewing. Braided elastic works for waistbands and simple gathers, while knit elastic is softer and better suited to garments worn against skin. Keep a short length of half-inch elastic on hand for quick fixes, like tightening a loose cuff.
None of these need to sit in your starter kit before your first project. Buy them project by project, matched to the pattern in front of you, and you’ll avoid a drawer full of notions you never use.
Most beginner guides push you toward buying everything at once: a machine, a full notions kit, specialty needles, a rotary system, the works. That advice sounds thorough, but it usually backfires. New sewists end up with drawers of unused tools and less money left for the two things that actually determine how enjoyable sewing is: a machine you trust and scissors that cut cleanly.
The better approach is staged and project-driven. Buy the machine and fabric scissors well. Buy thread in a quality that won’t shred mid-seam. Everything past that, from a walking foot to a point turner, should be bought in response to a project, not in anticipation of one you haven’t started yet.
What gets underrated the most is the iron. Beginners treat pressing as an optional finishing step instead of a habit built into every seam. That single change in workflow does more for how a finished project looks than any tool upgrade will.
Start small, buy well where it counts, and let your projects tell you what to add next.
— kev
A great starter kit still needs the right fabric underneath it, and that’s where a lot of beginners guess wrong. Stable woven cottons hold their shape under the needle and press into crisp seams, which makes early mistakes far more forgivable than they’d be on a slippery satin or a stretchy knit.
Quilting cotton is the classic first fabric for a reason: it doesn’t shift while you cut it, and it takes a crease well when pressed. Fabric-fabric’s quilting fabric category is a good place to browse prints and solids sized for practice projects, and if geometric or novelty prints suit your first quilt block, the geometric quilting fabric collection covers that range. If you’re headed toward garments instead, a plain cotton poplin from the Fashion category gives you the same forgiving structure in a lighter weight suited to shirts and simple dresses.
Many fabric retailers organize listings by intended use, so you’re not guessing whether a fabric suits apparel, quilting, or home decor before you buy. Browsing sample swatches first is recommended if you’re unsure how a print or weight will feel in hand, then order the yardage once you’re confident. Pick your first project, match the fabric to it, and place the order.
This checklist drew on practical starter-kit guidance from a few sources worth reading in full if you want more depth on any single tool:
The core ten are a sewing machine, fabric scissors, all-purpose thread, a needle assortment, a tape measure, pins or clips, a seam ripper, an iron, a marking tool, and a seam gauge. Beginner guides consistently group these together as the minimum needed to complete a first project without stalling out.
A quality pair of fabric shears or a curated fabric bundle are both reliable gifts, since sewists constantly go through thread and fabric. A gift card toward yardage from a category like Home Decor or Bridal Fabrics also works well if you’re unsure of their current project.
You can, but you shouldn’t for long. Regular scissors are usually dulled by paper and other materials, and a dull blade drags through fabric instead of cutting cleanly, which leaves frayed, uneven edges. Dedicated fabric shears, used only on fabric, stay sharp far longer.
An 80/12 universal needle covers most medium-weight cotton projects and is the standard starting point for beginners. Add a ballpoint needle for knits and a 90/14 for heavier fabric like denim as those projects come up.
No. A basic sewing machine with a zigzag stitch can finish raw edges well enough for most beginner projects, and a serger is a later addition once you’re sewing knits or garments regularly. It’s a tool worth adding based on the project, not before your first one.