

 US Dollar

Start a Usable Fabric Swatch Binder for Sewists in an Afternoon
Posted by BLG on 2026 Sep 1st
Posted by BLG on 2026 Sep 1st

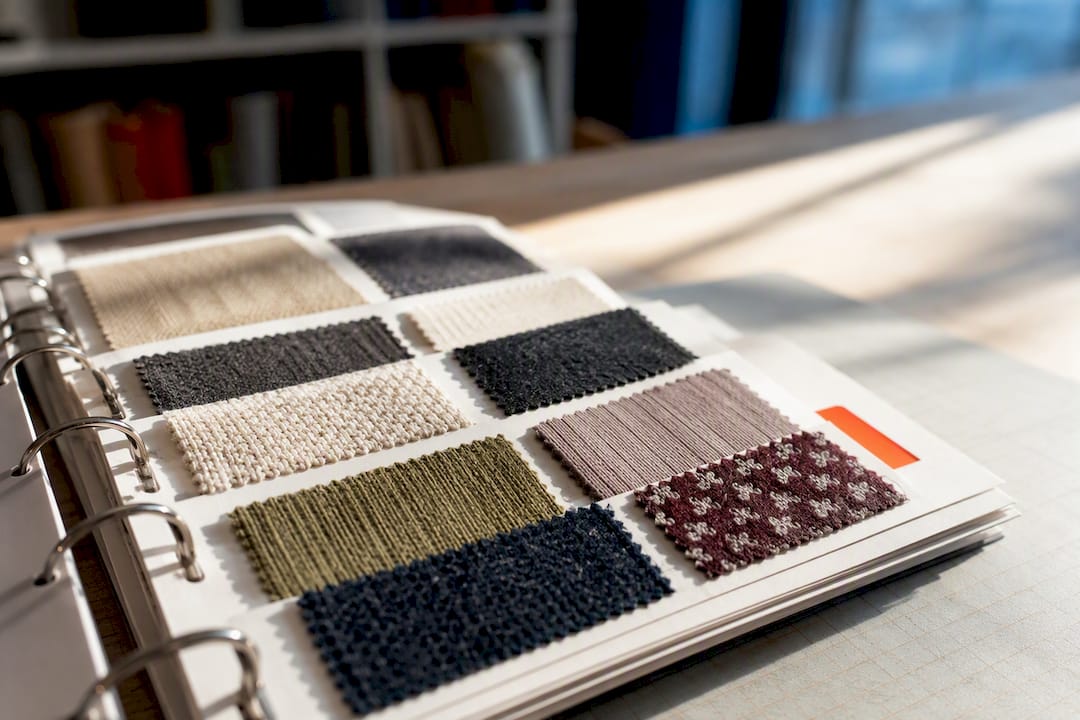
The fastest reliable system is 3-inch squares mounted on printed cardstock pages, kept in a 3-ring binder, and labeled with fiber content, width, yardage, and supplier. That setup lets you compare color under real light, test drape and stretch by hand, and reorder fabric in minutes instead of digging through bins. Everything below walks through the cutting method, the labeling fields to use, storage alternatives, and the mistakes that ruin a swatch collection before it’s a year old.
TL;DR:
- Using larger 3-inch fabric swatches allows for better testing of drape, stretch, and true color comparison under natural light.
- Mounting fabrics with durable adhesive like 3M tape or staples is essential, especially for heavyweight or stretch fabrics that do not hold well with tape alone.
- Recording consistent details such as fiber content, width, dye lot, and supplier helps ensure color matching and accurate ordering later.
- Storage methods should match fabric weight: heavier fabrics need staples or stitched borders, while lightweight fabrics work well with double-sided tape.
- Ordering pre-cut fabric samples from suppliers can save time and prevent errors when testing color and texture before committing to full yardage.
Get everything on the table before you cut a single scrap. Stopping halfway through to hunt for tape wastes more time than the actual cutting does.
For cutting and measuring, you want a rotary cutter, a clear acrylic ruler, and a self-healing cutting mat. Pinking shears help too, especially on fabrics that fray the moment they’re cut. For mounting, grab cardstock (white or cream shows color truest), double-sided tape, and staples for anything heavy. A strong 3M permanent adhesive holds up far better over years than dollar-store tape, which dries out and lets swatches drop off the page. For labeling and storage, keep clear slide protectors, a 3-hole punch, a fine-tip marker, and a printable swatch template on hand.
Size matters more than people expect. A 2-inch square works fine for a quick color reference, but 3-inch squares give you enough fabric to actually fold, stretch, and drape over your fingers, which is the whole point of building a tactile library instead of a paint-chip wall.
Follow this order and you’ll move through a stack of fabric without second-guessing yourself on step three.
A documented DIY swatch workflow recommends starting with a batch of 30 to 50 swatches, cutting them to roughly 3 inches, and mounting each on a cardstock template before assembly. That batch size is large enough to feel like progress but small enough to finish in an afternoon.
Pro Tip: Cut swatches from fabric you’ve actually sewn with, not just samples straight off the bolt. A scrap from a finished project teaches you how the fabric behaves after washing and wear, which a fresh sample can’t show you.
For fabrics you want to swap out later, a pocket or card-sleeve method works better than permanent mounting. Slide the fabric piece into a small paper pocket glued to the card instead of taping it down, and you can pull it for closer inspection without destroying the record.
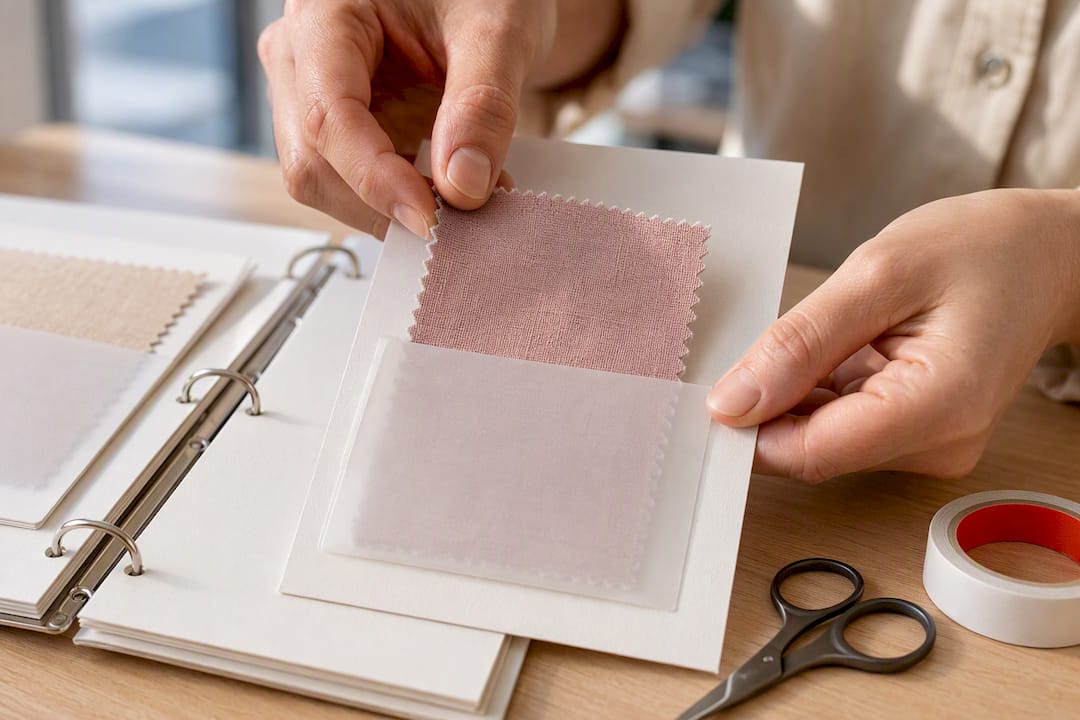
Match your mounting method to the fabric’s weight, not to whatever adhesive happens to be closest. Wool coating and heavy canvas pull away from tape within a year or two; staples or a quick hand-stitched border across two corners hold them permanently. Knits and stretch fabrics do best stitched as well, since tape restricts the stretch you’re trying to test in the first place. Quilting cotton, lawn, and most lightweight wovens are fine with double-sided tape.
If you’re cutting from a manufacturer’s color card, number each chip before you cut it apart. That single step lets you restore the original order later if the cards get shuffled, and it preserves the collection numbering the supplier uses for reorders.
Every swatch card needs the same fields, recorded the same way every time:
A swatch-book system built around these fields recommends a consistent naming convention like “Material, Color, Supplier” written the same way on every card, since inconsistent naming is the single most common reason people end up with three cards for the same fabric. Our guide on reading fabric labels breaks down fiber content terminology if you’re unsure what’s printed on the selvage.
None of these options is objectively better. They fit different working styles, and most serious swatch keepers end up combining two.
Common physical storage systems tend to fall into these same three categories, whether the collection is fabric or paint chips, and large projects go faster when you pace the cataloging across a few sessions rather than one marathon sitting.
The strongest setup pairs a physical binder with a simple digital index, a spreadsheet or inventory app listing the same fields you wrote on the card. Makers who track fabric this way get the tactile testing a binder offers plus the instant searchability a spreadsheet gives when you’re trying to remember which supplier carried that exact teal linen. Our post on organizing fabric inventory covers a simple spreadsheet layout if you want a starting template.
Every field on a swatch card exists to answer a specific question you’ll ask yourself months later, standing in a fabric store trying to remember what you own.
Fabric inventory tracked at the point of purchase, with supplier and consistent units noted immediately, avoids the reconciliation headache of guessing later whether a length was in yards or meters. Build the habit of updating the card the moment you cut into a piece, not weeks afterward when the details have blurred. Our fabric sourcing checklist walks through the same metadata from a shopping angle if you want the reverse view.
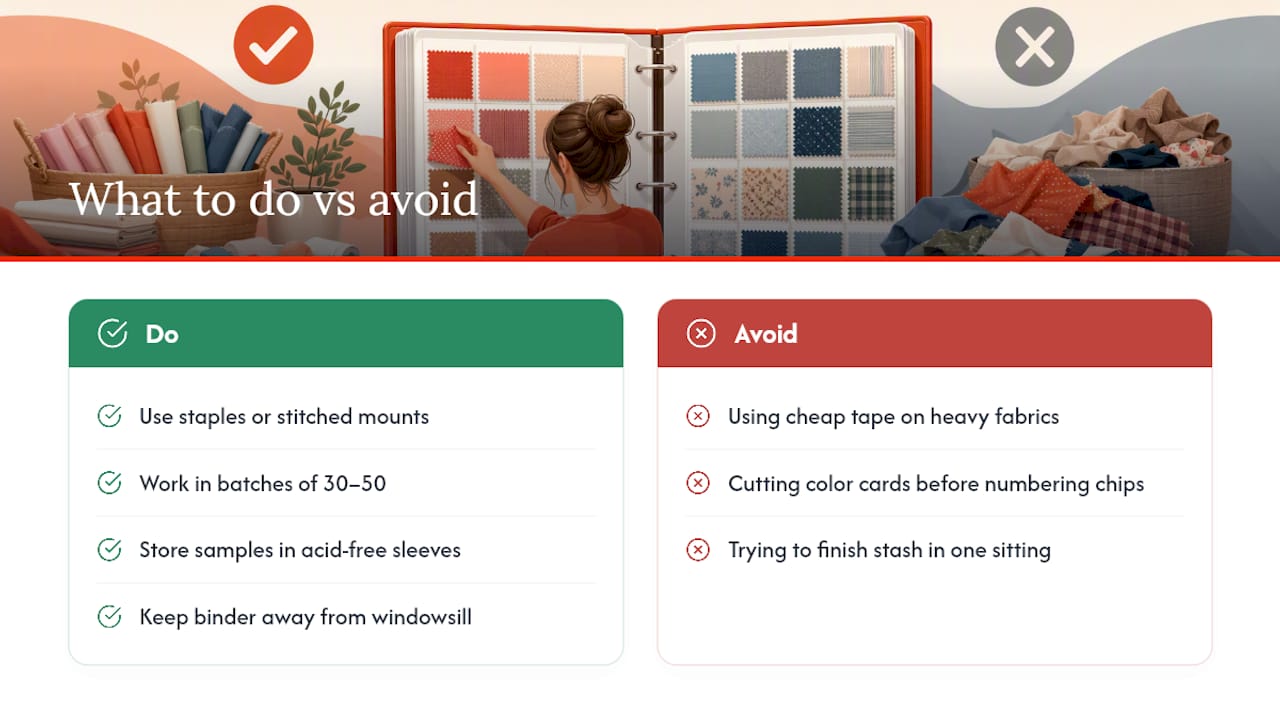
Adhesive failure is the most common complaint from anyone who has kept a swatch book for more than a couple of years. Cheap tape dries out; staples and stitched mounts don’t. If a fabric feels heavier than a quilting cotton, skip the tape entirely.
Cutting apart a manufacturer color card without numbering the chips first is the second most common regret; once they’re separated, restoring the original sequence by eye is nearly impossible. Large cataloging projects also stall out when people try to finish an entire stash in one sitting. Working in batches of 30 to 50 swatches keeps the task from feeling endless, and sunlight, humidity, and pests can all degrade stored fabric, so archival samples benefit from acid-free sleeves rather than standard plastic.
Pro Tip: Keep your swatch binder away from a sunny windowsill. Even indirect light will shift color on natural fibers within a few months, which defeats the entire purpose of a color-accurate reference.
My binder lives next to my sewing machine, not in a closet. Before ordering anything, I flip to the color family I need and hold real fabric against real fabric instead of trusting a screen. One time that habit saved me from ordering the wrong weight of linen entirely, because the digital swatch on a supplier site looked nothing like the actual drape once I held my card next to it. If you want a head start, Fabric-fabric’s blog has printable swatch templates and labeling guides worth borrowing.
— kev
Building a DIY swatch library takes real time, even with a good system. If you’d rather test color and hand-feel without cutting a single yard yourself, Fabric-fabric sells sample swatches alongside its full fabric-by-the-yard catalog, giving you a consistent size and labeling format without the scissors work.
A paid sample arrives pre-cut, correctly labeled, and ready to slide straight into your binder or sleeve, which saves the step of measuring and trimming every new fabric you’re considering. It’s a fast way to confirm color and texture before committing to yardage, especially for larger home décor or quilting projects where a wrong guess gets expensive. Browse quilting fabric options or the home decor fabric collection to request swatches for your next project before you order the full amount.